Bryan Marks
Well-Known OPE Member
- Local time
- 3:37 AM
- User ID
- 6321
- Joined
- Jun 3, 2018
- Messages
- 55
- Reaction score
- 182
- Location
- Bakersfield
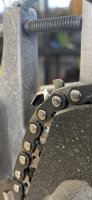
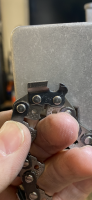
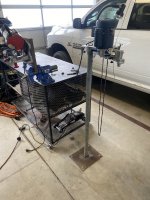
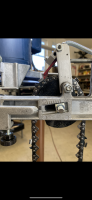
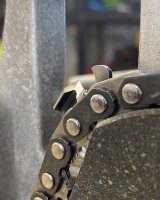
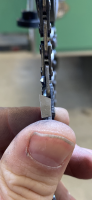
Ok got her dialed in. I didn’t mention that the machine out of the box was square from side to side. No adjustment needed from left cutter to right. Once you get it adjusted it’s pretty easy to grind some chain and get the angles you want and not hitting the tie straps at all. Thanks for the help guys.