NZsaws
Super OPE Member
- Local time
- 8:50 PM
- User ID
- 25753
- Joined
- Dec 18, 2022
- Messages
- 81
- Reaction score
- 402
- Location
- New Zealand
Gidday Max
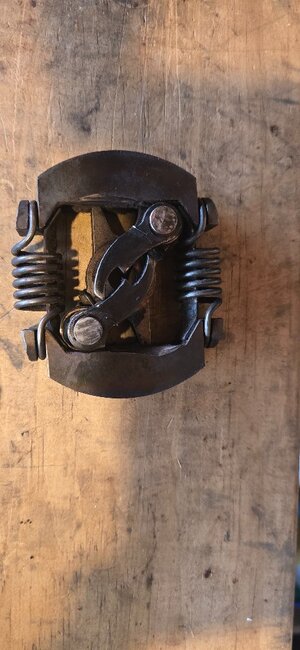
It's a two piece but has the pawls for a RH start so maybe they were using up some old stock?
Sort of wished I had filled the holes bit too late now.
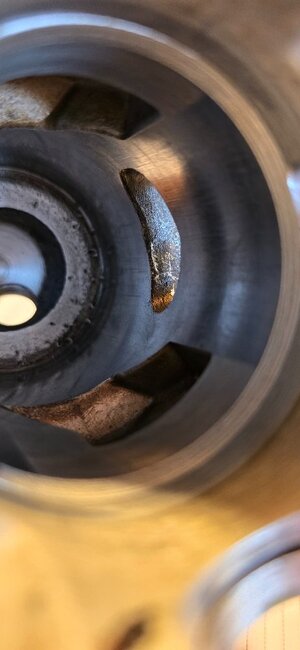
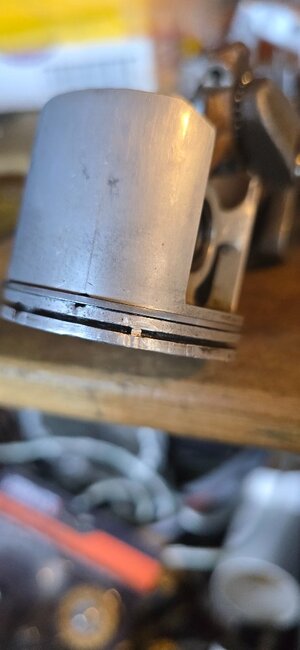
The saw looks hardly used but when I opened it up the ring locators had disappeared. Some dents on squish band but damage minimal. Have put in new ones and have new rings.
It's a two piece but has the pawls for a RH start so maybe they were using up some old stock?
Sort of wished I had filled the holes bit too late now.
The saw looks hardly used but when I opened it up the ring locators had disappeared. Some dents on squish band but damage minimal. Have put in new ones and have new rings.