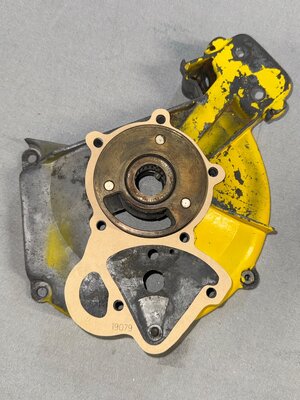
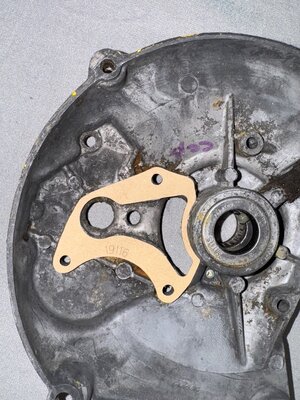
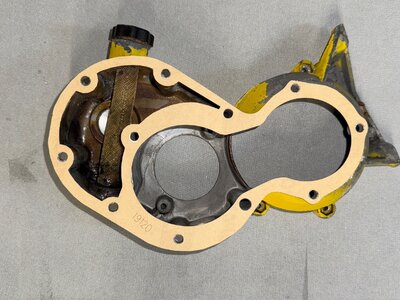
I have been practicing on cleaning up damage on my McCulloch 200's fan housing. I don't have a media blaster, so I have been using sandpaper and Dremel wheels to get the paint and primer off. Once I find the damage or metal rot areas, I then use a burnishing tool to get out the metal rot and down to good metal. I then fill the recesses with JB Weld and when it is dry, then sand that down. It looks like McCulloch used a tan primer under their paint, unfortunately I only have grey to work with right now. I am using Rustoleum's metal etching primer and it seems to easily cover without having to do too many passes. The top three pictures are before the JB Weld and primer went on. Bottom two are after. Any ideas on cleaning up and buffing the hard rubber spark plug cover?
View attachment 452732
View attachment 452733
View attachment 452734
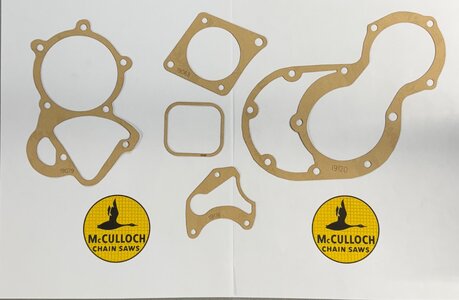
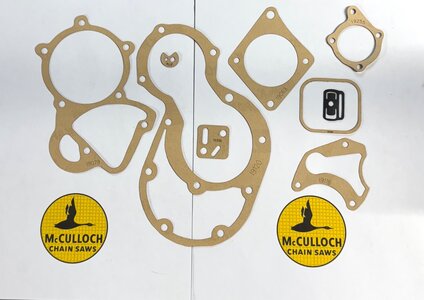
There are still a couple of blemishes I missed that easily show up with the primer that I will need to address, a couple of small pits and some excess JB Weld that didn't get sanded down.
View attachment 452735
View attachment 452736


")


