- Local time
- 8:14 PM
- User ID
- 28875
- Joined
- Apr 5, 2024
- Messages
- 1,223
- Reaction score
- 5,792
- Location
- Wyoming
Step 3: Install clutch side case half, mate cases
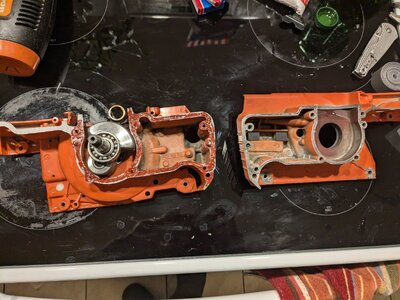
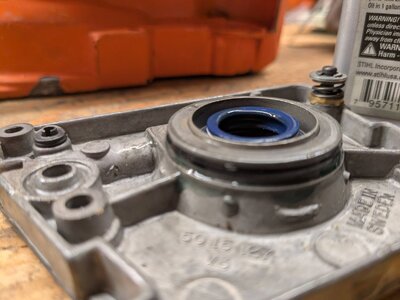
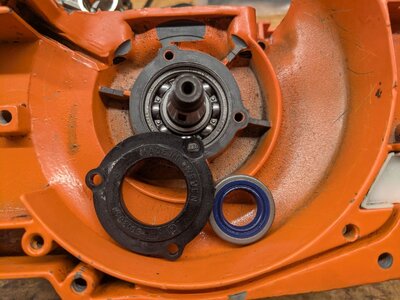
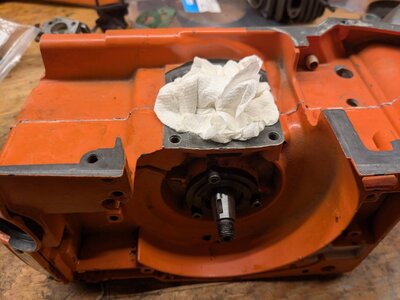
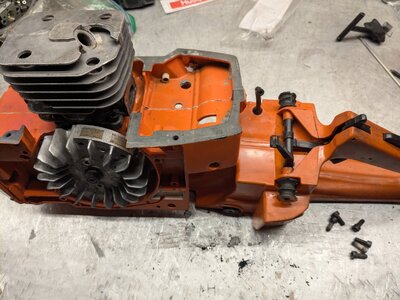
After making sure all sealing surfaces on the cases were good and clean, I laid down some dirko on the sealing surfaces of the case half, then laid the case gasket on top of that, and then laid down some more dirko onto the gasket.
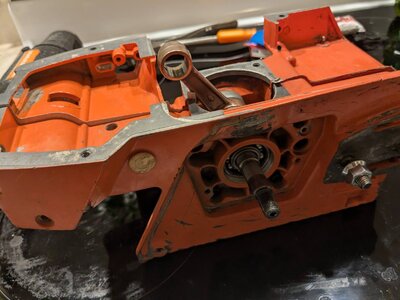
The next part is a bit tricky to get right. Use the heat gun to heat up the clutch side bearing pocket like you did the flywheel side, and then quickly slip it onto the crank/bearing. There are several things to watch out for here: Make sure the pins line up into their holes, make sure the gasket doesn't get moved or crinkled. You probably won't get to full depth before the bearing sticks into the seat. That is fine.
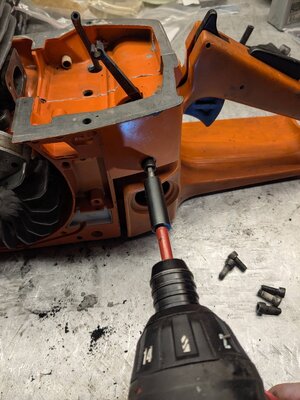
To pull it together the remainder of the way, install four case screws. Then use the heat gun again to heat the case up, while slowly working the case screws in to pull the cases together and the bearing farther into its pocket. This makes you wish you had one more hand, but it can be done. Make sure not to tighten the screws if you feel excessive resistance, and make sure the case halves are coming together evenly, and not canted in one direction or the other.
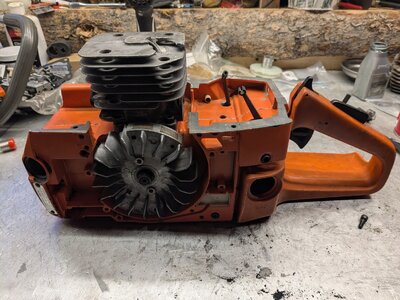
After getting the cases tightly sealed to each other, test the crank for smooth rotation. If you feel a bit of resistance, you may need to give each side a couple of light taps with a hammer. As stated before, thread a nut on (or the clutch for the reverse-thread clutch side) so that you don't mess up the threads. The crank should rotate freely with no felt resistance. Mine spun nice and smooth.
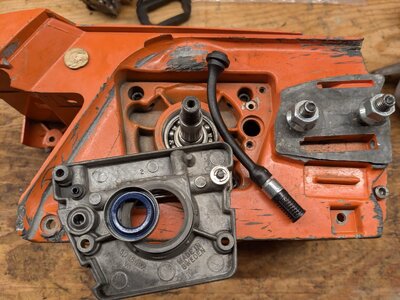
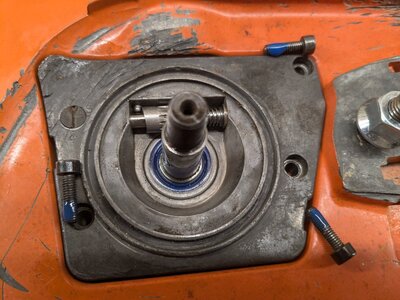
Lastly, install the front case screws (the ones that hold the dog on), and the rear case screw at the back of the carb box.


