Just add the Red Kote, lay the tank on one side for a few minutes, rotate 90° so the Red Kote flows to the front for a few minutes, rotate 90° so it flows and coats the seam on the opposite side for a few minutes, rotate 90° to coat the seam at the rear of the tank, and keep doing this for an hour or so until the Red Kote sets up and it no longer flowing. With a little practice you will learn just how much to pour in to achieve a good coating without having too much excess. If you want to, roll the tank around to get a layer on the bottom and top while you are at it. No need to continuously keep the tank in motion, just let the Red Kote flow everywhere and try to build a few layers in the critical areas like the tank seam where is it most likely to leak.. Red Kote is not like epoxy so if you ever have to tank the tank apart again it peals off pretty easily. Just be sure to let it cure completely (no solvent odor) before adding fuel. Gently blowing some warm air in/over the tank (think hair dryer or heat just at a low setting) will speed the curing process.
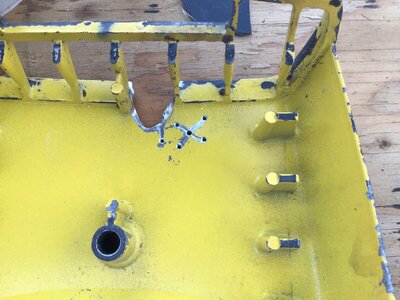
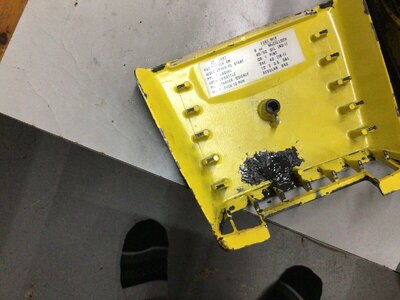
You an always use a little additional filler to smooth out the surface of the tank if needed. For future projects consider using some screen wire or fiberglass cloth to help add some structural support to a larger repair like that.
View attachment 426208
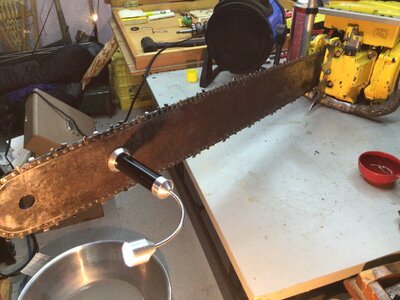
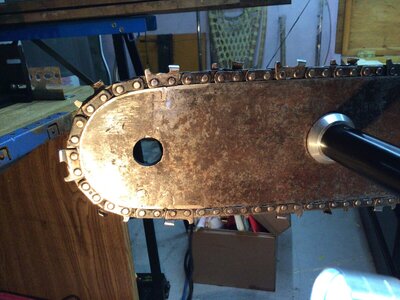
I would not be overly concerned about the welding repairs to the bar. Many bars have been repaired and not all of them were as nicely done as yours.
Mark