High Quality Chainsaw Bars Husqvarna Toys

6-cube deluxe

cus_deluxe

terms of service violator
Local time
4:51 PM
User ID
393
Joined
Jan 3, 2016
Messages
5,195
Reaction score
24,220
Location
Michigan
Country flag
So theres lots of stuff thats been covered that i can skip. Overall impressions are that all the parts in this kit fit together better than any other aftermarket stuff ive had (plastic is good, holes basically line up etc...).
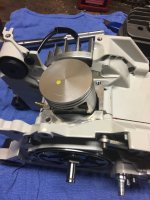
We'll start with the bottom end assembled, went together nicely other than a little operator error on the pto side seal haha.
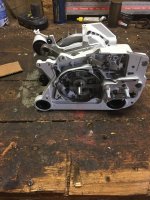
IMG_1218.JPG
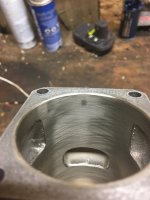
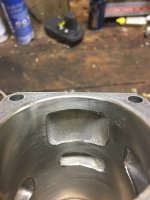
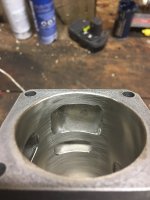
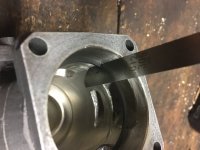
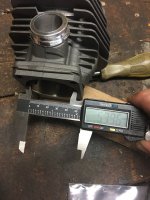
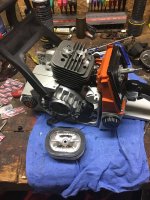
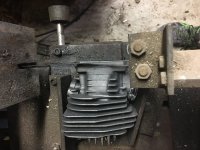
Cylinder looks pretty good overall. Cleaned some boogers up and made sure everything was beveled well enough to run and thats it.
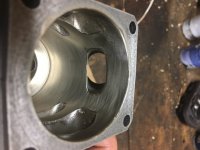
IMG_1217.JPG IMG_1216.JPG IMG_1215.JPG IMG_1214.JPG
 
Last edited:

cus_deluxe

terms of service violator
Local time
4:51 PM
User ID
393
Joined
Jan 3, 2016
Messages
5,195
Reaction score
24,220
Location
Michigan
Country flag
IMG_1213.JPG
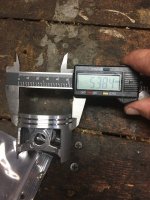
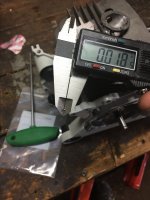
Ring end gap seems good, bore was within a few thousandths in diameter.
IMG_1212.JPG
IMG_1210.JPG
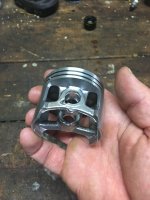
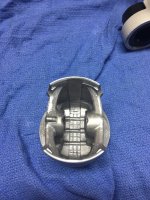
Piston looks nice, no voids or obvious casting flaws, pretty close to round too.
IMG_1211.JPG
Assembled with stihl oem wrist pin bearing and clips from @Definitive Dave , no base gasket, squish is maybe a little tight but runnable for the moment.
IMG_1209.JPG
 

cus_deluxe

terms of service violator
Local time
4:51 PM
User ID
393
Joined
Jan 3, 2016
Messages
5,195
Reaction score
24,220
Location
Michigan
Country flag
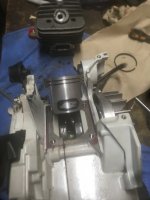
As noted by others i think, piston to crank clearance was basically nothing. Just beveled the inside corner of piston skirt about halfway and that gave comfortable clarence.
IMG_1206.JPG IMG_1205.JPG
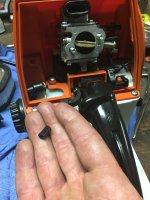
Skipping forward a ways, had to trim a bit off the fuel line to keep it from kinking.
IMG_1204.JPG
IMG_1203.JPG
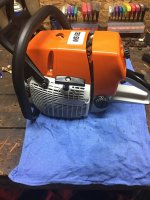
Everything else went together pretty well, so we end up with this.
IMG_1202.JPG
 
Last edited:

cus_deluxe

terms of service violator
Local time
4:51 PM
User ID
393
Joined
Jan 3, 2016
Messages
5,195
Reaction score
24,220
Location
Michigan
Country flag
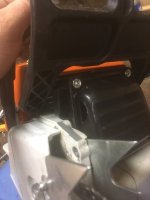
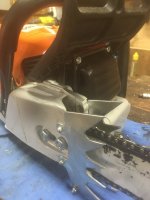
Once again, as others have noted, chain break mechanism is a little clunky, chain tensioner is a little rough, though it seems to get better after a few uses. Switch shaft action is rough as well, but all is functional. Had to tweak metering height lever to correct some pretty severe flooding, forgot the o-ring under oil pump outlet as well. Once that was all done, it starts, runs, idles and oils well.
 
Last edited:
cus_deluxe

terms of service violator
Local time
4:51 PM
User ID
393
Joined
Jan 3, 2016
Messages
5,195
Reaction score
24,220
Location
Michigan
Country flag
IMG_1222.JPG IMG_1221.JPG Ditched the cheesy deflector in favor of some @Red97 action. Unbaffled the muffler and enlarged the opening under the deflector, left the opening in muff cover alone. Paint job and welds are thankfully not well lit in these fotos.
 

cus_deluxe

terms of service violator
Local time
4:51 PM
User ID
393
Joined
Jan 3, 2016
Messages
5,195
Reaction score
24,220
Location
Michigan
Country flag
When i pulled muffler to mod it, i noticed some pretty light vertical lines all around bore of the jug, guessin i didnt flush bottom end very well... good compression and starts and runs strong so far so not worried. It'll be comin back off soon anyway :zpong:
 

cus_deluxe

terms of service violator
Local time
4:51 PM
User ID
393
Joined
Jan 3, 2016
Messages
5,195
Reaction score
24,220
Location
Michigan
Country flag
So i tore the saw back down and used my degree wheel for the first time haha. After a few test runs, i came up with roughly 95 125 88. Also traced intake and exhaust on piston to give an idea of how much could be widened, also how much room cylinder could be lowered if need be.
IMG_1241.JPG
IMG_1242.JPG
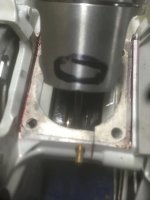
First pic (marked @ tdc) shows (sort of) that the clutch side of the exhaust port could be widened a bit more than the fw side. As close as i could measure it looks like there may be as much as .100 taken off the base before freeporting so thats cool. Second shows where intake port lined up. Obviously sharpie marks left a little bit around the edges where the port edge actually is, but it got me in the neighborhood.
After some figurin' i marked up the areas i wanted to remove amd got after it. Just widening and squaring of the intake and exhaust at this point. Also spent a couple minutes w some 300 grit paper getting out the smears in the wall from me not flushing the bottom end properly.
Came in to rinse cylinder and recorded this
 
Top