Did some more work on the uppers and they are way better than they were before and I've figured out a lot from the advice given especially from the chief cook and bottle washer... I'm not sure if I can get this particular cylinder looking much better but it's been a great experience and if I end up doing any more saws I feel like I have the confidence that it will be better than this one. Confidence can be a double edged sword but I will approach any future project carefully. Thanks all for the feedback and I'll post how it turns out once I get some run time on it (unless it turns out to be an embarrassing turd)... LOL
View attachment 465837
View attachment 465838
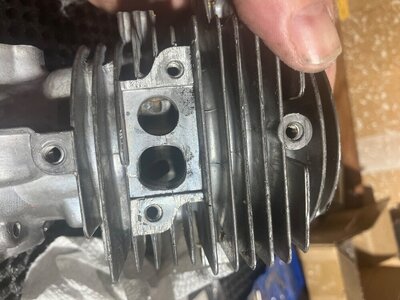
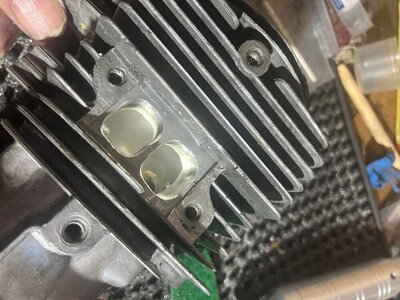
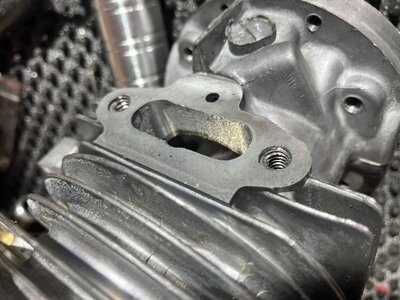
I got the aiming kinda where I want it... hoping that it works well... I would have preferred a smoother transition from the flatter roof intake side of the upper to the sloped roof exhaust side that opens 2* before the intake side trying to aim for the spark plug, kinda... My skills aren't there yet (if ever). Not exactly artwork, more like my version of a stick-man portrait.