Thanks for all the advice. I'll do a little trimming on those corners and run it a little to see how it feels. I've read through a lot of the threads on the 660 and am trying to learn as much about the good and bad as possible. I will play with the uppers a little to try to square those roof corners off.
I did do a little carb work and .015 off the key for ignition timing already.
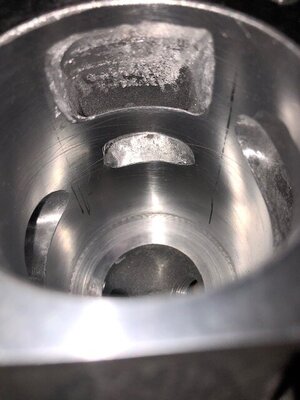
The intake roof is about as high as I can get it cuz the ring on the 288 piston comes down to within .015" of the top of the chamfer and I'd rather leave a little on the table than hang a ring. I'll see if I can square that floor up a little more on that intake to gain a little more flow.
The picture of the exhaust roof makes it look a little more curved than it really is. I did match the piston crown along the roof of the exhaust so it behaves like it's flatter. I've done that on a couple of my saws and it feels like it helps but I didn't do any timed cuts on just that mod.
Thanks to all of you. This is a learning experience for me and I'm enjoying the time playing with saws to get some gains to make heating the house easier and more fun... My friends all thank you as well. They all think I'm a magician with saws, and I tell them I just know who to listen to and how to look at pictures... You guys are the big brains, I'm just watching from the peanut gallery...
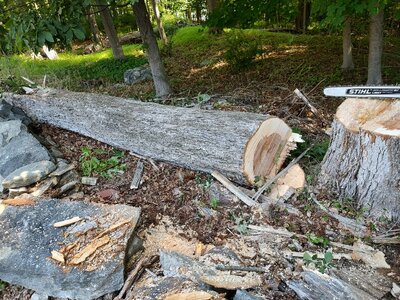
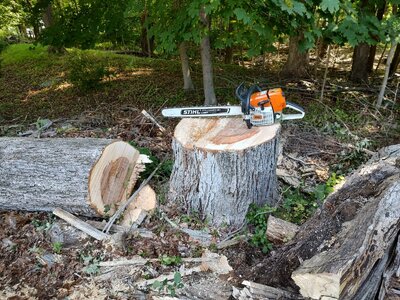
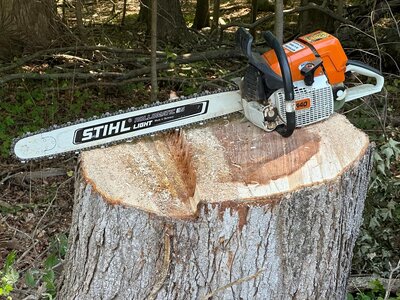
I have a neighbor with a clone saw just like this one with just a BGD, timing advance, lowers opened up, and MM. It pulls a 42" bar well in a huge White Oak. We used it on this blow down a few weeks ago.
View attachment 465208
View attachment 465209
Monte


.JPG")

")
