- Local time
- 3:13 PM
- User ID
- 25442
- Joined
- Nov 16, 2022
- Messages
- 257
- Reaction score
- 923
- Location
- Long Beach, IN
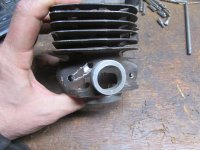
Learning some new skills and practicing on a scorched cylinder before I carve up a modified 026 44mm. Any tips to suggest?
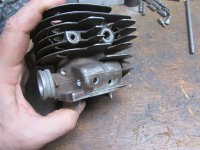
Intake first


Intake first