High Quality Chainsaw Bars Husqvarna Toys Hockfire Saws

Beauty within the Beast- An 090AV rebirth

IEL Fan

Well-Known OPE Member
Local time
4:59 AM
User ID
23438
Joined
May 9, 2022
Messages
73
Reaction score
440
Location
Southern Alberta Canada
Hello all,
My name is Drew and I used to know some of you on other sites when I went under the name crane. Well time has marched on and I'm back here to show what I've been doing in the absence...
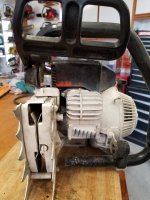
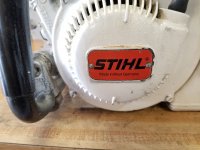
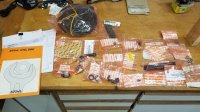
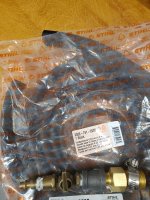
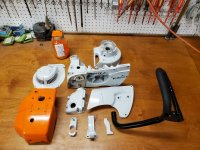
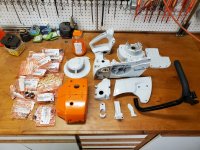
My Dad sent me this package(s), a few years back and this started a project that I thourghly enjoyed and would like to share here.

090 arrives.jpg


090 2.jpg

20190807_171012.jpg
 
Last edited:

IEL Fan

Well-Known OPE Member
Local time
4:59 AM
User ID
23438
Joined
May 9, 2022
Messages
73
Reaction score
440
Location
Southern Alberta Canada
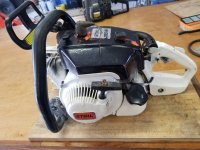
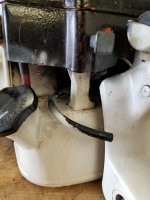
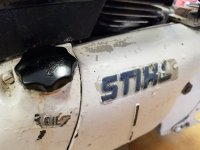
Dad had come across this saw through a friend who owned it. He had it for years but could not get it to run. Thought it a basket case and lost intrest. Dad picked it up and shipped it out. Now earlier in its life, someone for some reason took a couple cans of rattle can paint to it...and the beast was made

20190811_170849.jpg


20190811_170910 - Copy.jpg

20190811_170927.jpg
 
Last edited:

IEL Fan

Well-Known OPE Member
Local time
4:59 AM
User ID
23438
Joined
May 9, 2022
Messages
73
Reaction score
440
Location
Southern Alberta Canada
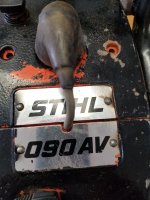
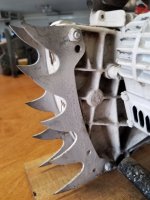
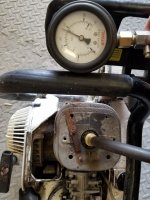
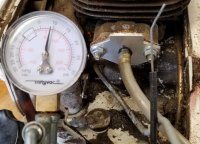
OOOK....now for the good news. got spark compression and found all the missing parts as the last owner had sent the carb(in pieces) in a bag. The bar is 5ft and .404. I plan to step by step, strip this saw down to bare bones and give it a powder coat and build this saw back up to near mint condition using all NOS parts. I'll try to explain the process along the way, and hope you bashful bunch of saw enthusiists will chime in to offer your comments and ideas. Just to be clear, this project is completed, I'm just posting the process and answering questions as we go.

20190811_170856.jpg

20190811_172058.jpg

20190811_180807.jpg
 
Last edited:

IEL Fan

Well-Known OPE Member
Local time
4:59 AM
User ID
23438
Joined
May 9, 2022
Messages
73
Reaction score
440
Location
Southern Alberta Canada
Was disappointed with the compression, but still workable. Seals were solid, but will be replaced.
 

IEL Fan

Well-Known OPE Member
Local time
4:59 AM
User ID
23438
Joined
May 9, 2022
Messages
73
Reaction score
440
Location
Southern Alberta Canada
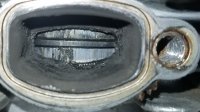
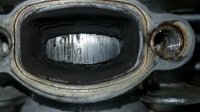
That last pic of the piston scared the crap out of me, but you will see later that it was a false alarm.....TRUST ME
 

IEL Fan

Well-Known OPE Member
Local time
4:59 AM
User ID
23438
Joined
May 9, 2022
Messages
73
Reaction score
440
Location
Southern Alberta Canada
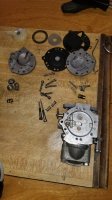
pics in this time frame were lost on a cell phone that crashedm but got the carbon cleaned out and minor teardown to get the saw to run. Decided to rebuild the carb. I run a lot of parts thru my ultrasonic cleaner. That is just awsome at getting small parts clean as well as carbs. I never regret this purchase.

20190815_182047.jpg

20190815_182124.jpg


20190815_182218.jpg


20190815_183729.jpg
 

IEL Fan

Well-Known OPE Member
Local time
4:59 AM
User ID
23438
Joined
May 9, 2022
Messages
73
Reaction score
440
Location
Southern Alberta Canada
To fill in for the missing pics.....The saw runs and idles. Starts stone cold on 4th pull. Compression feels higher that 145psi, but enough to start it. Oiler works as does the manual override. Kill switch is in working order. Overall this saw looks to be lower hours and that the worst part is the horrific overpaint. Can't leave it ugly like a tom cat out in the rain. Now I start the hunt for parts. My local Stihl dealer seems to have a great line om 1106 parts so that is the start. I used to work there so it helps and I can get axcess to their system if needed.

20210710_085119.jpg


20210703_090308.jpg
 
Last edited:

IEL Fan

Well-Known OPE Member
Local time
4:59 AM
User ID
23438
Joined
May 9, 2022
Messages
73
Reaction score
440
Location
Southern Alberta Canada
well back to the story.... Most of the teardown was done over skype yakking with my Dad. Not much to see there as by now we have all torn down saws and know the big greasy mess we all end up with on our bench and tools. Most of the videos were just me and Dad talking about farming, the weather and such and he was asking questions about the tear down. After I got it broken into pieces, I took more care to get more pics of specific situations.
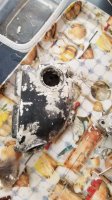
A little side note, powder coating is a great way to paint a saw or other things. It is relatively cheap to do, no harsh chemicals or smell, the parts are fully cured once they leave the oven. The coatings are very hard and resistant to fuel and oils, and the best part....any mistakes or spills are cleaned up with a shop vac or blown clean again with a blow gun. The major downside is that the parts need to be stripped down ALL the way. Anything left must be able to withstand up to 400 deg. F for up to 20min. That means all rubbers, screens, passageways need to be cleaned and removed, that includes bearings and seals, races, oil passageways, studs, all of it needs to be broken down and cleaned. The following will give you an idea of just how intense this process is.
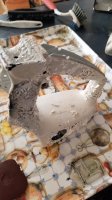
20210726_192348.jpg

20210801_185708.jpg


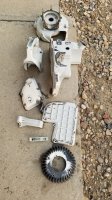
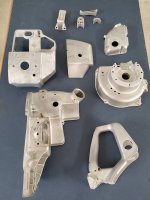
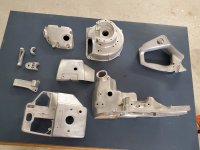
This was by far and away the worst part of this rebuild. The rattle can paint came off fairly easily, but the process damaged the original Stihl paint underneath. So the whole thing needed to be stripped back to bare metal. No word of a lie, I have over 60 hours into paint stripping, sandblasting and sanding to get the parts to a polished condition ready for powder. I have never run into original paint like what Stihl used on this saw. Tough does not come close to describing it. Multi layers of paint remover barely made a scratch in the layer. Sand blasting with crushed glass, bead blasting, course sand all had a limited effect. I even baked parts in the oven at close to 500F for 45min to try to harden and chip the original paint with little effect other than to darken the white to a beige tint. Once started, there was no turning back and I had to see it thru to the conclusion.
20210711_153027.jpg
 

IEL Fan

Well-Known OPE Member
Local time
4:59 AM
User ID
23438
Joined
May 9, 2022
Messages
73
Reaction score
440
Location
Southern Alberta Canada
Many hours later the results speak for themselves....


20210703_090153.jpg

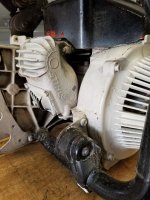
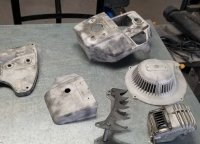
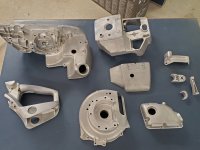
Rough finish to get it down to where I can start to hand sand. The muffler was bead blasted and came out excellent. The felling doggs spent time on the buffer. It was a real nightmare to get all of the paint out from the fins on the recoil, but determination pays off. I just kept telling myself that every corner I cut at this stage, I will regret at the end.

20210906_095323.jpg

20210906_095405.jpg


20210906_095333.jpg
 

IEL Fan

Well-Known OPE Member
Local time
4:59 AM
User ID
23438
Joined
May 9, 2022
Messages
73
Reaction score
440
Location
Southern Alberta Canada
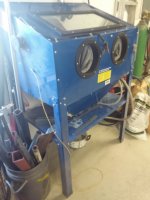
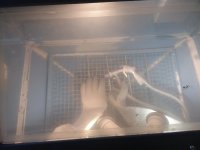
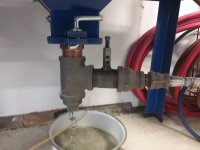
Here is a quick look at how I blasted the paint off. This is my sandblasting cabinet that is basically the Canadian edition of Harbor Freight.....with some modifications to improve cleanout and adjustable flow rates for different media. I added my own vacuum set up and lighting. Works great for small projects.
Some notes on sandblasting...…the more that magnesium is pelted with media, the more brittle it gets. One must be aware of just how mush pressure and time the part is subjected to the blast process. Aggressive media will quickly stirp off raised lettering and marr mounting surfaces. Lots off time spent tapping off delicate areas and mating surfaces. With all the draw backs and extra steps, blasting is easily the cleanest and least messy way to prep for paint.

20220515_084838.jpg

20220515_084823.jpg

20220515_084846.jpg
 

IEL Fan

Well-Known OPE Member
Local time
4:59 AM
User ID
23438
Joined
May 9, 2022
Messages
73
Reaction score
440
Location
Southern Alberta Canada
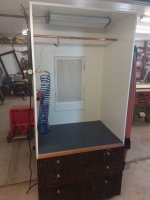
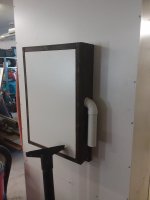
I used to powder coat out of a cardboard box....too embarrassed to post a pick of that set up. Now I have built myself a proper powder coating booth on wheels. I added a great LED light system and vac attachment on the back that filters out the excess powder. I do not reclaim any powder over spray, it adds up to so little and I save no money trying to recover the limited amount spilled.


20220515_084902.jpg

20220515_084912.jpg
 

IEL Fan

Well-Known OPE Member
Local time
4:59 AM
User ID
23438
Joined
May 9, 2022
Messages
73
Reaction score
440
Location
Southern Alberta Canada
Well no one has yelled at me to stop yet, so one with the show.....

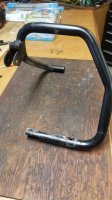
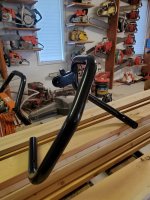
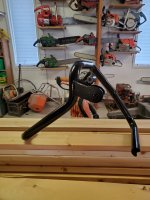
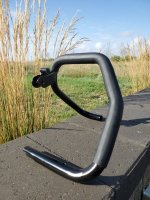
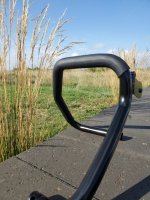
The first piece to be coated was the handlebar. I coated it in a generic gloss black. Most of the handle was going to be covered with a new rubber wrap. Installing the new wrap was pretty easy. I just made an adaptor to my airline with a valve to control the flow and pressure. I used a liberal amount of regular dish soap and pushed the rubber tubing on as far as I could. Then with the handle bar clamped in a vise, I increased the air flow thru the tube to the point where it would just push on. Manipulate the hose to where I wanted it, cut the air, trimmed off the excess and let the handle dry.
20210912_173819.jpg 20210912_173832.jpg 20210913_101928.jpg 20210913_101937.jpg 20220515_155058.jpg
 

IEL Fan

Well-Known OPE Member
Local time
4:59 AM
User ID
23438
Joined
May 9, 2022
Messages
73
Reaction score
440
Location
Southern Alberta Canada
Now for the more interesting colors....


20211022_082334.jpg
20211022_082350.jpg


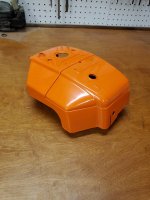
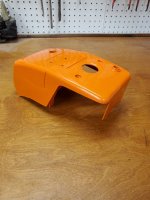
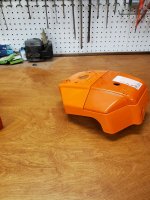
Texture and finish worked out really well. The color is off by a shade as you can see in the next pic. I have an NOS old stock filter and you can see the difference in shading. It was soo much work to get this far, I decided to go with the color. Not perfect but as close as I could get with the options available. Finding the reddish orange color is hard. Most are just to0 orange. The off white was a dead on match.


20211022_082700.jpg
 

IEL Fan

Well-Known OPE Member
Local time
4:59 AM
User ID
23438
Joined
May 9, 2022
Messages
73
Reaction score
440
Location
Southern Alberta Canada
some tricks I use:
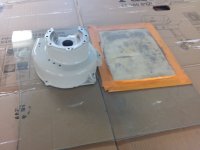
1, I always mask off parts or surfaces I do not want coated. I used hi temp silicon tale to mask off all the gasket surfaces. For some reason I have no pics of this. Once the part is coated and cooled, I mask a sheet of 400 grit paper to a sheet of glass and basically lapp the surfaces until they are flat and smooth. It is a surprisingly fast and easy method.

20211031_095215.jpg 20211031_095225.jpg
 

IEL Fan

Well-Known OPE Member
Local time
4:59 AM
User ID
23438
Joined
May 9, 2022
Messages
73
Reaction score
440
Location
Southern Alberta Canada
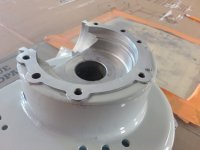
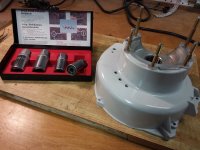
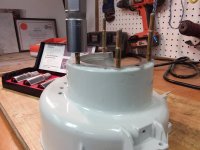
These stud sockets are a dream to install studs... The holes were all cleaned and run thru with a tap to ensure that all threads were clean and crisp. Amazing where the material from the sand blaster ends up. You can also see minor imperfections on the blower housing on the bottom pic. I was not concerned as that bit cannot be seen when the saw is assembled. Just a reminder of going over you work closely before the powder stage.


20211111_142147.jpg 20211111_142232.jpg
 

IEL Fan

Well-Known OPE Member
Local time
4:59 AM
User ID
23438
Joined
May 9, 2022
Messages
73
Reaction score
440
Location
Southern Alberta Canada
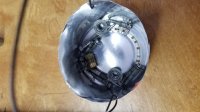
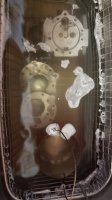
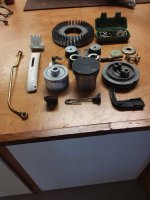
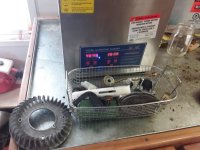
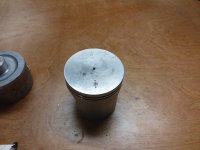
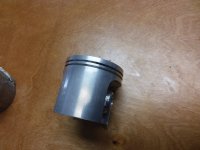
No back into cleaning mode. I use the ultra sonic cleaner for all the small parts. I found that during this rebuild that it is great for removing paint from plastic pieces AND it strips carbon off of pistons like a hot damm. Remember that exhaust port shot that I was scared of.....well look how the piston turn out after a bath!!


20211031_094534.jpg 20211031_094903.jpg 20211031_102045.jpg 20211031_102052.jpg 20211031_102110.jpg
 
Top