Crane
Super OPE Member
- Local time
- 12:07 PM
- User ID
- 1732
- Joined
- Aug 23, 2016
- Messages
- 119
- Reaction score
- 348
- Location
- southwest Michigan
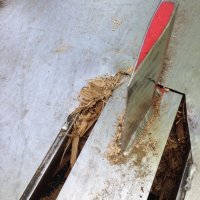
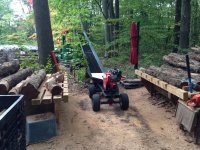
The SS table is an option, and installed by bolting to the top of the bottom flange of the beam.
Bolting to the bottom of the bottom flange of the beam drops the factory table 1/2". Pull six bolts, two along the beam, and four where the leg and table bolt to the beam. Shift to below beam and rebolt. The rub is you have to support the beam safely because you are unbolting the leg when you pull the four bolts. Not so difficult. No refabbing.
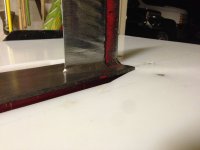
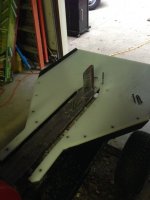
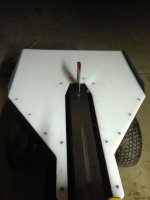
Now cut and fit 1/2" UHMWP-E to the top surface of the original table and you are back to flush with the top of the beam, so that as wood passes the wedge it does not catch on the material added to the top of the factory table, which it would do if you do not lower the table first.
The material is easily found online, and cut with a power jig saw. I used 2" blue masking tape and did my layout on that.
Fastening. I used phillips head self tapping deck screws, as in wood trailer decking that is screwed to metal cross members. Pre drilled UHMWP-E and countersunk, fastening on the leading edges of table and behind wedge. UHMWP-E grows in the sun, so the tail edge floats and is not fastened, which allows it to expand without humping up. All top surface edged should be eased, rounded over with a file, or router and 1/4" round over bit to avoid operator cuts/slices.
Thank you KiwiBro for the initial idea. Thanks for passing it on. Very simple mod.
The SS factory table is slick until the paint wears off. Then, if it gets rained on as mine sometimes does, or wet from splitting in the winter, the table rusts and surface pits slightly until the rust is worn off by splitting again. It was a repeating process, and a rusty table has a lot of drag. I split small, so most pieces are resplit, which means pulling each one back to the beam.
This is a huge, worth while mod for $100.-$150. bucks and several hours work. Hardest part is clean up after cutting the material because of static cling. Good outside project.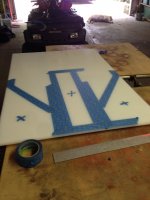


Last edited:


