High Quality Chainsaw Bars Husqvarna Toys Hockfire Saws

262 TANK REPAIR

JohnnyBlade

JUST GONNA SEND IT
GoldMember
Local time
3:31 PM
User ID
5961
Joined
Apr 21, 2018
Messages
3,045
Reaction score
10,639
Location
Momence,IL
Country flag
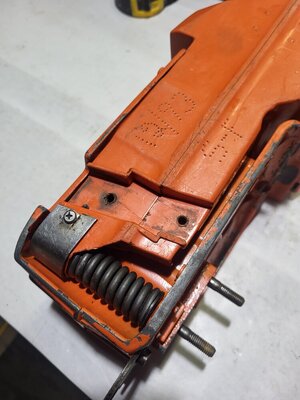
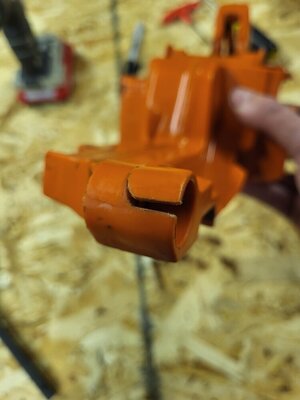
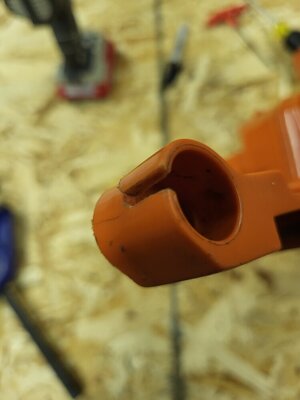
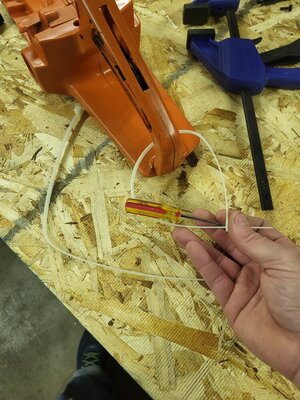
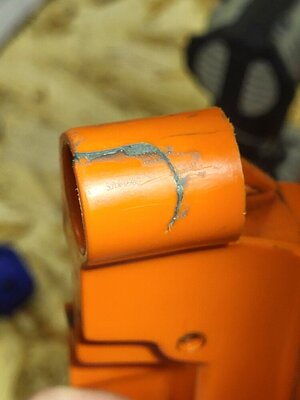
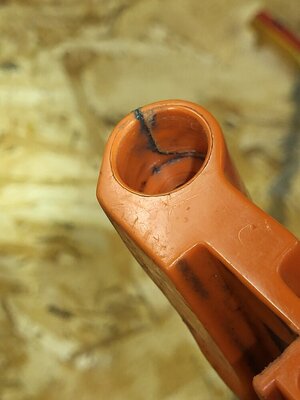
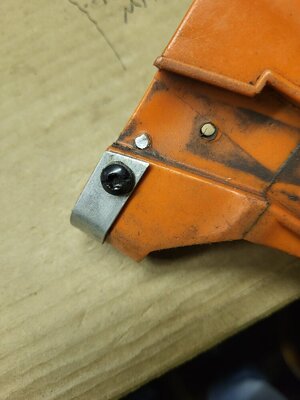
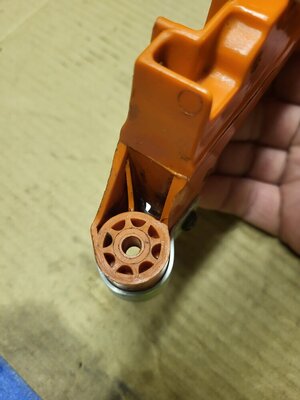
So as I'm going through old 261/2 parts that I've acquired over the years I came across a few busted tanks and a once repaired tank(not by me). The PO made a solid repair, even though not so pretty, but fully functional and got his saw back to cutting. It peaked my interest and I wanted to do one myself. These tanks have been NLA for quite some time now and it's silly to me to call it trash when it can be revived. Seems the front AV pocket is prone to cracking out, I'm guessing if the bar gets pinched and ya start to do some yanking, it is very possible. Spring on one side rubber on the other. Don't wanna call it a bad design but I think it is. U have a fastened side and a floating side. For giggles I took out my 262 and did a Lil tweeking on it, just the powerhead.... Ya, add a 20" bar and a bad attitude and I could see how this thread got started. Here's some pics of the repaired tank. Then I'll get into my repair. This is just kinda an informational piece, take it and use it as you wish. I didn't reinvent the wheel, I seen it done already and copied it. I do think this could help keep the Ole 261/2's alive alot longer, and who doesn't want that? 20231005_092535.jpg20231005_092943.jpg
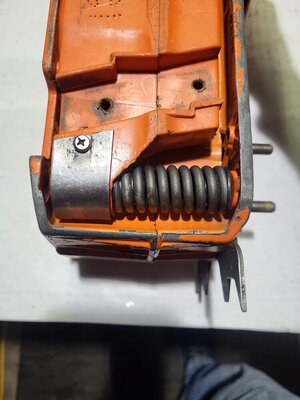
This repair was done with 1/8" steel and took alot more persuasion than what I did. Solid as a rock but maybe a Lil overkill. Even with the added thickness and screw on the top side(up against the case) there was just a small amount of powder rubbed off the case. More than enough room for this fix to be functional without being detrimental to other parts.
 

JohnnyBlade

JUST GONNA SEND IT
GoldMember
Local time
3:31 PM
User ID
5961
Joined
Apr 21, 2018
Messages
3,045
Reaction score
10,639
Location
Momence,IL
Country flag
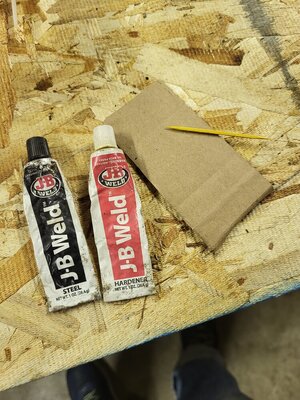
No good repair doesn't include JB weld:)
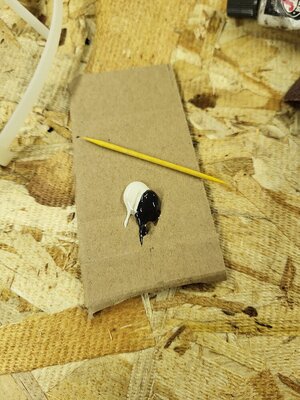
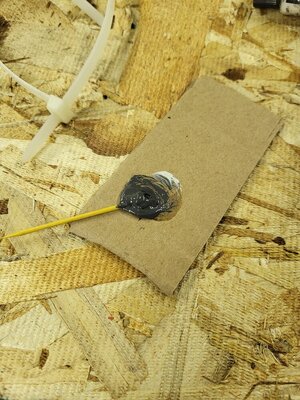
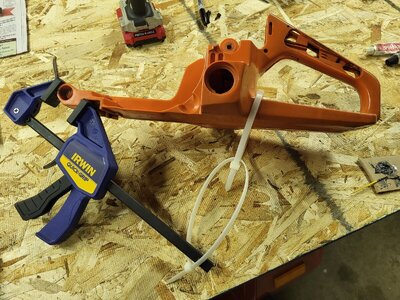
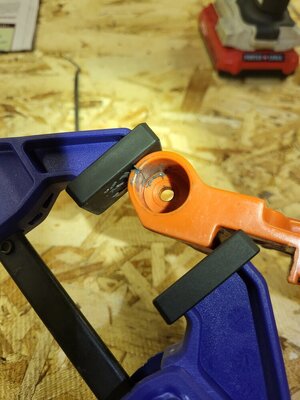
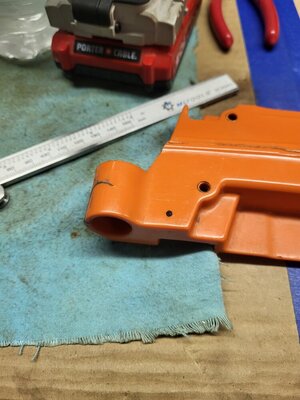
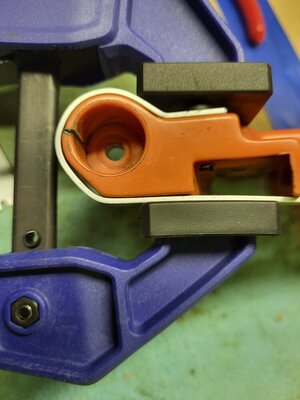
What I did first is cleaned it as good as could. Then I roughed all the mating surfaces with 80 grit. Took some engineering to get it flexed back to original shape mocking it up many times before epoxy was applied. 20231007_010933.jpg20231007_011233.jpg20231007_011310.jpg
 

JohnnyBlade

JUST GONNA SEND IT
GoldMember
Local time
3:31 PM
User ID
5961
Joined
Apr 21, 2018
Messages
3,045
Reaction score
10,639
Location
Momence,IL
Country flag
20231007_115548.jpg20231007_115559.jpgthe above iswith the clamps removed. 20231007_115329.jpgpopped the zip ties off for future use. Dont wanna waste good zip ties.20231007_120354.jpg20231007_120411.jpgscraped off the excess so it's smooth. A Lil 80 grit to nock down any sharp edges.
 

JohnnyBlade

JUST GONNA SEND IT
GoldMember
Local time
3:31 PM
User ID
5961
Joined
Apr 21, 2018
Messages
3,045
Reaction score
10,639
Location
Momence,IL
Country flag
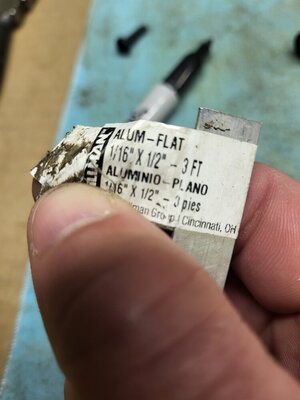
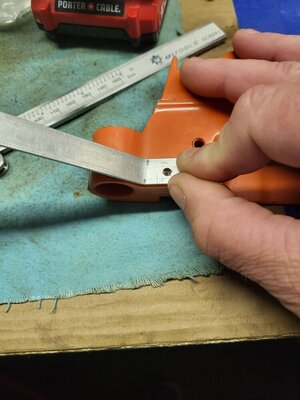
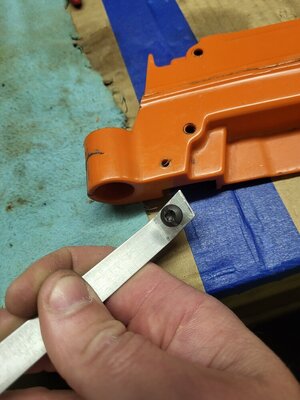
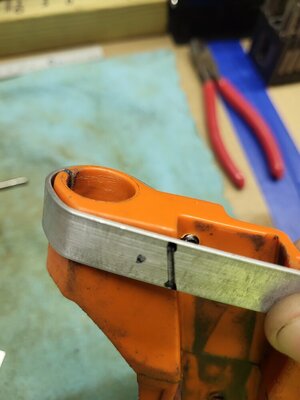
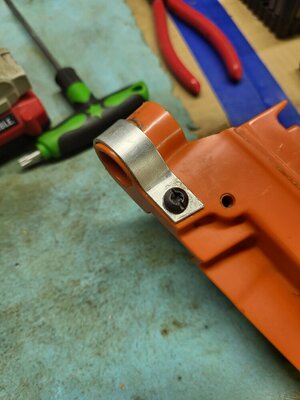
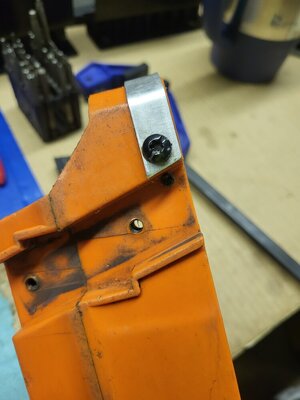
20231007_185328.jpgi choose this cuz i had it and it is pretty easy to work with.and it wont rust;) turns out the AV pocket is right at 5/8" of an inch so its almost 100% coverage.20231007_182714.jpgfound my angles, bent the first bend with a set of needle nose. 20231007_182849.jpg20231007_183325.jpgdrilled my hole in the Al the size of my screw hole. Used that to mark my hole on the tank.20231007_183332.jpg
 

JohnnyBlade

JUST GONNA SEND IT
GoldMember
Local time
3:31 PM
User ID
5961
Joined
Apr 21, 2018
Messages
3,045
Reaction score
10,639
Location
Momence,IL
Country flag
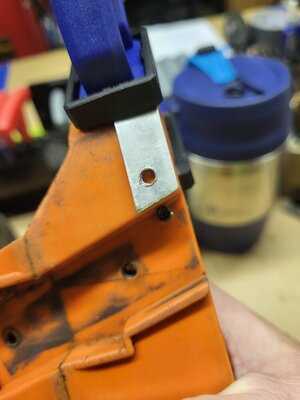
20231007_184654.jpgnext i enlarged the hole in the AL to accept the screw. They r some coarse threads that wer pulled out of a poulan clammy. So ya they r OEM....also drilled hole in tank20231007_185027.jpgthis part is fairly easy to wrap the AL around the AV pocket but does offer some resistance and is springy.20231007_185240.jpgsince i still had 3 foot of flat stock hanging off imade my mark and got her to manageable size. Also marked hole.20231007_185505.jpgmy two sizes. Smaller is plastic hole larger is metal hole. Size depends on screw, ya gotta figure that part out based on ur screws you use.
 

JohnnyBlade

JUST GONNA SEND IT
GoldMember
Local time
3:31 PM
User ID
5961
Joined
Apr 21, 2018
Messages
3,045
Reaction score
10,639
Location
Momence,IL
Country flag
20231007_190005.jpg So that second bend at the bottom i pulled the AL back off to get a tighter bend on it with the needle nose.20231007_190013.jpgreclamped and marked my hole in plastic. Remember small hole in AL first, mark hole then drill the larger hole in the AL. Its just more accurate. 20231007_191213.jpg20231007_191232.jpg20231007_191240.jpgalmost done. Along the way remember to file any rough edges, or trim plastic that could cause problems for fitment. But we r pretty close to finished product.
 

JohnnyBlade

JUST GONNA SEND IT
GoldMember
Local time
3:31 PM
User ID
5961
Joined
Apr 21, 2018
Messages
3,045
Reaction score
10,639
Location
Momence,IL
Country flag
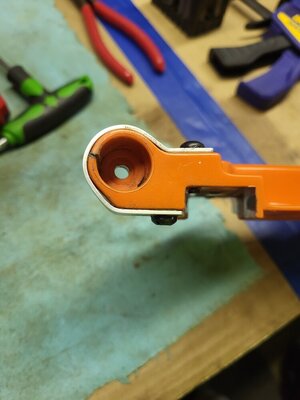
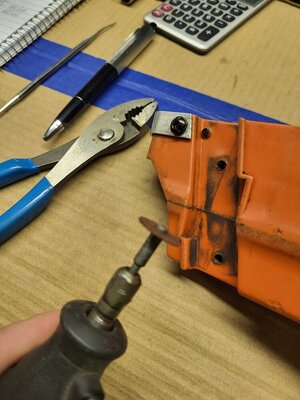
20231007_191247.jpgso here u can see the screw i used is a lil proud. I wanted it like that so i could grab top and bottom of plastic tank for strength. Thats how the other fella did it too. 20231007_191355.jpgout comes Mr. Drexel and his trusty sidekick, the cutoff wheel. 20231007_191542.jpgnow shes damn near flush and not causeng wrap issues.20231007_192751.jpgBTW I used Gorrlia glue as a thread locker since this is a permanent fix and we don't want it coming apart. The bottom screw catches the bottom plastic and the angled gusset. Since I had the glue out I filled the hole enough to cover the screw and a Lil more. That's y it's shiny.


Fairly easy repair that anyone can do to get there 261/2 back in action. Hope this helps some fellas today, tomorrow, or 3 years from now. Also makes me feel good knowing that someone will get use out of this tank again someday. I was born in a "repair it" Era, but we have grown to be a "replace it " Era and I can't stomach seeing something like this going to the landfill. OK all done :risas3:
 

Agrarian

Super OPE Member
Local time
4:31 PM
User ID
819
Joined
Feb 7, 2016
Messages
186
Reaction score
321
Location
New Hampshire
Country flag
Nice job! The cracks I've seen on these are started from the swelling pressure of the rubber buffer when it is in contact with the oil dripping down from the fill hole. I haven't seen one as bad as yours and agree that on yours some ham fisting must have been involved after the initial crack was made by the buffer.
 
Top