High Quality Chainsaw Bars Husqvarna Toys

The Holy Grail - Solo Twin

blsnelling

Friend of the Riff Raff
Local time
11:41 PM
User ID
447
Joined
Jan 8, 2016
Messages
1,114
Reaction score
6,230
Location
Franklin, OH
Country flag
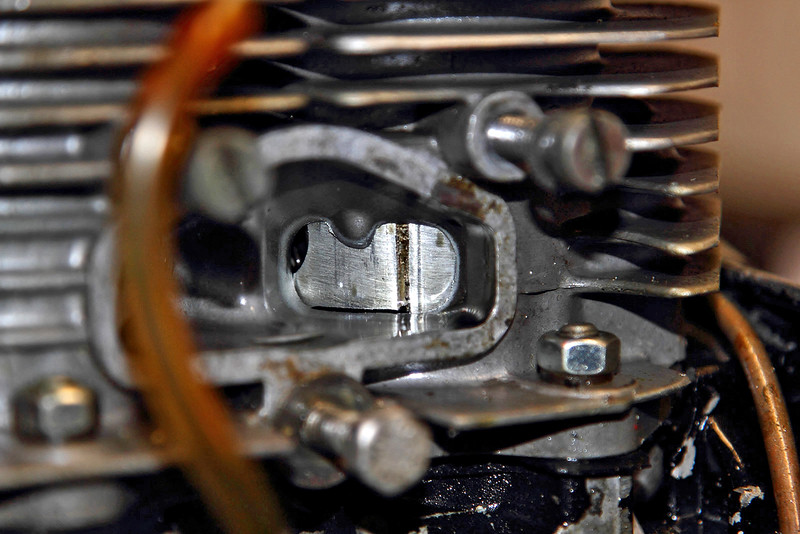
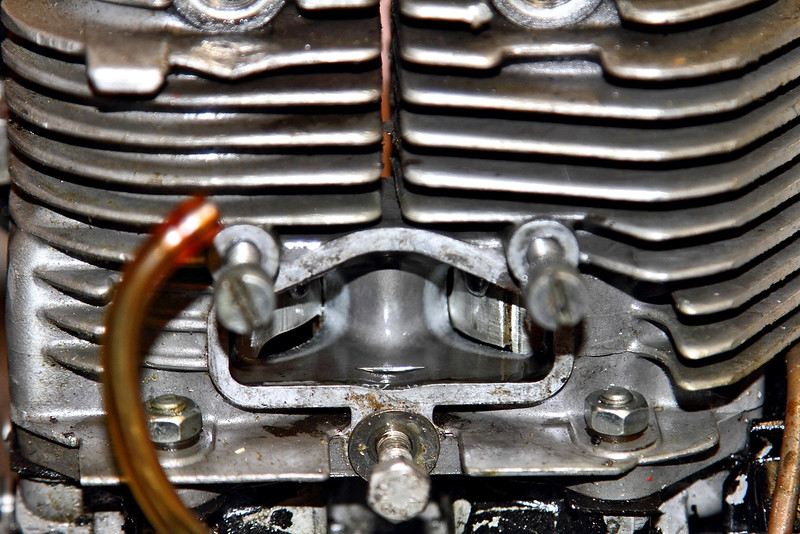
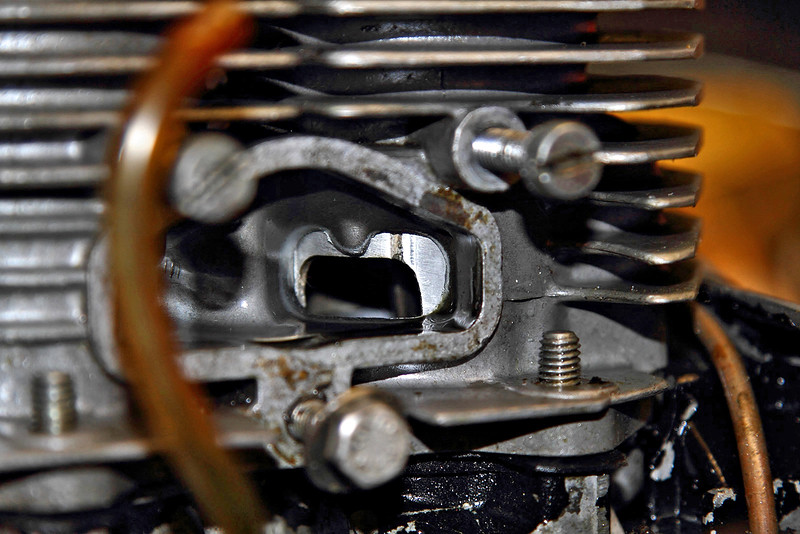
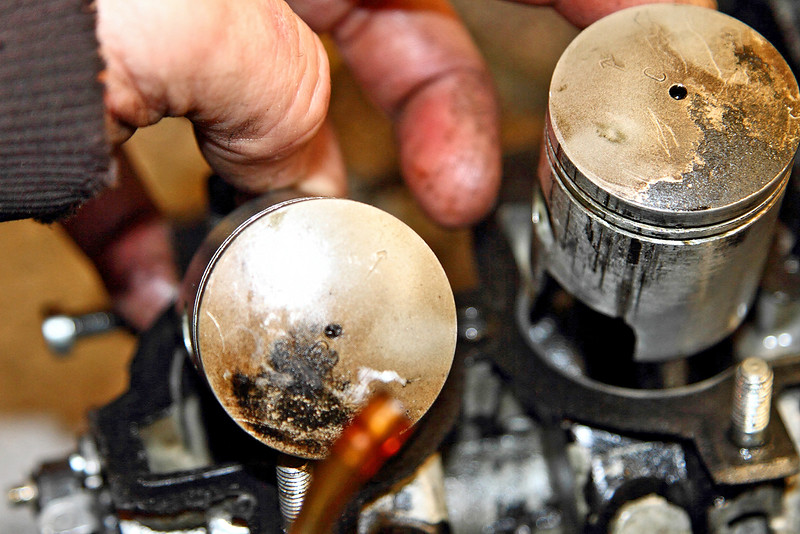
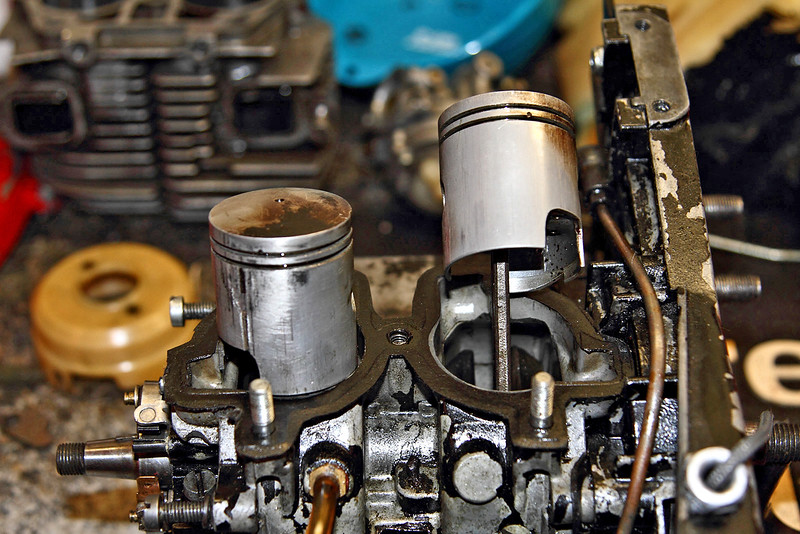
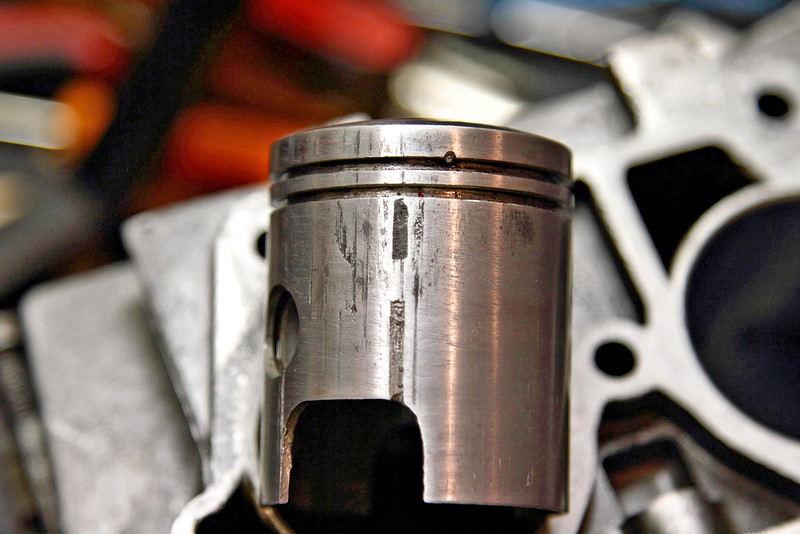
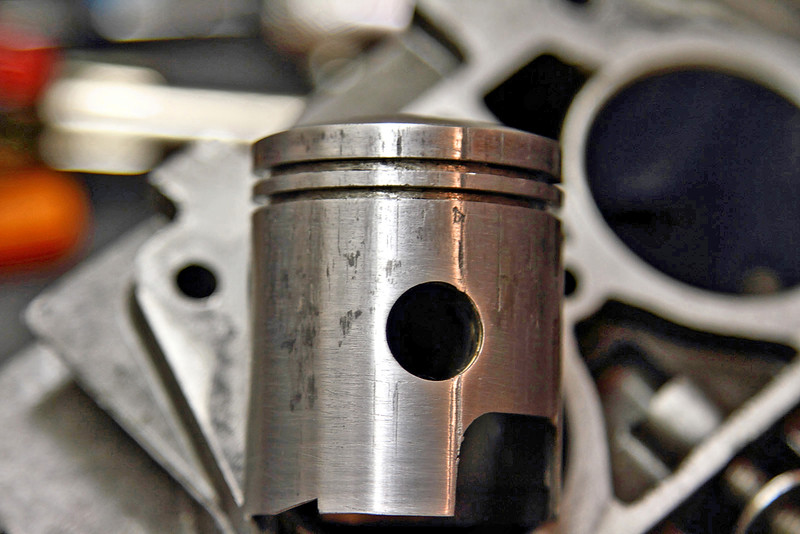
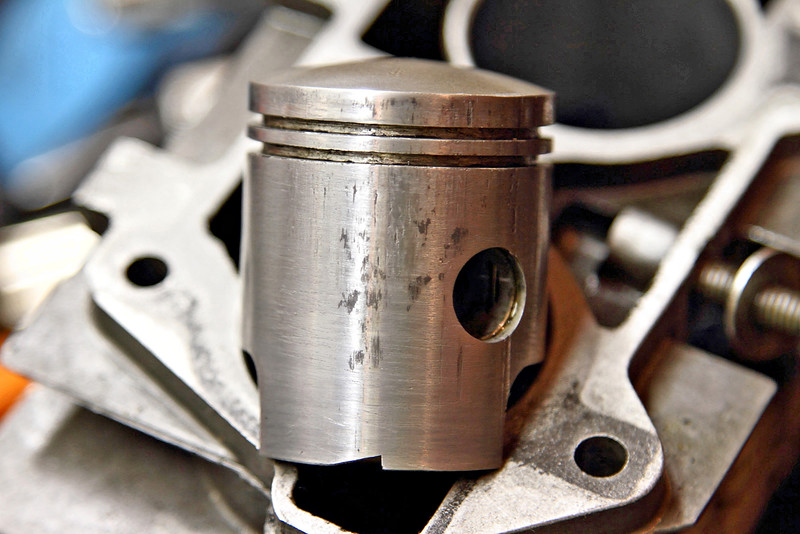
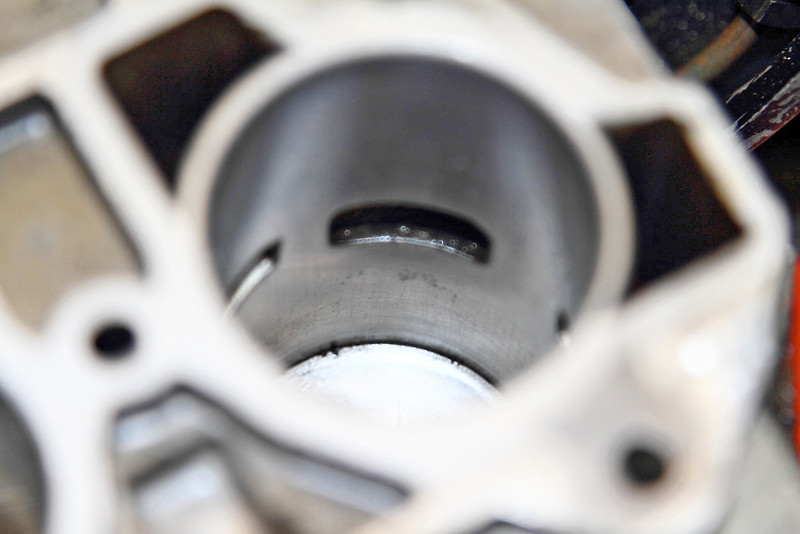
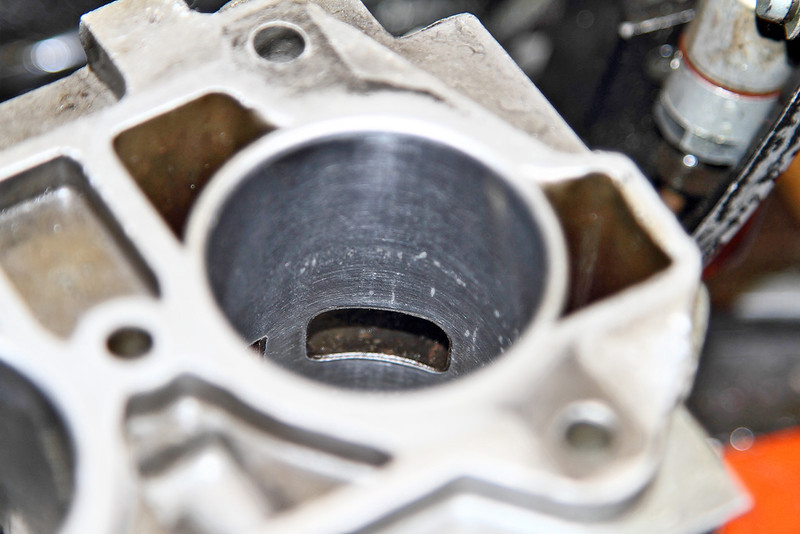
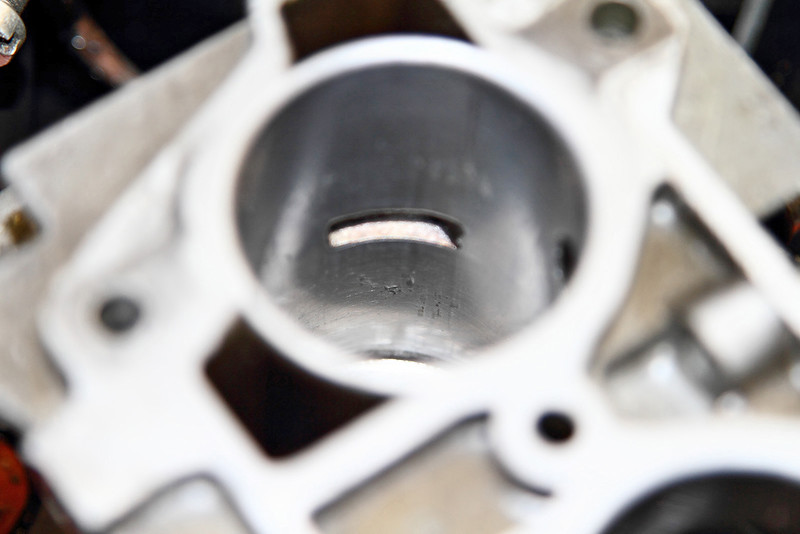
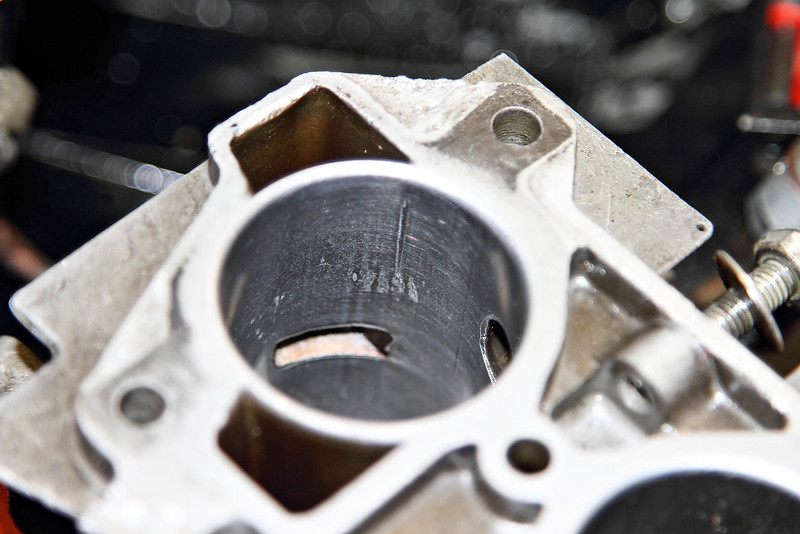
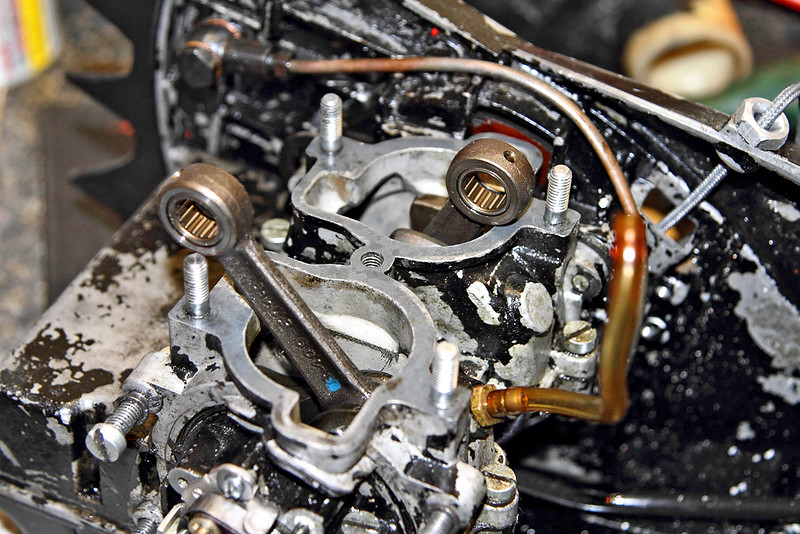
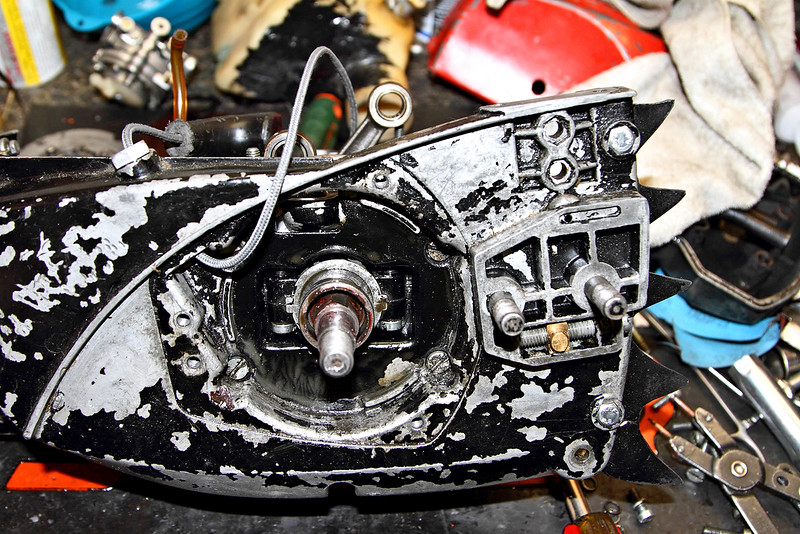
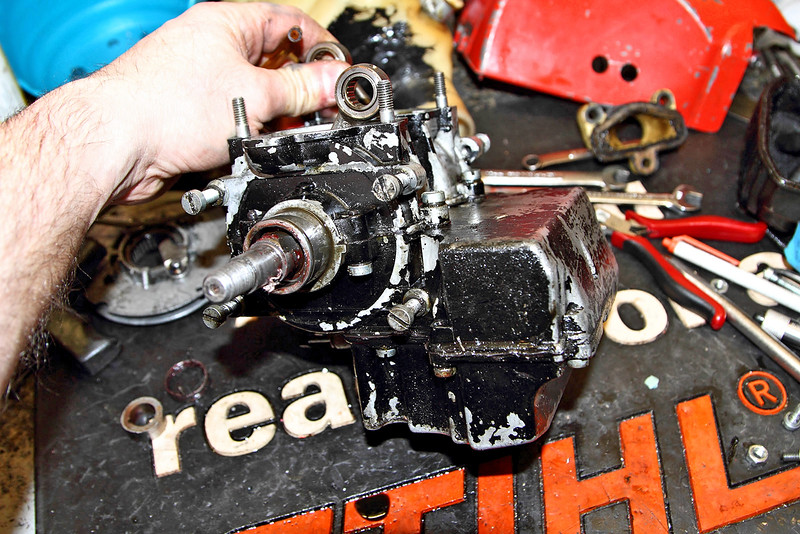
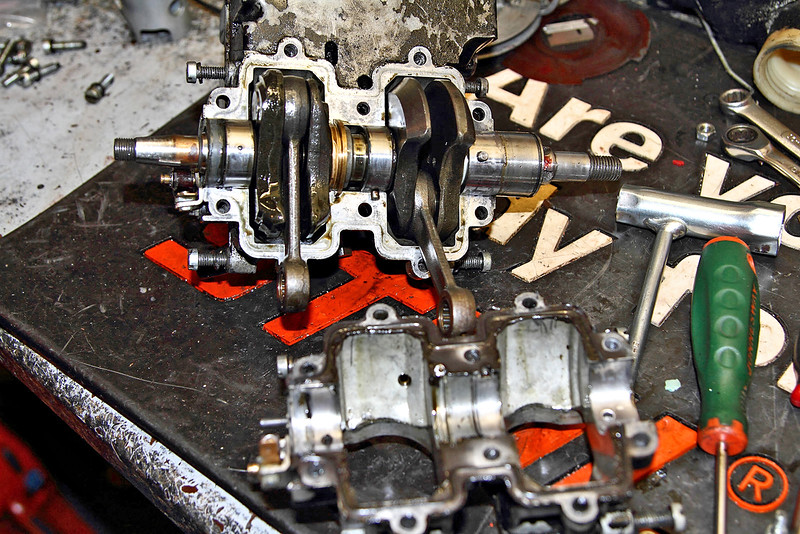
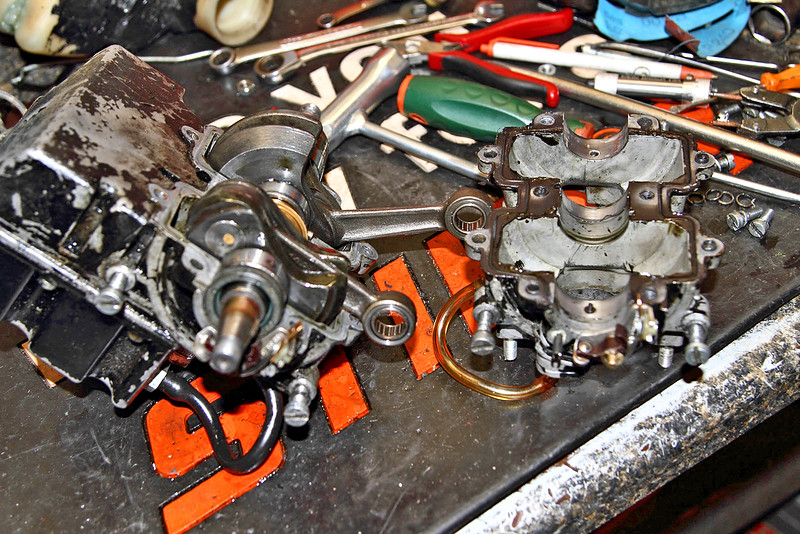
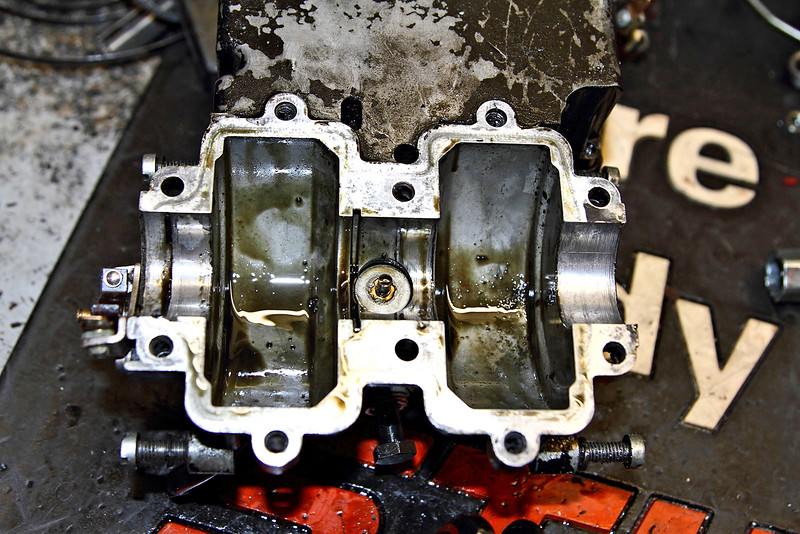
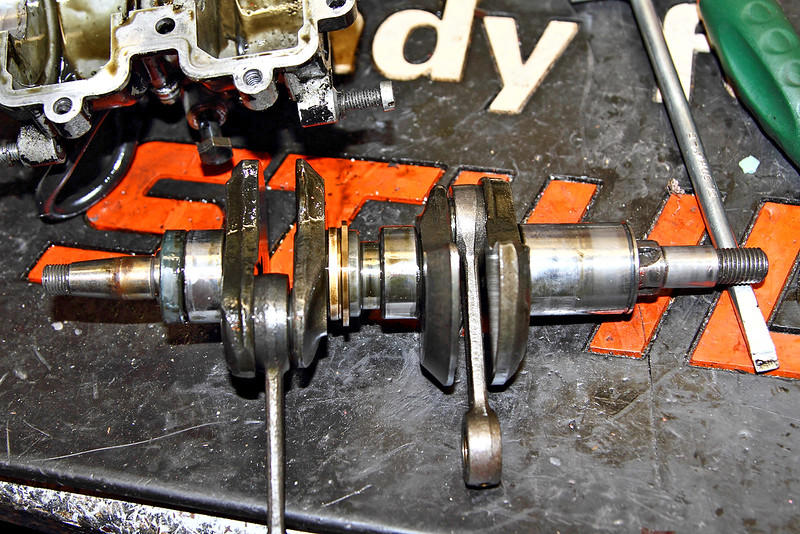
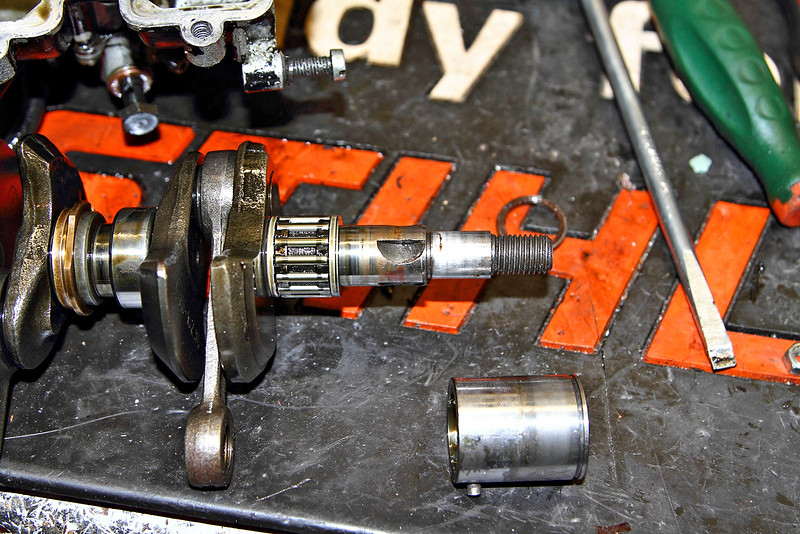
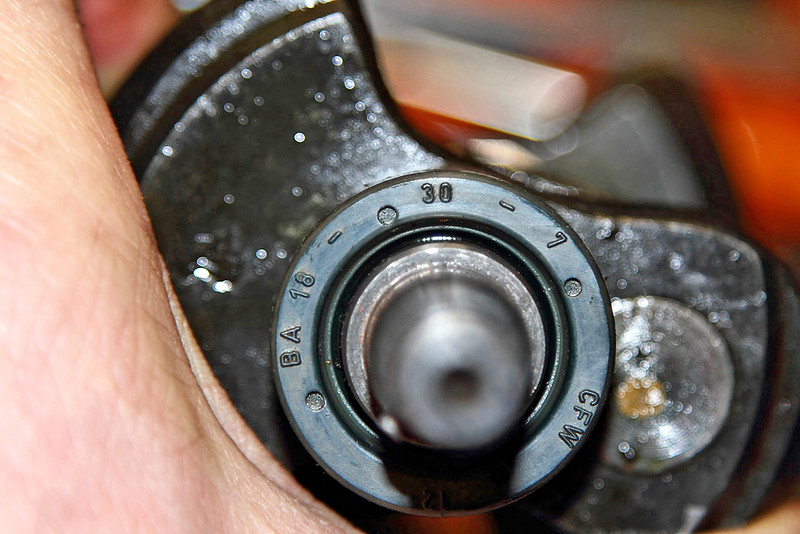
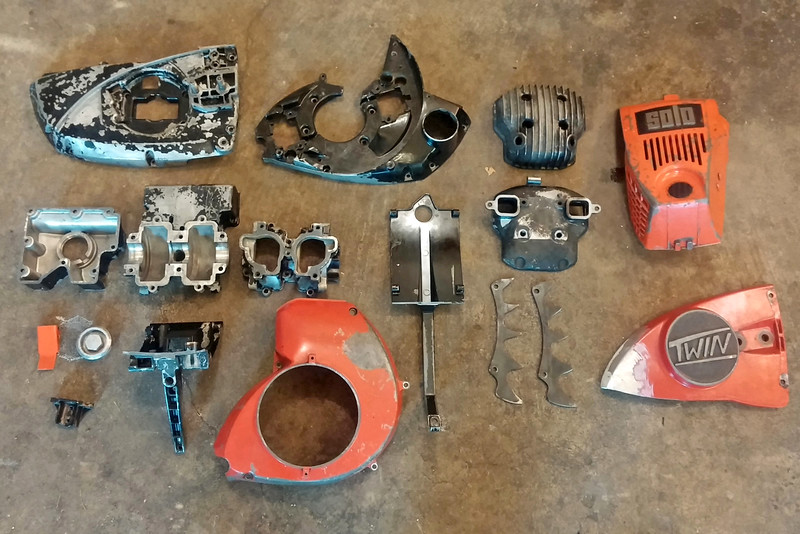
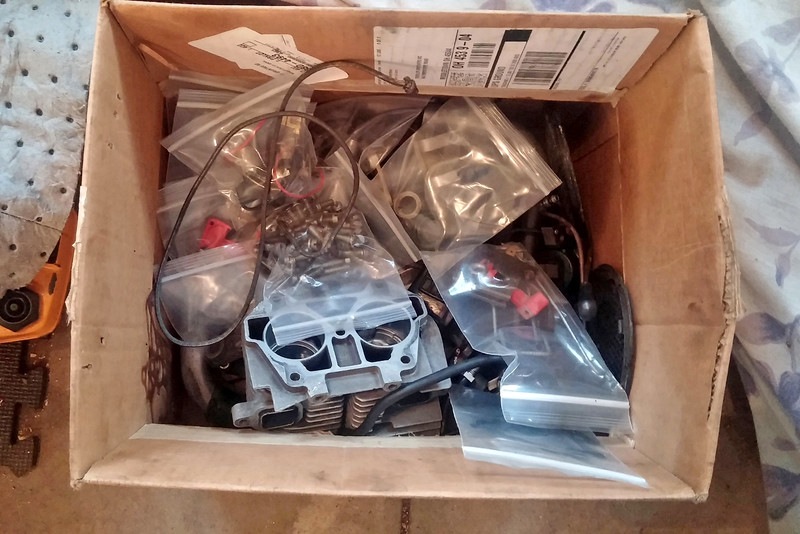
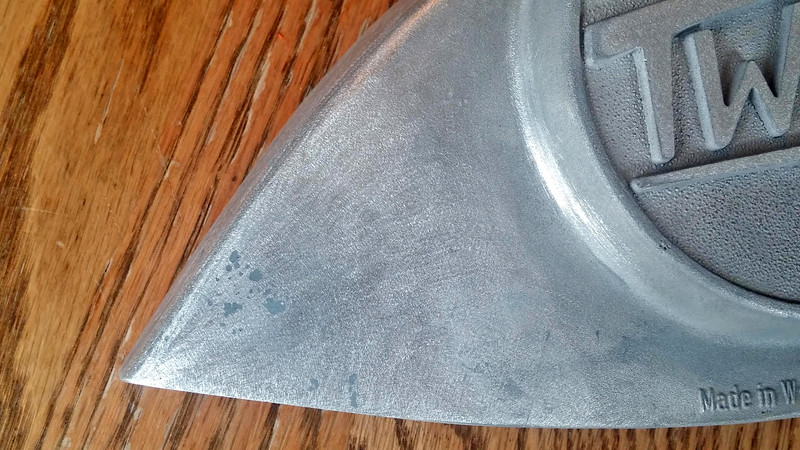
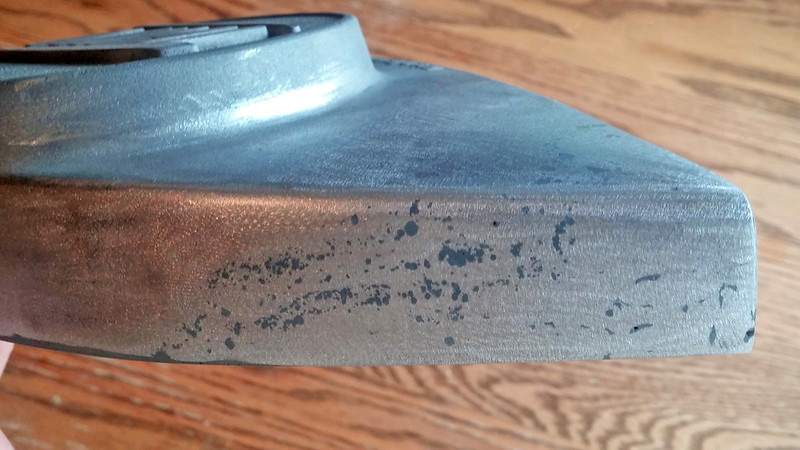
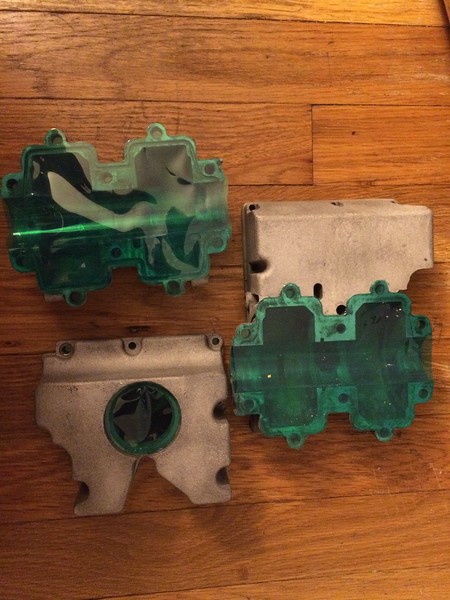
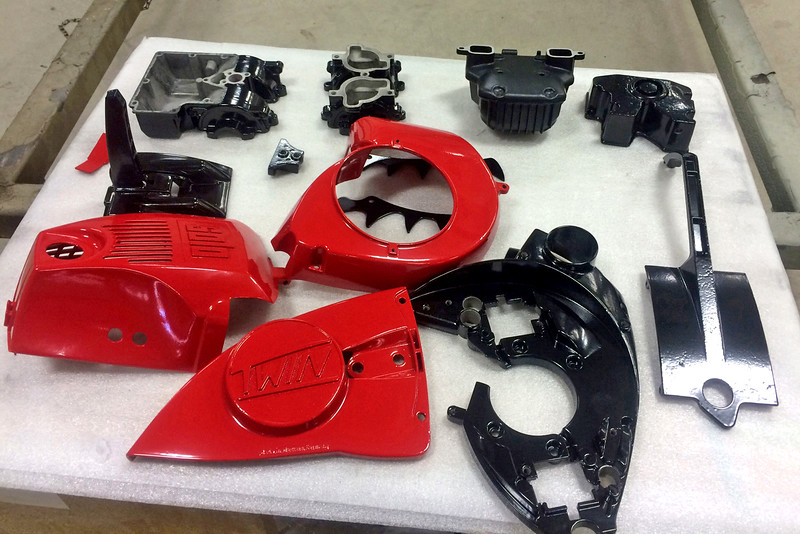
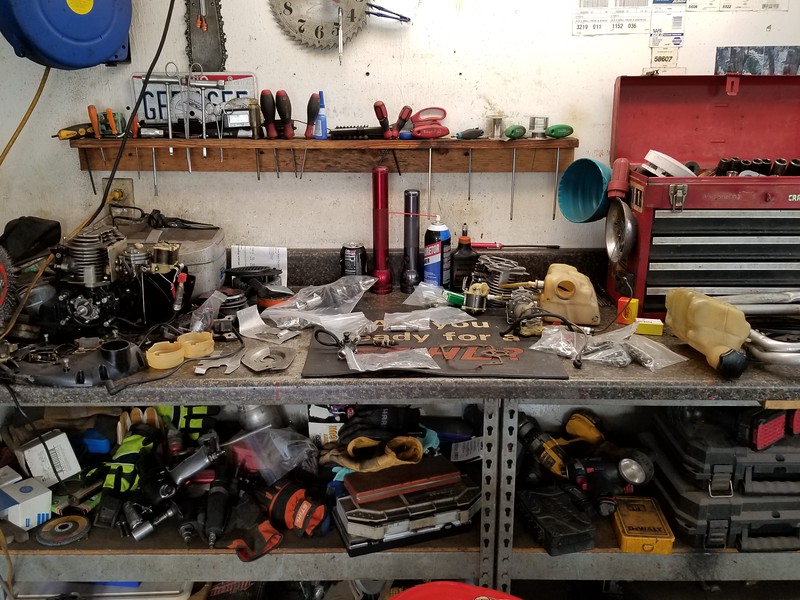
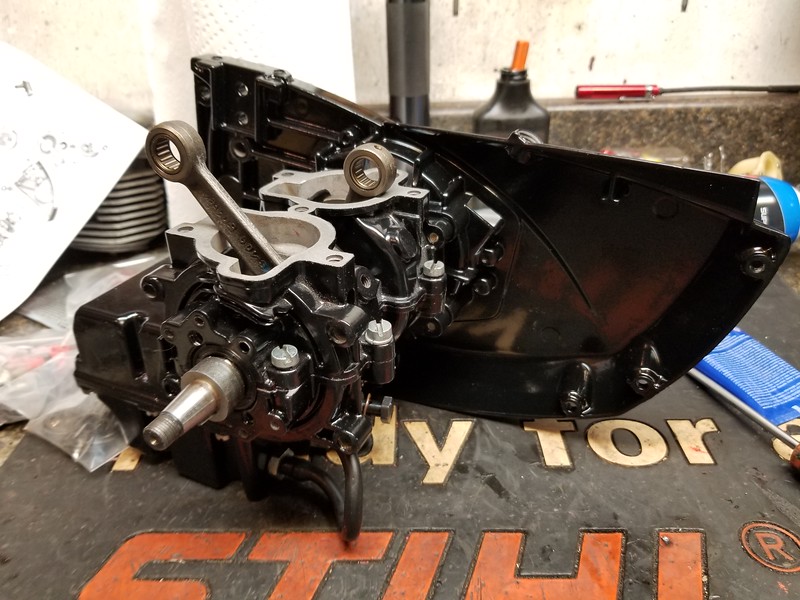
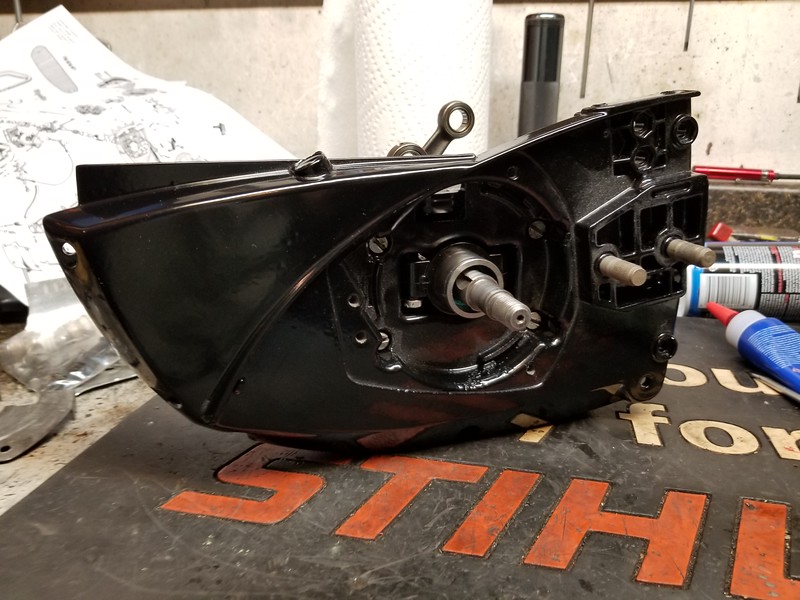
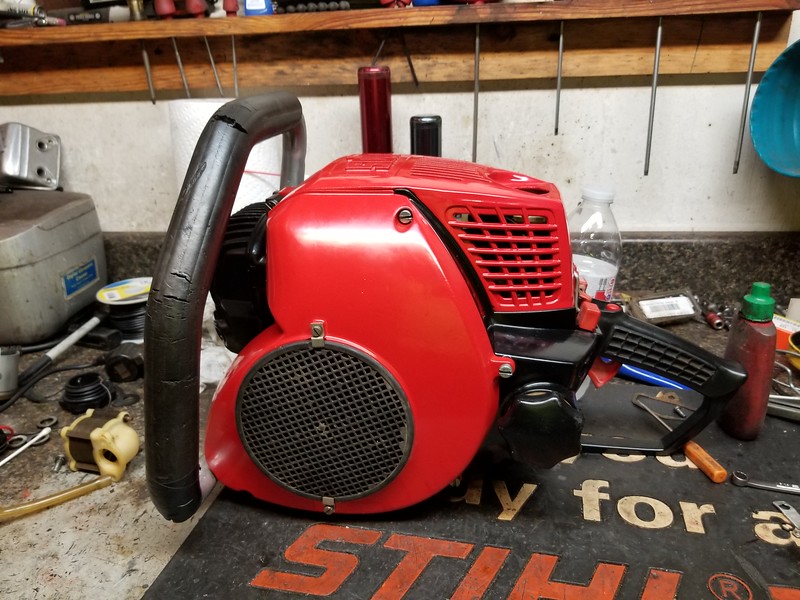
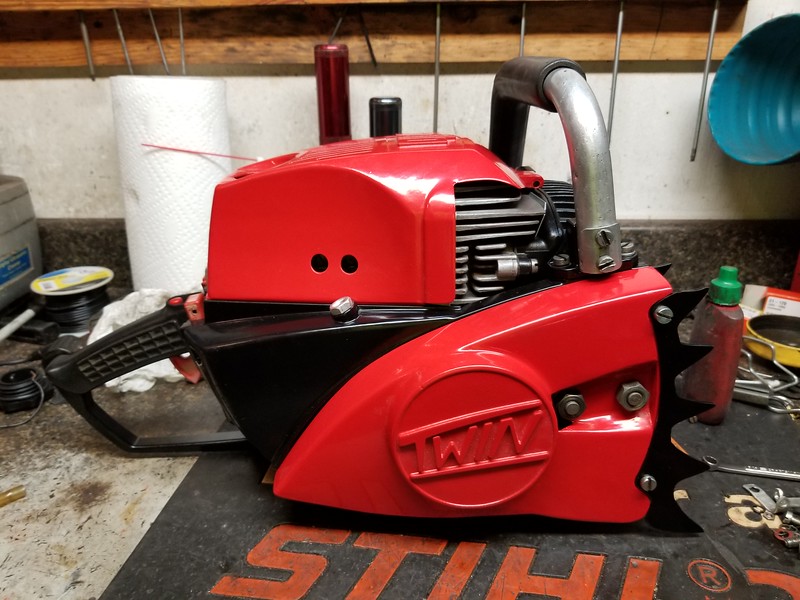
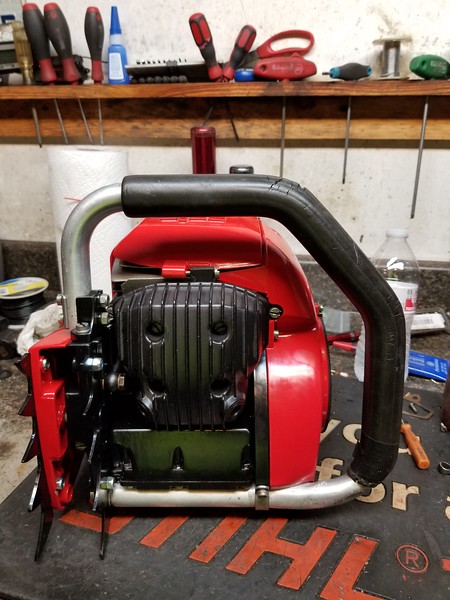
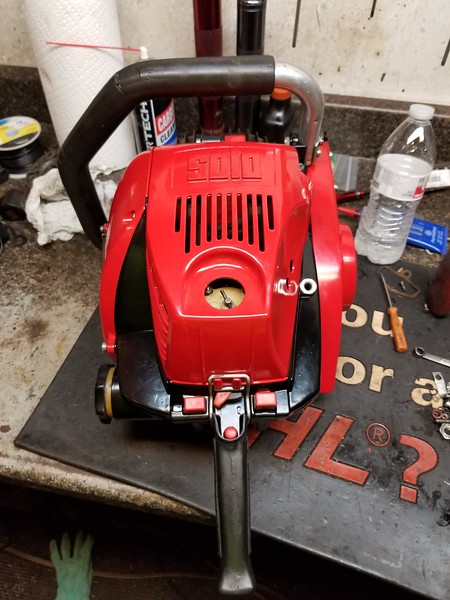
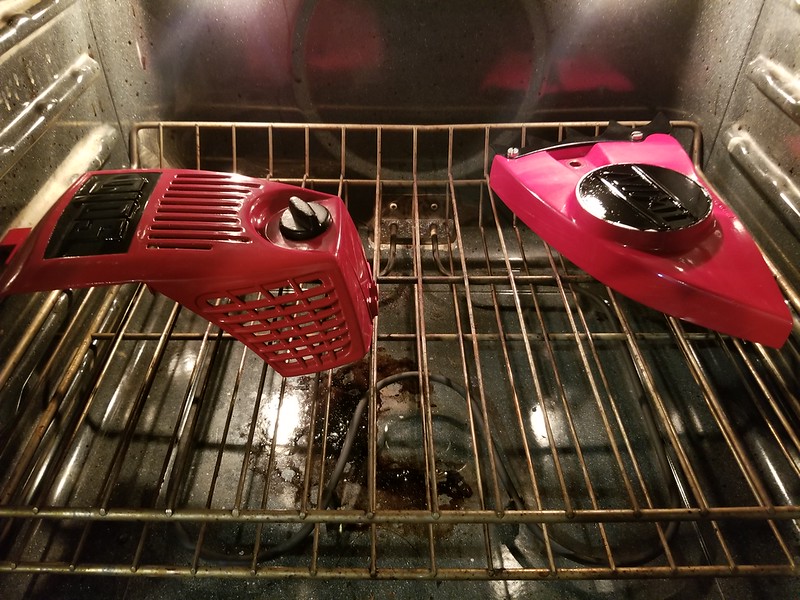
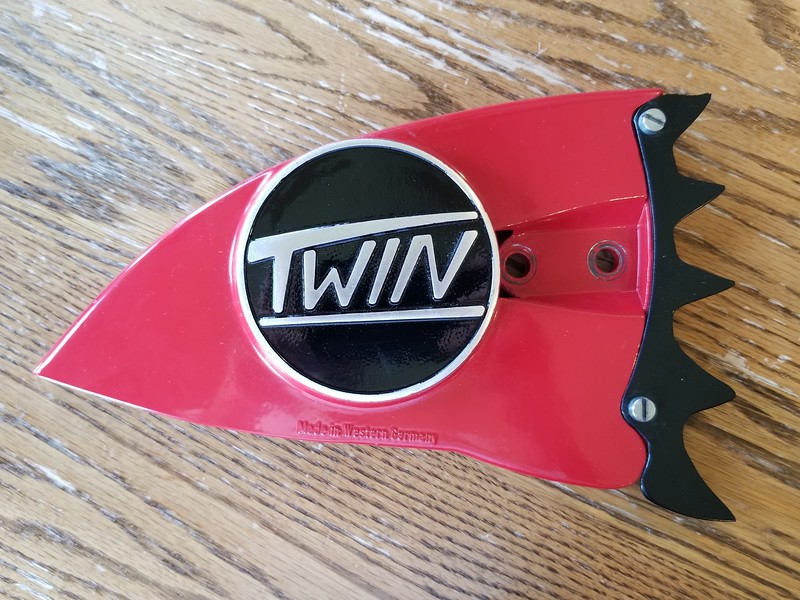
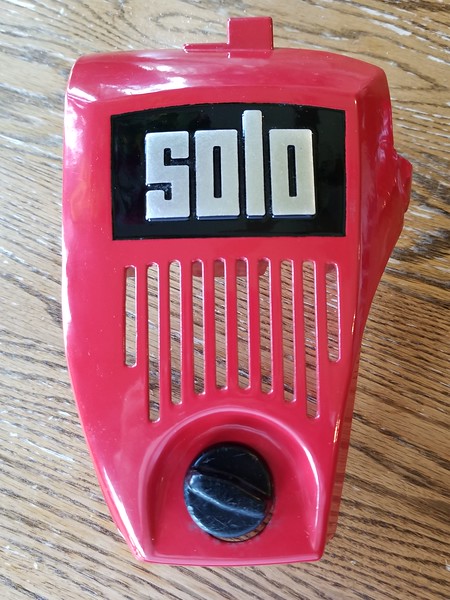
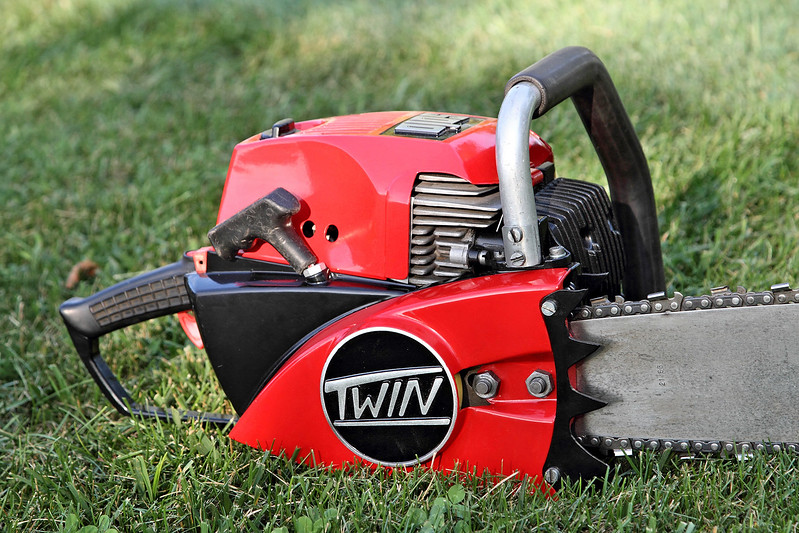
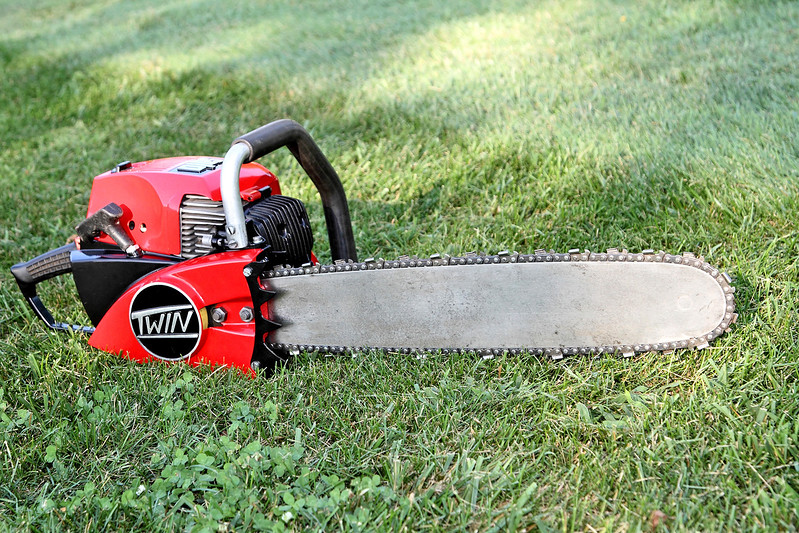
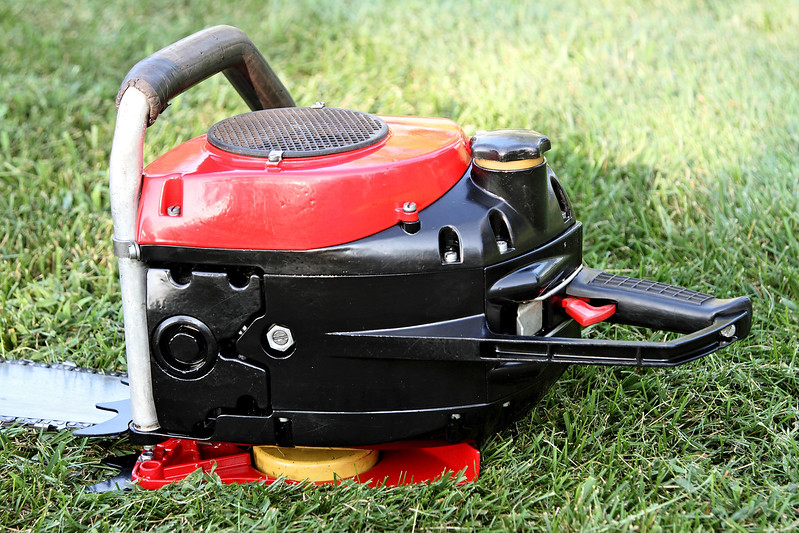
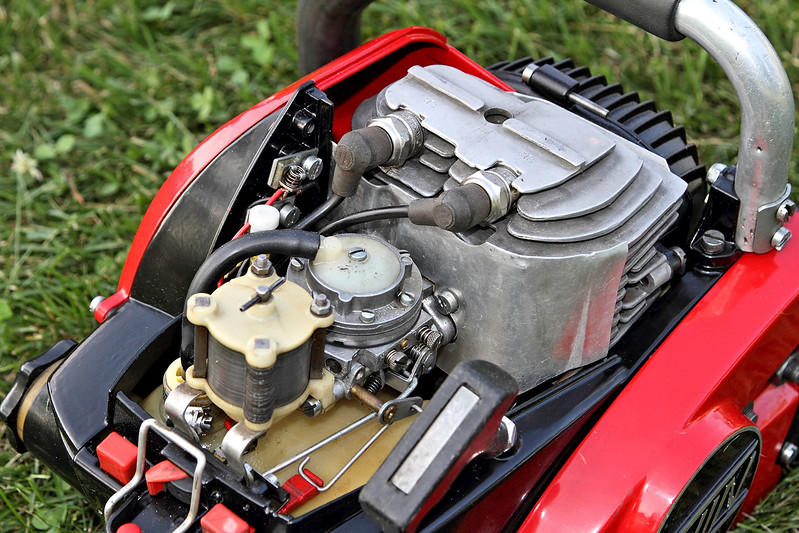
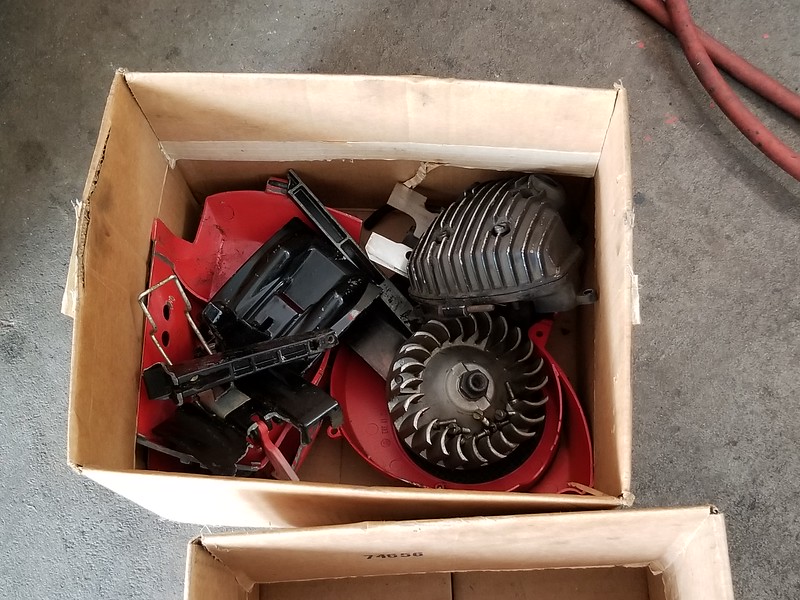
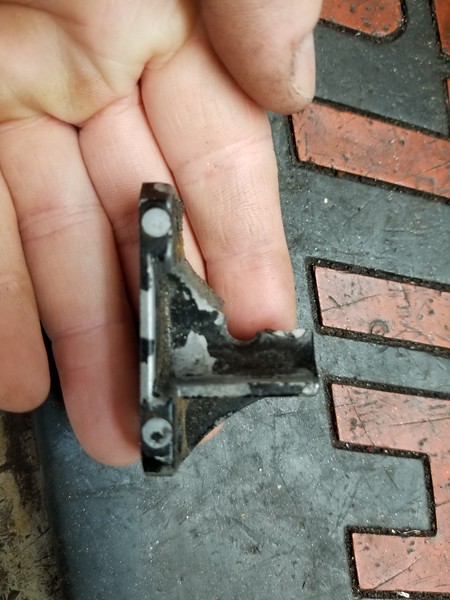
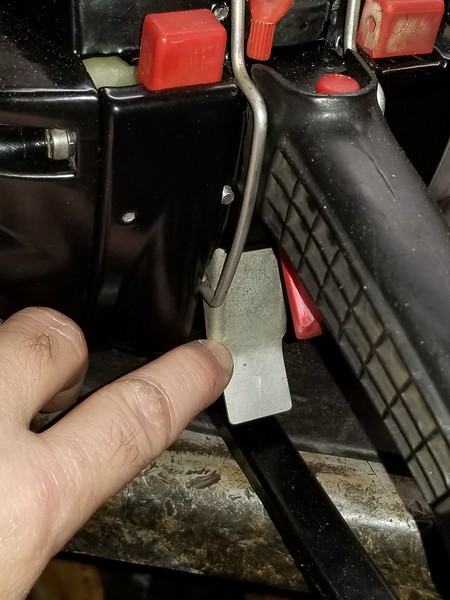
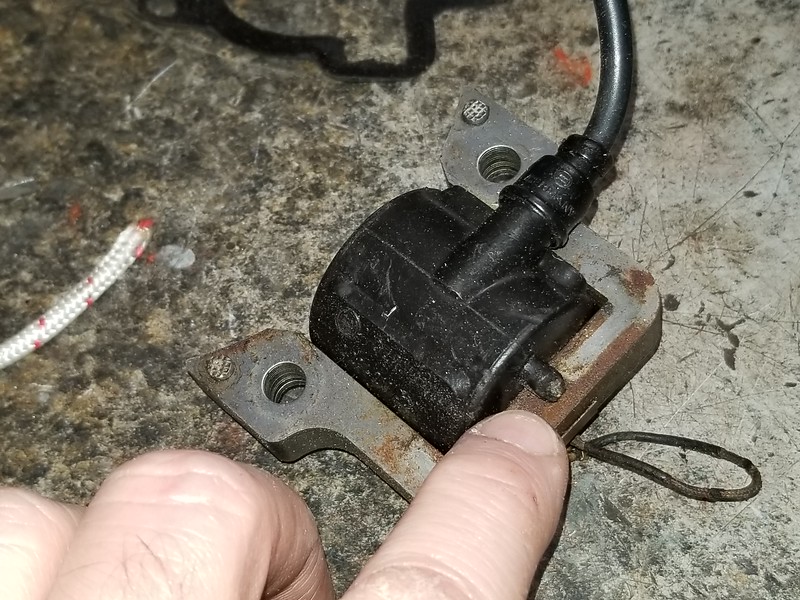
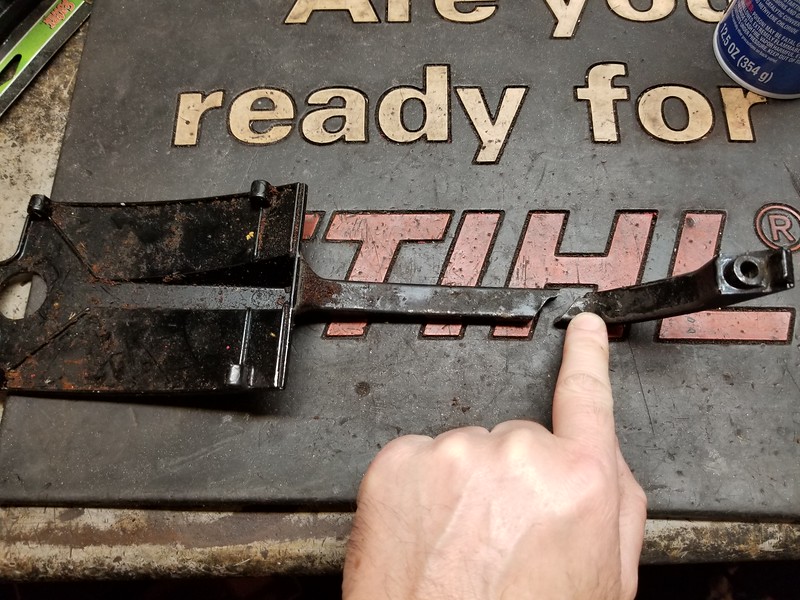
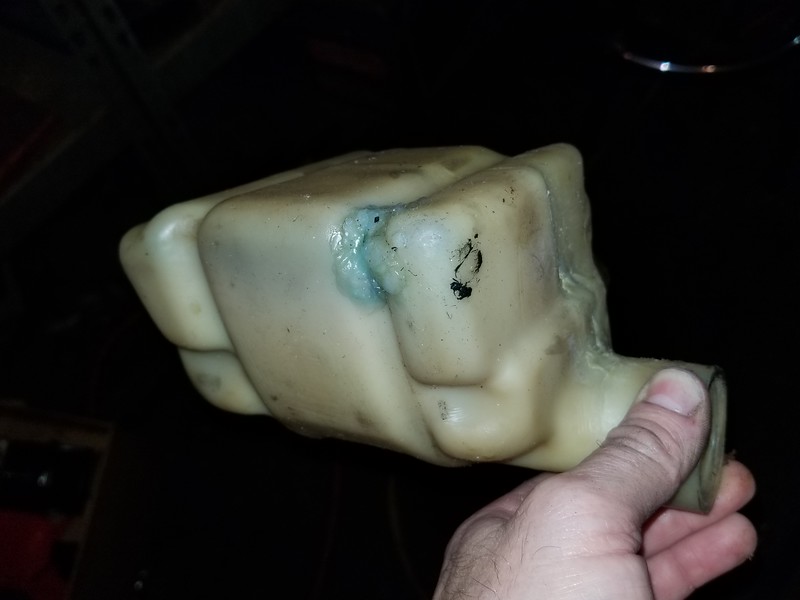
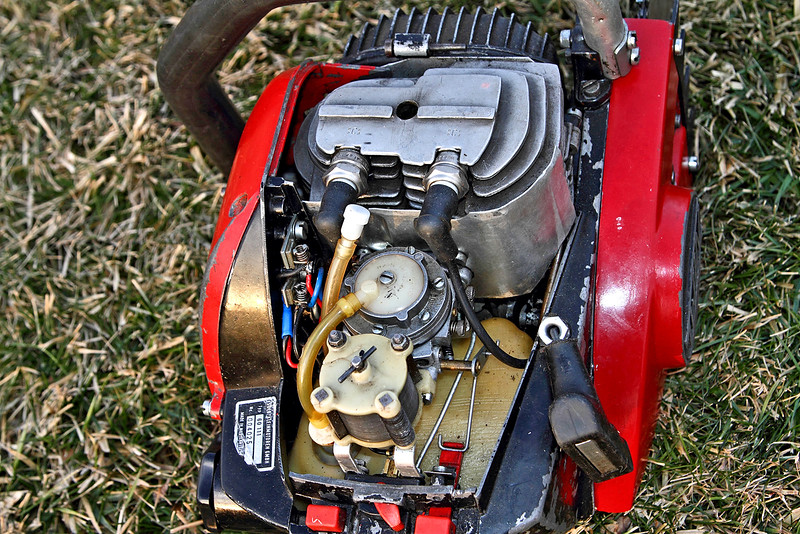
For me, there is not another saw that comes close to the Solo Twin as far as desirability. It is my Holy Grail. I finally acquired one about 2 1/2 years ago. I proceeded to tear it down, clean it up, and had all everything powder coated. THEN IT SAT....and sat...and sat!!! That was until this week. While laying in bed last week, recovering from surgery, I committed to digging out the parts and getting this thing together while I'm off. I intended to take several days and just do a little each day. But, in typical Brad fashion, I couldn't quit. Twelve hours later, at nearly 7:00 AM, it was done. The way this thing is put together is unlike any other saw I've seen. It wasn't just a matter of putting it together...I had to figure out how it went together. Fortunately, my great friend Rob Yeager was stopping by later that day to check up on me, since I couldn't start it. He was on his way home for viewing the eclipse in TN, headed back to PA. Below, you'll see a video of it running. I've not yet had it in wood, although it's ready.

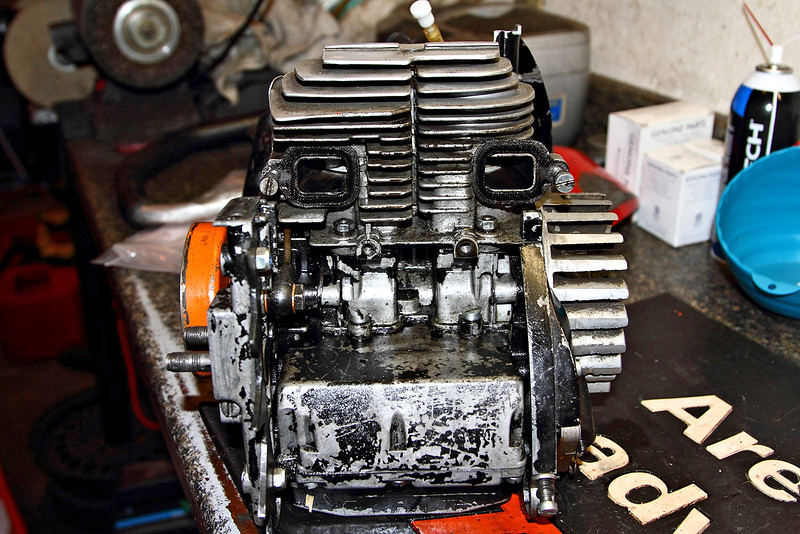
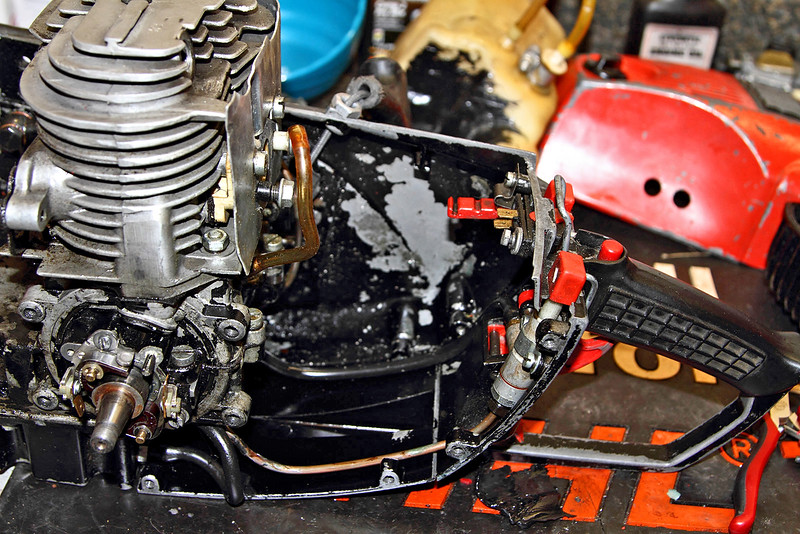
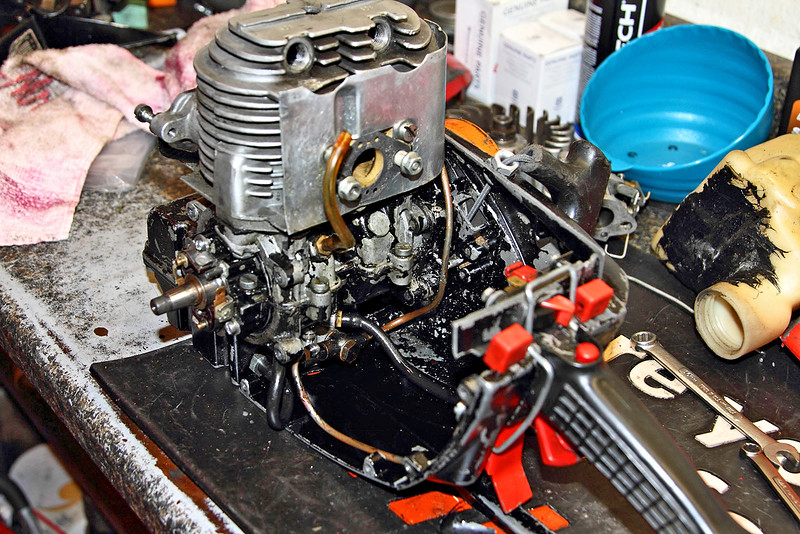
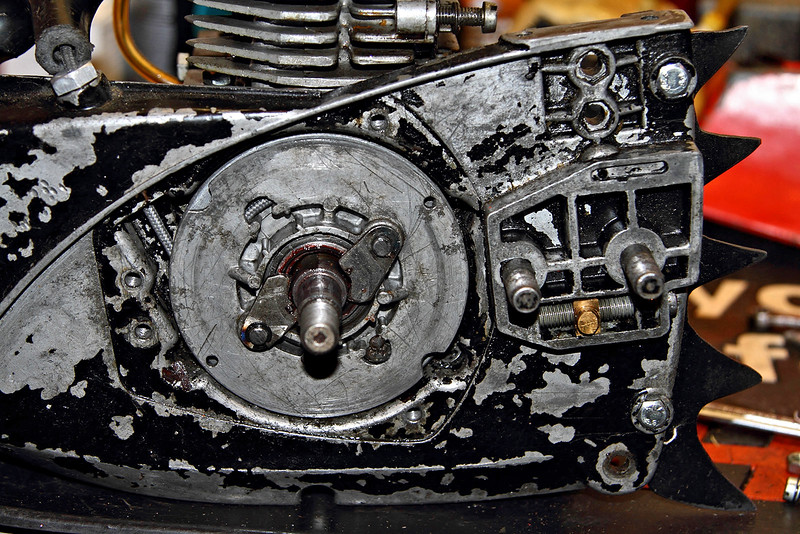
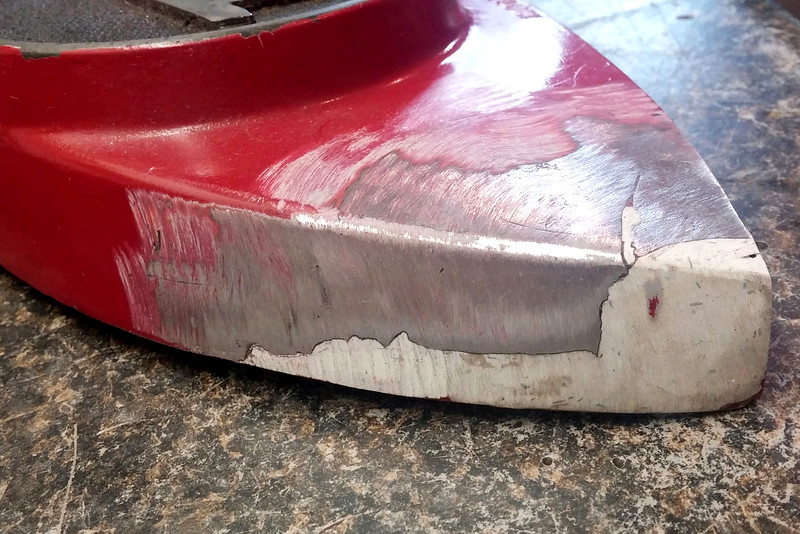
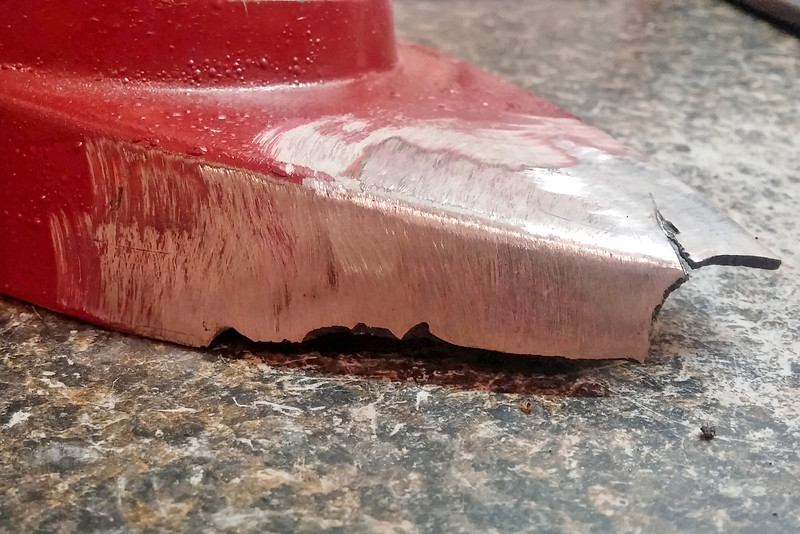
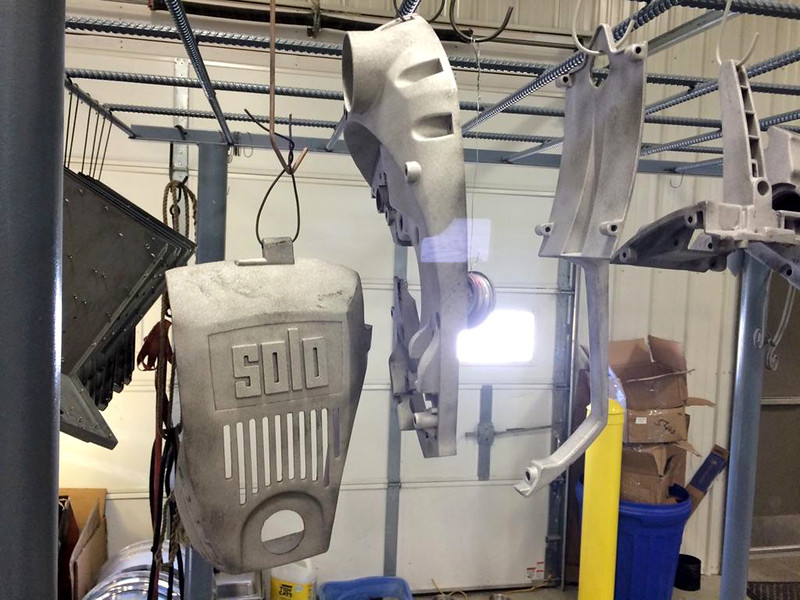
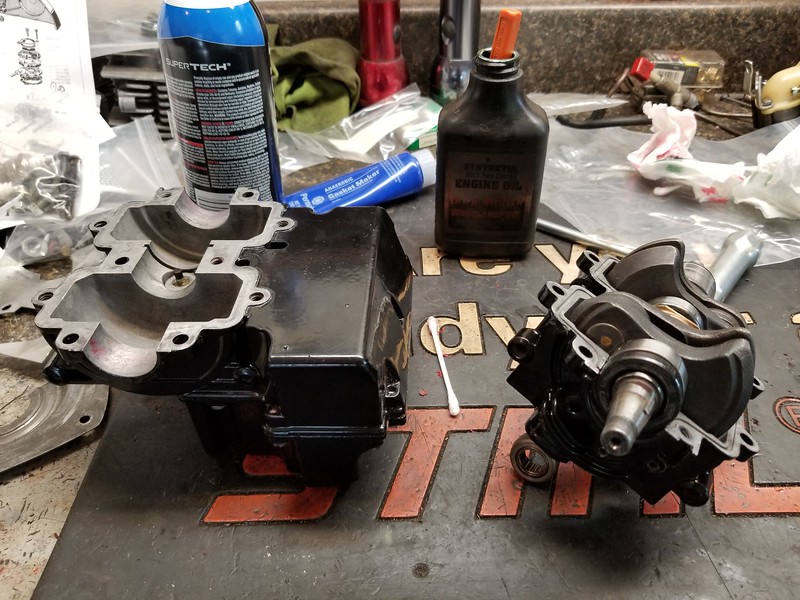
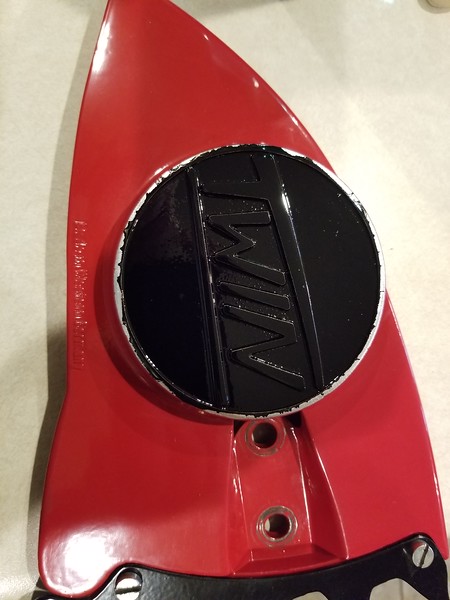
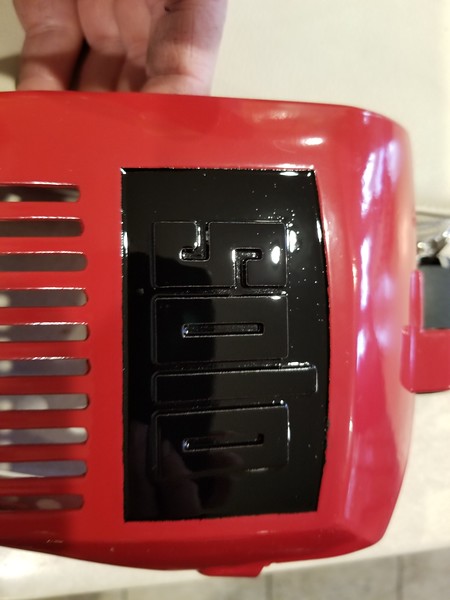
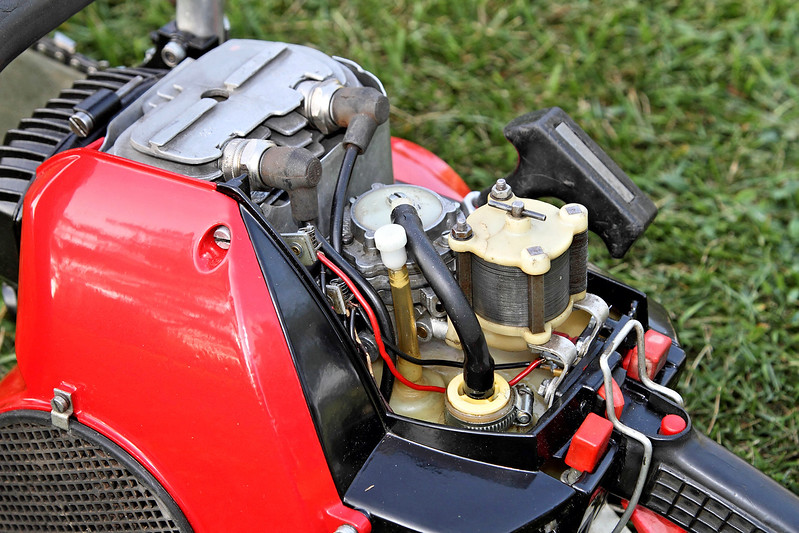
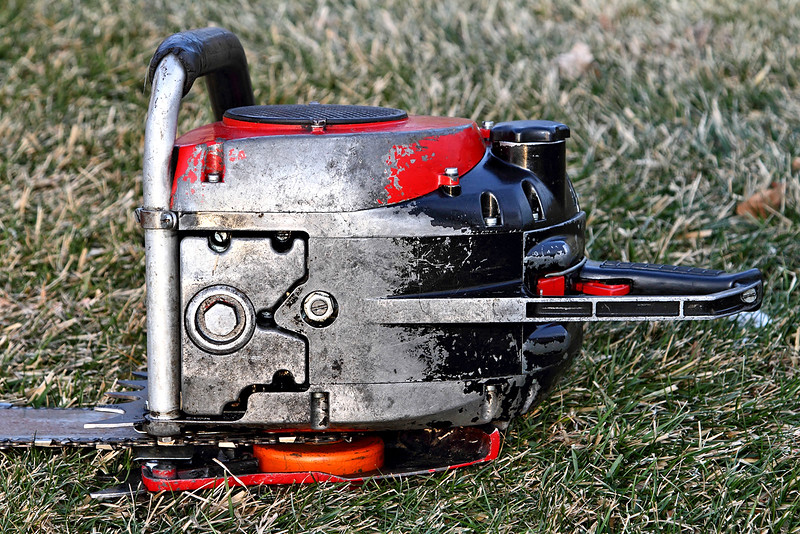
Here it is when I first received it.
IMG_4632-L.jpg


IMG_4634-L.jpg


IMG_4635-L.jpg


IMG_4637-L.jpg


IMG_4636-L.jpg


IMG_4639-L.jpg
 

blsnelling

Friend of the Riff Raff
Local time
11:41 PM
User ID
447
Joined
Jan 8, 2016
Messages
1,114
Reaction score
6,230
Location
Franklin, OH
Country flag
Tear down begins.

IMG_4669-L.jpg


IMG_4676-L.jpg


IMG_4682-L.jpg


IMG_4683-L.jpg


IMG_4689-L.jpg


Uh oh. What's going on here?
IMG_4687-L.jpg


IMG_4688-L.jpg


It turns out that the pistons where put in with the left and right pistons swapped the last time it was apart. Check out how the intake skirt doesn't even cover the port. No wonder it was running "rich"!
IMG_4690-L.jpg


The exhaust ports are to the outside corners, not the inside corners as the arrows are pointing.
IMG_4694-L.jpg


Here's how they should be, which also put the scoring at the exhaust ports, where it would have been.
IMG_4699-L.jpg


Fortunately, the pistons cleaned up and are totally useable. All highs are gone and the rings were good. I wonder if they were replaced when it originally scored. Not pretty, but 100% functional in a case were new pistons are not readily available.
IMG_4721-L.jpg


IMG_4723-L.jpg


IMG_4724-L.jpg


The cylinder look pretty good. I have a hunch that some of these defects were from new. Either way, they're definitely serviceable.
IMG_4718-L.jpg


IMG_4717-L.jpg


IMG_4716-L.jpg


IMG_4714-L.jpg


They made great compression even before disassembly.
IMG_4685-L.jpg


IMG_4684-L.jpg
 
Last edited:

blsnelling

Friend of the Riff Raff
Local time
11:41 PM
User ID
447
Joined
Jan 8, 2016
Messages
1,114
Reaction score
6,230
Location
Franklin, OH
Country flag
IMG_4712-L.jpg


Recoil assembly removed. It lives behind the clutch.
IMG_4726-L.jpg


IMG_4727-L.jpg


It looks like a little Banshee engine.
IMG_4729-L.jpg


IMG_4730-L.jpg


IMG_4731-L.jpg


IMG_4732-L.jpg


IMG_4733-L.jpg


The PTO side crank seal is up in that sleeve that rides on the roller bearing.
IMG_4733-L.jpg


The flywheel side seal is more typical, just pressed into the case.
IMG_4738-L.jpg
 
Last edited:

blsnelling

Friend of the Riff Raff
Local time
11:41 PM
User ID
447
Joined
Jan 8, 2016
Messages
1,114
Reaction score
6,230
Location
Franklin, OH
Country flag
Here are all the parts to be powder coated. Time to begin repairs/refinishing.

0117151647-L.jpg


0117151648-L.jpg


A lot of metal was missing from the clutch cover. srcarr52 built that all back up with weld and reshaped it. It turned out great!!!
0117151643c-L.jpg


0117152143a-L.jpg


0201151214a-L.jpg


0201151215-L.jpg


Then Glock37 got his hands on it and did a fabulous job powder coating it.
IMG951734-L.jpg


IMG_1751%281%29-L.jpg


Image%20%287%29-L.jpg


image3-L.jpg


image1-L.jpg
 
Last edited:

blsnelling

Friend of the Riff Raff
Local time
11:41 PM
User ID
447
Joined
Jan 8, 2016
Messages
1,114
Reaction score
6,230
Location
Franklin, OH
Country flag
And that's how it sat for 2 years. The powder coated parts were put in dresser drawers in our guest bedroom to keep them safe. This next pic is from Monday of this week as I started going through parts to figure out where I was. Please excuse the messy work bench!
20170821_165418-L.jpg


20170821_180048-L.jpg


20170821_211034-L.jpg


20170821_211027-L.jpg


That's all the pics I took during assembly.

20170822_062043-L.jpg


20170822_062054-L.jpg


20170822_062104-L.jpg


20170822_062113-L.jpg


Here I'm painting the background around the letters black, and polishing the letters.
20170823_200023-L.jpg


20170823_200011-L.jpg


20170823_200002-L.jpg


20170824_150802-L.jpg


20170824_150510-L.jpg
 
Last edited:

blsnelling

Friend of the Riff Raff
Local time
11:41 PM
User ID
447
Joined
Jan 8, 2016
Messages
1,114
Reaction score
6,230
Location
Franklin, OH
Country flag
Now get this! Not long after purchasing this Solo Twin, I acquired another one. Much to my surprise, this one has the very rare 110cc topend, vs the typical 100cc topend. All along, I planned to put the 110cc topend on this restored saw. Much to my dismay, the crankcase is opened up to allow for the 2mm larger pistons to drop into the crankcase about 1/2" at BDC. So, guess what I have to do? I have to do another complete restoration! I really don't want to at this point. I was going to re-assemble this second saw and sell it as a complete, unrestored runner. However, I can't let this 110cc topend Solo Twin slip through my fingers. So, I'm in the process of looking for a few parts, getting required repairs made, and having Mike powder coat another saw for me. I really want to get this one done ASAP while the assemble is still fresh in my mind.

This saw was assembled and nearly complete when I got it. Much of it has been disassembled while working on the first one. BTW, the 110cc topend is literally like new!
20170821_165421-L.jpg
 
Last edited:

ajschainsaws

Axes never run out of Gas
GoldMember
Local time
4:41 AM
User ID
685
Joined
Jan 26, 2016
Messages
7,843
Reaction score
37,616
Location
South west UK
Country flag
Great stuff Brad superb job looks fantastic you had a few twin parts from me several moons ago
 

blsnelling

Friend of the Riff Raff
Local time
11:41 PM
User ID
447
Joined
Jan 8, 2016
Messages
1,114
Reaction score
6,230
Location
Franklin, OH
Country flag
Great stuff Brad superb job looks fantastic you had a few twin parts from me several moons ago
So that was you! :) I need more!

1. Handle mount. The top left corner is missing. The one I needs is with the single bolt hole through the handle.
20170824_034119-L.jpg


2. The sheet metal part of the hood latch. I have the wire.
20170823_214549-L.jpg


3. A coil. The wire is broken off flush on this one.
20170823_214619-L.jpg


4. Lower handle support.
20170824_033518-L.jpg


5. Fuel tank.
20170823_215054-L.jpg


6. Impulse fitting the threads into the crankcase.
 
Top