- Local time
- 8:43 PM
- User ID
- 360
- Joined
- Dec 31, 2015
- Messages
- 22,915
- Reaction score
- 146,222
- Location
- East Jordan, MI
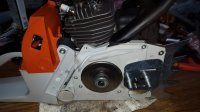
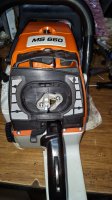
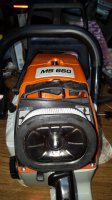
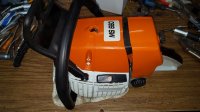
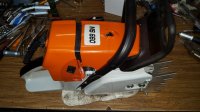
Since no one used this title, I will. This is my Farmertec MS660 build thread. I'm shooting for a class 2 build, since I'm not yet familiar with the finer points of a class 3 build. I have a lathe and have ported most of my own saws, as well as several for friends both on here and local to me, so class 1 wasn't an option either.
I didn't get pics of the opened or unopened box. But upon inspection, nearly every part looked to be of higher quality than that of FT past.
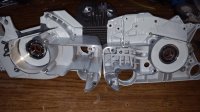
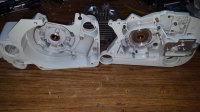
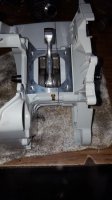
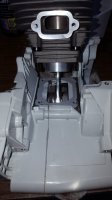
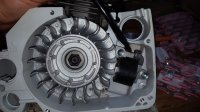
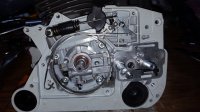
First, my cases. I popped out the pre-installed seals. The flywheel side bearing has a metal retainer, so I opted to heat the inner race with a torch for a few seconds and slid the crank into the fw side bearing. I use a .025" feeler gauge between the crank lobe and case to help Center the crank.
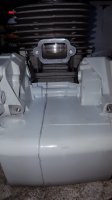
I always use motoseal on the case gasket for piece of mind. I know the manufacturer gets 30 years of service from a case gasket without using sealer. I guess maybe I'm hoping for 32 years, or maybe it'll fill in minor casting discrepancies. Either way, it can't hurt. And it makes me feel warm and fuzzy inside.
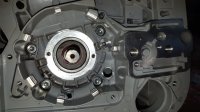
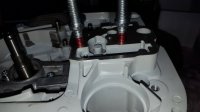
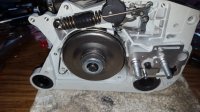
The oil pump is used to maintain bearing seating depth on the clutch side, so I installed it. I have an assortment of t27 screws, so after putting sealant on both sides of the gasket, I used 35mm screws to draw the case halves nearly together. You can't use them to draw it tight because the shank protrudes through the case and would bugger the threads in the other half. Once I get them to within about 1/8", I swap them out for the correct case screws. As I get close, I use feeler gauges again to see how centered the crank is in the case. Once it's tight at .025" on each side, I'll drop down to .020" and snug the case bolts more. Doing this saves a few raps on the end of the crank trying to free up the bearings. I still have to rap on the crank a couple times to center it, but not quite as much. Works for me.
I didn't get pics of the opened or unopened box. But upon inspection, nearly every part looked to be of higher quality than that of FT past.


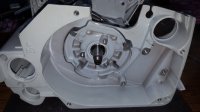
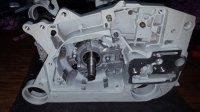
First, my cases. I popped out the pre-installed seals. The flywheel side bearing has a metal retainer, so I opted to heat the inner race with a torch for a few seconds and slid the crank into the fw side bearing. I use a .025" feeler gauge between the crank lobe and case to help Center the crank.
I always use motoseal on the case gasket for piece of mind. I know the manufacturer gets 30 years of service from a case gasket without using sealer. I guess maybe I'm hoping for 32 years, or maybe it'll fill in minor casting discrepancies. Either way, it can't hurt. And it makes me feel warm and fuzzy inside.
The oil pump is used to maintain bearing seating depth on the clutch side, so I installed it. I have an assortment of t27 screws, so after putting sealant on both sides of the gasket, I used 35mm screws to draw the case halves nearly together. You can't use them to draw it tight because the shank protrudes through the case and would bugger the threads in the other half. Once I get them to within about 1/8", I swap them out for the correct case screws. As I get close, I use feeler gauges again to see how centered the crank is in the case. Once it's tight at .025" on each side, I'll drop down to .020" and snug the case bolts more. Doing this saves a few raps on the end of the crank trying to free up the bearings. I still have to rap on the crank a couple times to center it, but not quite as much. Works for me.


