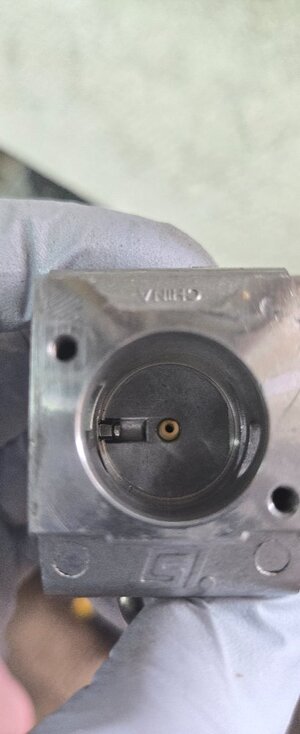
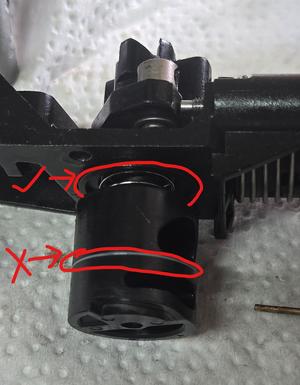
I never noticed the small port but best guess is that it is supposed to be there. When you pull the negative pressure with the primer bulb, after 3-4 pumps, stop and say one-one-thousand and the needle should hold at least that long. If it holds longer great, but if it starts bleeding off before you say one-one-thousand then you have a slow internal leak, probably the low speed check valve which will not effect running, just how well it primes. If this engine has a lot of run time it may not be the carb, it could be a leaking seal on the crank, which will make it hard to tune, and maybe you get it to tune today but tomorrow it runs crappy again, or just runs erratic. I forgot I have a worksheet that goes with the tutorial, see attached. Do you know how to do a pressure vac test on the crankcase? The other thing that can cause an issue is how you adjust the carb.
View attachment 475269
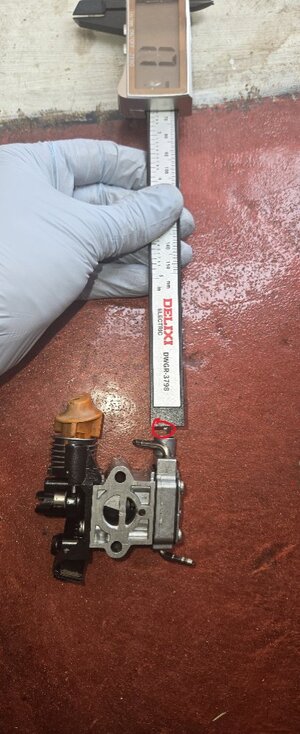
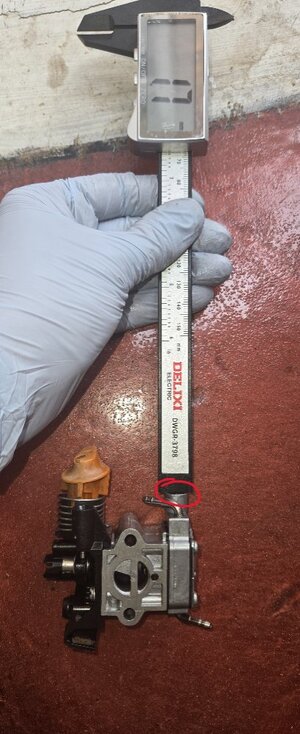
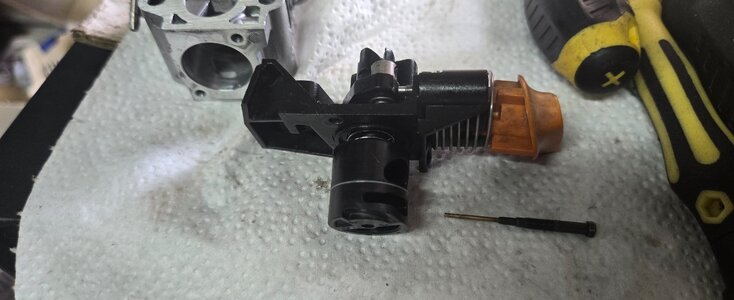
So for the first carb shown with the integral primer, says on the side of the carb 4149/02, set the H screw, the one on the top of the rotary valve, at 1 1/2 out from lightly seated, and the L screw at 2 1/2. If you have the carb that has S243 on it and the remote primer, set the H at 1 1/4 and the L at 1 1/2. The engine should run here. If it doesn't there is something wrong in the engine or the carb is just no good. I have had carbs pass all the tests and just not work, especially if they are old and have been sitting with fuel in them. If it runs warm it up and set the idle with a tach at 3300 RPM. It must idle smoothly, not erratic. Then do lean drop off tuning. So at 3300 rpm slowly turn the L screw in, leaning the mixture and then out making it richer until you find the highest RPM. You should end up a few hundred revs higher than 3300, so reset the idle screw back to 3300. Now go back and forth with the L screw again and see if the lean drop off RPM goes any higher, and if so go back to 3300 again with the idle screw. If the carb is good and the engine has no problems this process may take 2 or 3 tries until you have the L screw at lean drop off, where if you turn in at all the RPM goes down, with the idle screw at 3300. Now back out the L screw to lower the RPM by enriching the mixture, until you are at 2800 RPM which is the target idle speed we want. This will give you good throttle response and good drop off back to idle with no stalling. This process is how you know the carb is working properly. If it is not sensitive to this tuning then replace it, again assuming the engine doesn't have any crankcase leaks or other problems. Once this is done with a trimmer head on it, and the line at the right length hold it wide open and set the H screw for around 9800 RPM if you can. If it only will get to 9600 or 9700 that's OK but don't set it any higher if it will go higher. This gives you good power and fuel cooling, where a leaner setting would actually cause it to run hotter and have less power under load.
I know I am getting deep here but you asked and I assume you are interested in learning. When I evaluate a unit I do a full engine check. I need to know what is OK just as well as I need to know any faults that may be present. I learned this the hard way more than once when I jacked around with a carb and the engine had a scored piston, but still had good compression, or some other fault that had me chasing the carb when it was actually OK.