BlacknTan
Super OPE Member
- Local time
- 11:16 AM
- User ID
- 10910
- Joined
- Nov 8, 2019
- Messages
- 204
- Reaction score
- 761
- Location
- New York
Excuse me for a (probably) stupid question..
I'm in the midst of my first chainsaw build from the ground up. Started with a crankcase, fuel tank, intake track and P&C. Learned a helluva lot already by studying parts schematics, the workshop manual, the 357/359 rebuild thread here, which I've gone through numerous times, and @Benwa videos putting together the @davidwyby 2159... all extremely helpful, and I've got nearly all my questions nailed down.
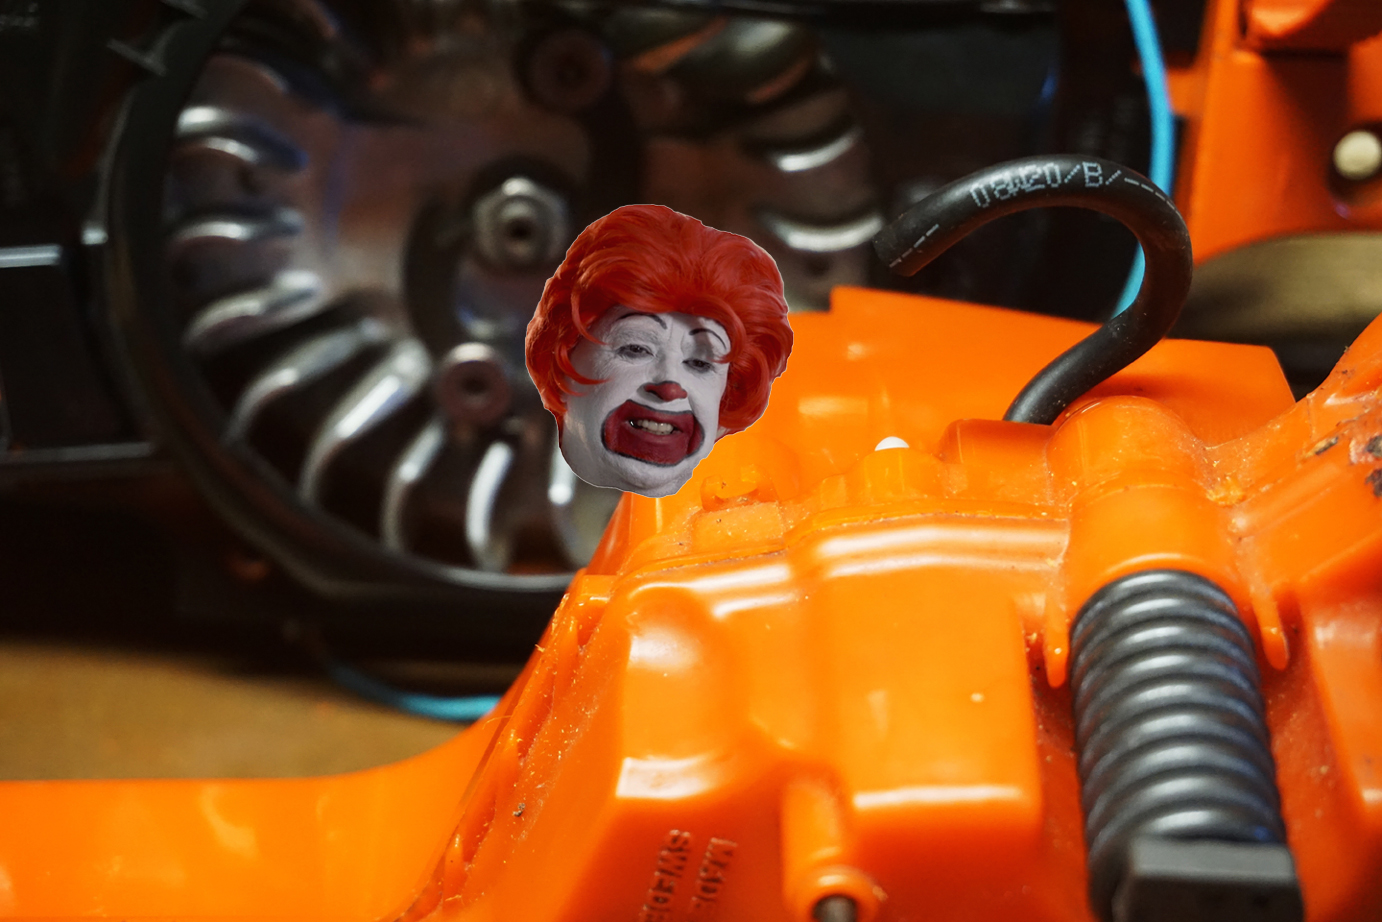
But, these two have me stumped. In the photo on the fuel tank, there is what appears to be about a 1/8 steel dowel pin protruding to the side. I can't find anything about it.. what it's for or why it's there. Also, right down the longitudinal center of the tank, at the parting lines, is a plastic protrusion standing up that looks like an area to tie something down with a zip tie.. but again, I can't find what?
Gotten alot of parts in, and things are beginning to piece together. Have to get the muffler tigged up, and waiting on one carb part for the Walbro 199, which for the time being, I'm staying with.
Will be adding a few photos of progress, but nothing like the ultimate 357/359 thread...
If I could get and idea on those two areas, it would be a great help!

I'm in the midst of my first chainsaw build from the ground up. Started with a crankcase, fuel tank, intake track and P&C. Learned a helluva lot already by studying parts schematics, the workshop manual, the 357/359 rebuild thread here, which I've gone through numerous times, and @Benwa videos putting together the @davidwyby 2159... all extremely helpful, and I've got nearly all my questions nailed down.
But, these two have me stumped. In the photo on the fuel tank, there is what appears to be about a 1/8 steel dowel pin protruding to the side. I can't find anything about it.. what it's for or why it's there. Also, right down the longitudinal center of the tank, at the parting lines, is a plastic protrusion standing up that looks like an area to tie something down with a zip tie.. but again, I can't find what?
Gotten alot of parts in, and things are beginning to piece together. Have to get the muffler tigged up, and waiting on one carb part for the Walbro 199, which for the time being, I'm staying with.
Will be adding a few photos of progress, but nothing like the ultimate 357/359 thread...
If I could get and idea on those two areas, it would be a great help!