High Quality Chainsaw Bars Husqvarna Toys

Lets make a Stihl MS460

redline4

I'm huge in Japan
Local time
7:48 PM
User ID
5593
Joined
Mar 12, 2018
Messages
11,554
Reaction score
94,736
Location
Rosholt Wisconsin
Country flag
There may already be a thread, but I didn't see one on a quick search.
Either way, I'm putting one together so thought I would do a build thread.

Expect delays while I wait for parts, time or backtrack because I got ahead of myself.

Also, there's multiple ways of doing it and some better than my way, but this works for me.

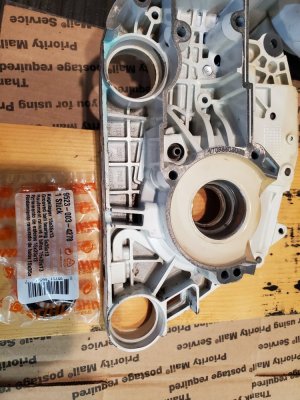
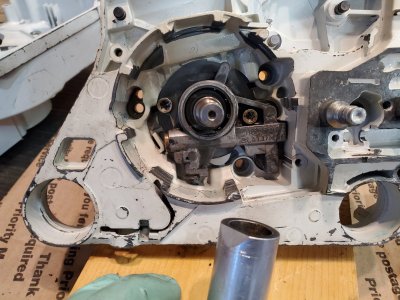
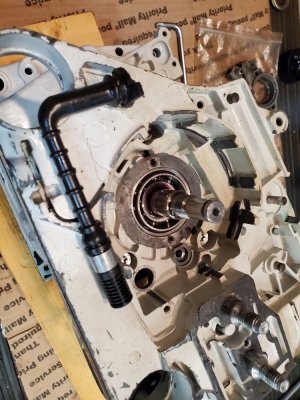
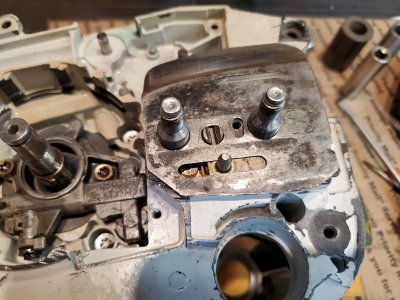
I started with the pto side case and bolted up the oil pump
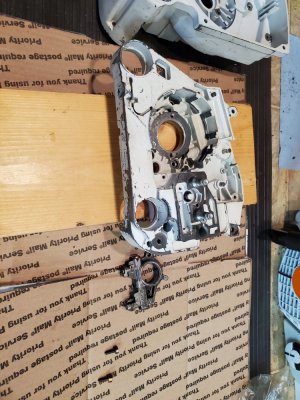
20230211_142655.jpg

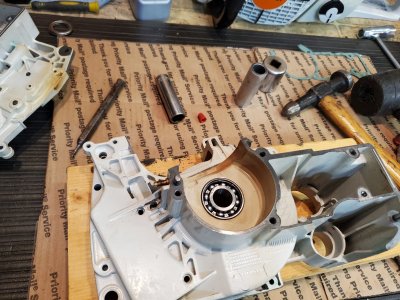
Oem proprietary bearing.
20230211_142744.jpg

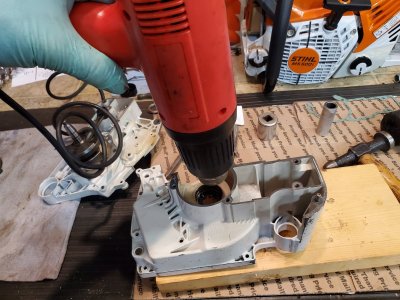
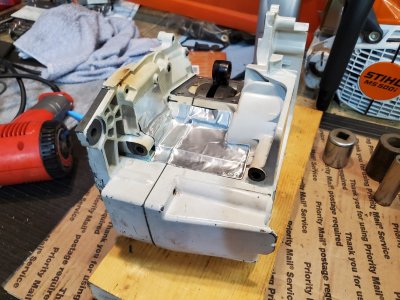
And with my heat gun, warm up the case..
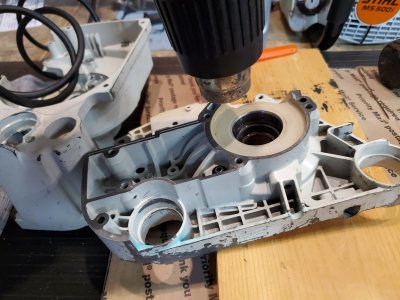
20230211_143411.jpg

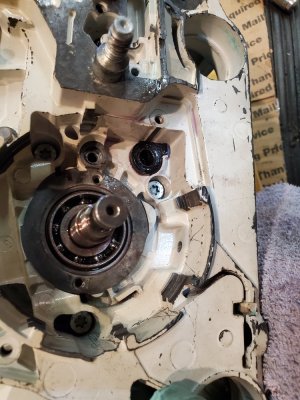
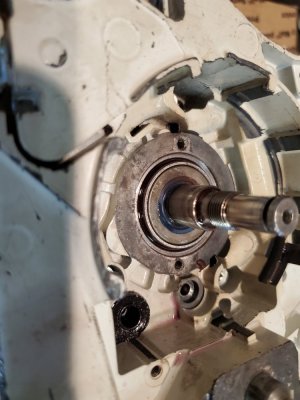
Once it's ready, the bearing pretty much drops in and bottoms out on the previously bolted up oil pump. I keep a 1" socket close by in case a few light taps are required.
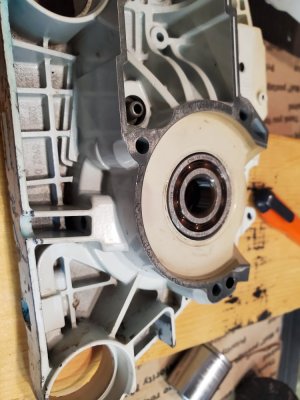
20230211_143438.jpg

After that, I install the flywheel nut on the crank to keep the threads from getting boogered.
By the time I'm done with that, the heat from the case has soaked into the bearing. I will usually apply a little more heat if it's too cool.
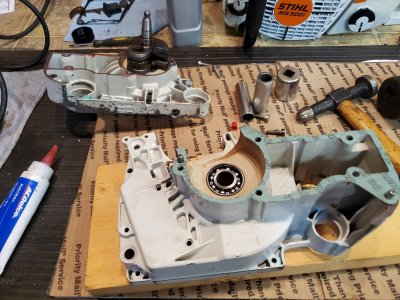
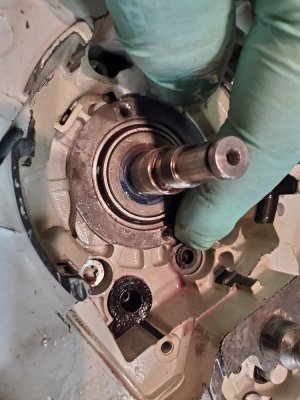
And the crank drops in.
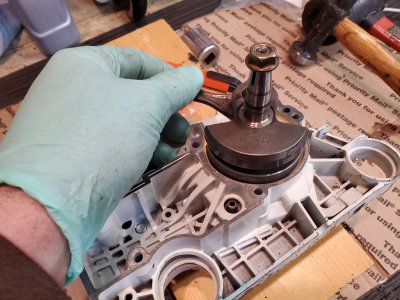
20230211_143805.jpg


If necessary I will give it a few taps with a rubber mallet. I also support the inner bearing race with a piece of pipe. That will be in upcoming pics as only 5 pics per post are allowed.
 

redline4

I'm huge in Japan
Local time
7:48 PM
User ID
5593
Joined
Mar 12, 2018
Messages
11,554
Reaction score
94,736
Location
Rosholt Wisconsin
Country flag
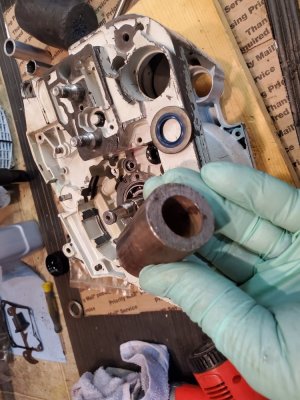
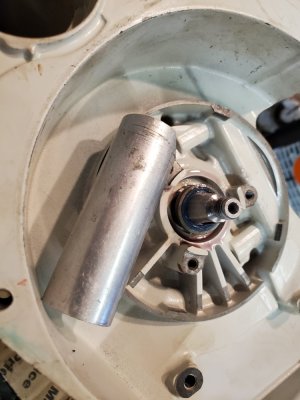
Here's what I use to support that bearing. The side it ground to clear the oil pump driven gear.
20230211_144318.jpg

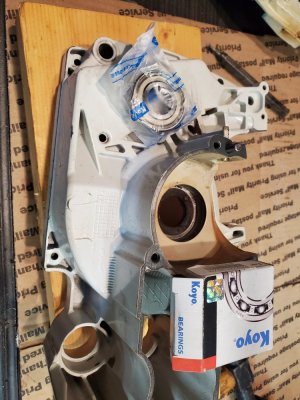
For the other bearing I'm using a Koyo. I've used them before with good results.
It's a shielded bearing, so those needed to be removed.
20230211_144438.jpg

And heat it up.
20230211_145228.jpg


I keep the same 1" socket handy just in case..
20230211_145355.jpg

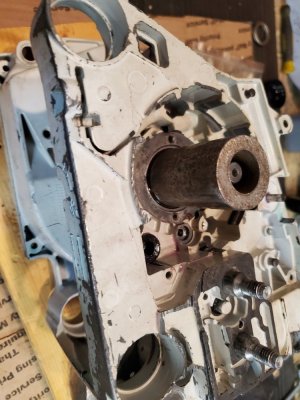
And the bearing is in.


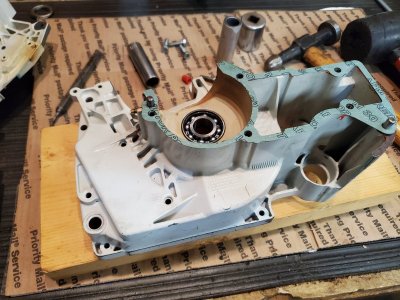
I usually smear a small amount of an anaerobic sealer on the gasket surfaces to help hold it, and install the case gasket.
20230211_145612.jpg


More to come later
 

dall

Mastermind Approved!
Local time
8:48 PM
User ID
795
Joined
Feb 5, 2016
Messages
46,188
Reaction score
184,743
Location
grafton wv
Country flag
There may already be a thread, but I didn't see one on a quick search.
Either way, I'm putting one together so thought I would do a build thread.

Expect delays while I wait for parts, time or backtrack because I got ahead of myself.

Also, there's multiple ways of doing it and some better than my way, but this works for me.

I started with the pto side case and bolted up the oil pump
View attachment 364480

Oem proprietary bearing.
View attachment 364481

And with my heat gun, warm up the case..
View attachment 364482

Once it's ready, the bearing pretty much drops in and bottoms out on the previously bolted up oil pump. I keep a 1" socket close by in case a few light taps are required.
View attachment 364485

After that, I install the flywheel nut on the crank to keep the threads from getting boogered.
By the time I'm done with that, the heat from the case has soaked into the bearing. I will usually apply a little more heat if it's too cool.
And the crank drops in.
View attachment 364486


If necessary I will give it a few taps with a rubber mallet. I also support the inner bearing race with a piece of pipe. That will be in upcoming pics as only 5 pics per post are allowed.
what brand 1 inch socket ?
 

redline4

I'm huge in Japan
Local time
7:48 PM
User ID
5593
Joined
Mar 12, 2018
Messages
11,554
Reaction score
94,736
Location
Rosholt Wisconsin
Country flag
Here I support the inner bearing race with a socket. I believe it is a 9/16" deep.
Whenever using sockets, be sure they fit to the depth needed without getting stuck.
On the pto side, a 5/8 will work. Maybe. Depends on how deep the internal shoulder is. Where it may end up with the end of the crank stuck in it..yeah, I've done it.
20230211_145752.jpg


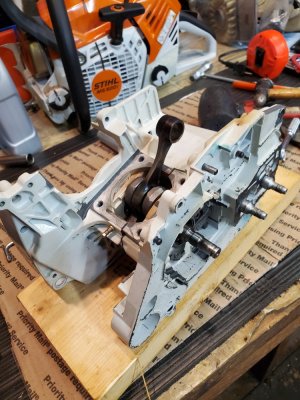
A bit more heat on the bearing, start the bolts and line up the dowels.

Light taps with a rubber mallet if required and snug up the bolts.
20230211_150536.jpg

Give the crank a tap on each side and it should spin free.

Remove the oil pump.
Here's the oil pump screen and hose.
I swipe a bit of oil on it.
20230211_151040.jpg

And push it into place. The tab on it lines up with the case.
20230211_151114.jpg
 

redline4

I'm huge in Japan
Local time
7:48 PM
User ID
5593
Joined
Mar 12, 2018
Messages
11,554
Reaction score
94,736
Location
Rosholt Wisconsin
Country flag
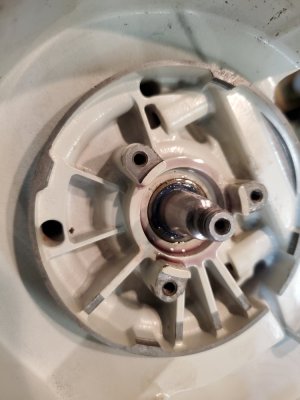
Here's a piece of tube I found that works perfect for installing the pto seal.
A little bit of oil, and tap into place.
20230211_151205.jpg
20230211_151252.jpg
20230211_151255.jpg

And remember the piece I used to support the inner pto bearing race? The opposite side works great for a flywheel side seal installer.
20230211_151501.jpg
20230211_151523.jpg
 

redline4

I'm huge in Japan
Local time
7:48 PM
User ID
5593
Joined
Mar 12, 2018
Messages
11,554
Reaction score
94,736
Location
Rosholt Wisconsin
Country flag
Don't forget this seal before the oil pump.
20230211_151319.jpg

Then the crankshaft snap ring, which I forgot and remembered as I was attempting to fall asleep and will need to take the oil pump back off..

Stick on the "never fits quite perfect" heat tape and with a razor, trim the case gaskets flush with the deck.
20230211_152024.jpg
Next I'm jumping to the tensioner.
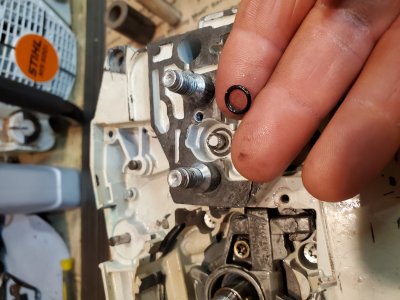
Install the o-ring. There were 2 under this one and it didn't work worth a crap..
20230211_153450.jpg

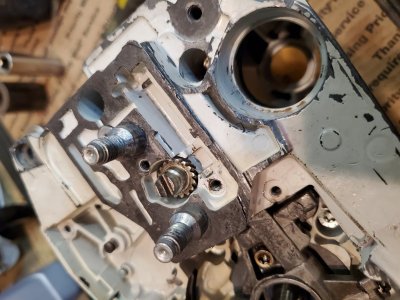
Then the gear
20230211_153504.jpg
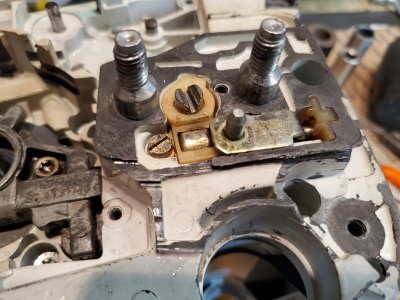
Followed by the tensioner, thrust block at the end and tighten up the retaining screw.
20230211_153551.jpg
 

redline4

I'm huge in Japan
Local time
7:48 PM
User ID
5593
Joined
Mar 12, 2018
Messages
11,554
Reaction score
94,736
Location
Rosholt Wisconsin
Country flag
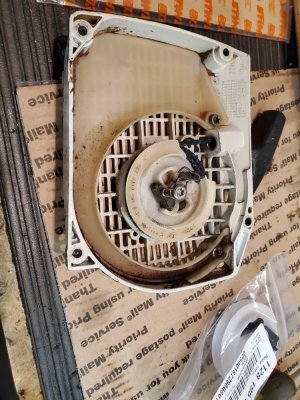
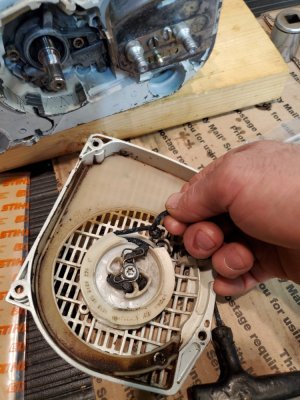
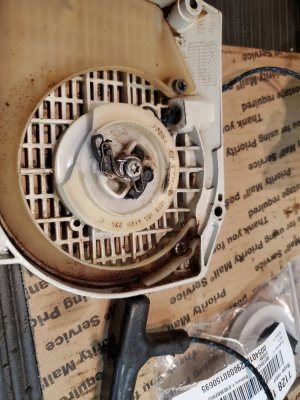
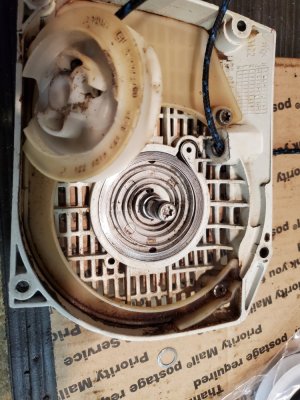
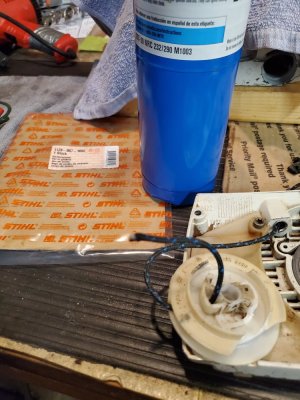
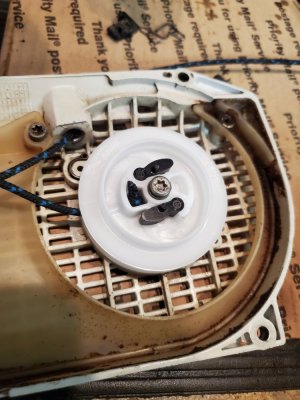
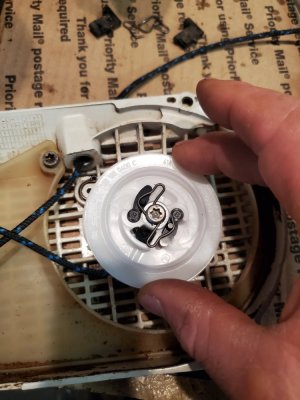
Now I went to the recoil. It needed some work. Pulley, pawls and spring were toast.

I recall getting my aśs handed to me by recoil as a kid..
20230211_153727.jpg

Unwind the rope, let the spring inside unwind.
20230211_153738.jpg

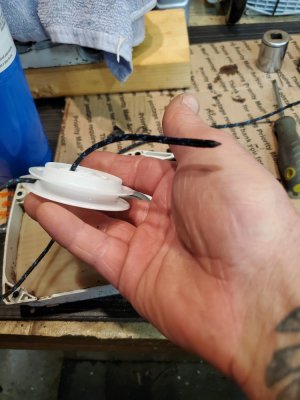
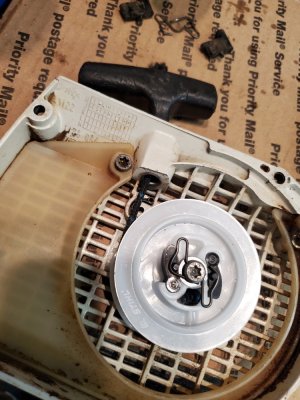
Remove the clip and pawls.
20230211_153805.jpg


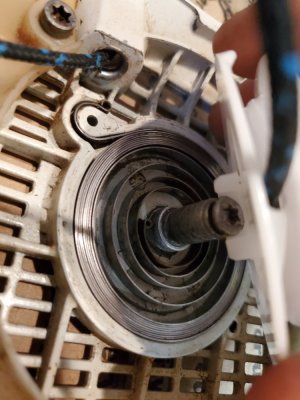
And lift off the starter pulley.
20230211_153835.jpg

If that spring is good, leave it alone...
 

Loony661

Stock chainsaws suck.
GoldMember
Local time
7:48 PM
User ID
2584
Joined
Feb 4, 2017
Messages
4,797
Reaction score
29,110
Location
Winona County, MN
Country flag
I see you said to oil the seals - I assume you add oil to the inner seal lip. I always put some good grease there, same principle, keep the seal lubricated. I always kept the outside metal ring of the seal dry though. Is that what you do as well?
 

redline4

I'm huge in Japan
Local time
7:48 PM
User ID
5593
Joined
Mar 12, 2018
Messages
11,554
Reaction score
94,736
Location
Rosholt Wisconsin
Country flag
I see you said to oil the seals - I assume you add oil to the inner seal lip. I always put some good grease there, same principle, keep the seal lubricated. I always kept the outside metal ring of the seal dry though. Is that what you do as well?

If it's specified to or if there is a sealant on the seal I will keep it dry.
Otherwise I normally use a small amount of whatever fluid the seal in sealing in to lubricate it.
It's never caused an issue for me but I've seen dry metal being forced against dry metal cause an issue.
 

Loony661

Stock chainsaws suck.
GoldMember
Local time
7:48 PM
User ID
2584
Joined
Feb 4, 2017
Messages
4,797
Reaction score
29,110
Location
Winona County, MN
Country flag
If it's specified to or if there is a sealant on the seal I will keep it dry.
Otherwise I normally use a small amount of whatever fluid the seal in sealing in to lubricate it.
It's never caused an issue for me but I've seen dry metal being forced against dry metal cause an issue.
Thanks. Nobody like a dry rub causing an issue...
 

beaglebriar

The Peanut Gallery
GoldMember
Local time
8:48 PM
User ID
377
Joined
Jan 1, 2016
Messages
18,588
Reaction score
103,990
Location
Warren Center, PA
Country flag
If it's specified to or if there is a sealant on the seal I will keep it dry.
Otherwise I normally use a small amount of whatever fluid the seal in sealing in to lubricate it.
It's never caused an issue for me but I've seen dry metal being forced against dry metal cause an issue.
I'll usually coat the outer rim with 518 and lips with oil. Sometimes the two mix together like truffle butter.... never been an issue.
 
Top