You are using an out of date browser. It may not display this or other websites correctly.
You should upgrade or use an alternative browser.
You should upgrade or use an alternative browser.
Kohler Command Ignition System Update.
- Thread starter Onan18
- Start date
- Local time
- 6:45 AM
- User ID
- 344
- Joined
- Dec 30, 2015
- Messages
- 4,444
- Reaction score
- 24,735
- Location
- Georgia
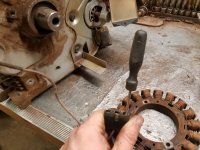
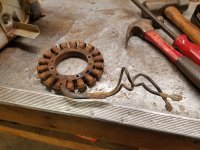
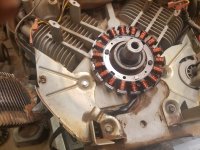
This unit came in not charging the battery and I diagnosed it with a bad stator. I documented the stator replacement as well but it is not part of the ignition system update.
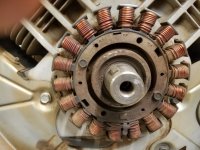
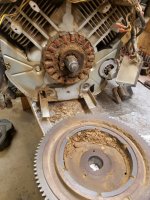
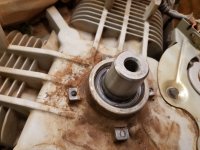
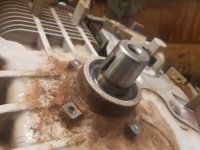
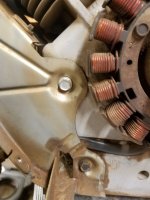
Start by removing the two bolts that hold the stator on.
And you need to remove this baffle as well, two bolts.
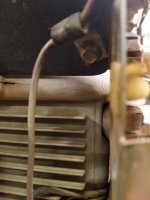
Remove this clamp.
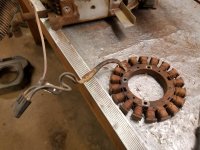 And the stator is out.

Start by removing the two bolts that hold the stator on.

And you need to remove this baffle as well, two bolts.

Remove this clamp.
 And the stator is out.
- Local time
- 6:45 AM
- User ID
- 344
- Joined
- Dec 30, 2015
- Messages
- 4,444
- Reaction score
- 24,735
- Location
- Georgia
- Local time
- 6:45 AM
- User ID
- 344
- Joined
- Dec 30, 2015
- Messages
- 4,444
- Reaction score
- 24,735
- Location
- Georgia
- Local time
- 6:45 AM
- User ID
- 344
- Joined
- Dec 30, 2015
- Messages
- 4,444
- Reaction score
- 24,735
- Location
- Georgia
- Local time
- 6:45 AM
- User ID
- 344
- Joined
- Dec 30, 2015
- Messages
- 4,444
- Reaction score
- 24,735
- Location
- Georgia
Alright gang, finally getting down to the nitty gritty of this.
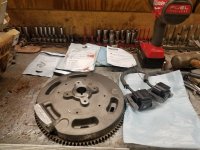
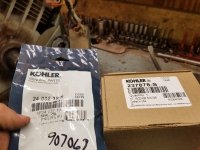
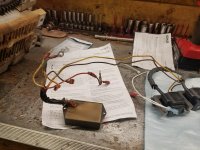
Here is the MDI conversation kit for a CH with the ASAM system. Consists of two new coils, a new kill wire, and a new flywheel. Not all of the kits come with a flywheel, I know for a fact that the DSAI kit does not. Kohler is comping the flywheel for the engines that need it. As a stand alone part a flywheel is well over $300.00 however this update kit cost $150.00 as of 06/2019.
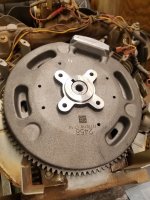
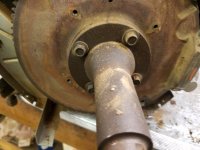
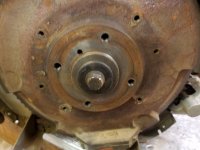
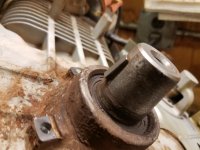
Start by setting the new flywheel in place being certain that the key doesn't fall out. Reinstall and tighten the flywheel bolt at this time.
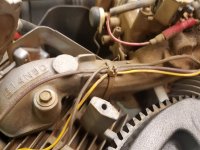
Next cut this zip tie.
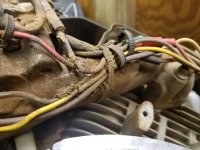
And the other one.

Here is the MDI conversation kit for a CH with the ASAM system. Consists of two new coils, a new kill wire, and a new flywheel. Not all of the kits come with a flywheel, I know for a fact that the DSAI kit does not. Kohler is comping the flywheel for the engines that need it. As a stand alone part a flywheel is well over $300.00 however this update kit cost $150.00 as of 06/2019.

Start by setting the new flywheel in place being certain that the key doesn't fall out. Reinstall and tighten the flywheel bolt at this time.

Next cut this zip tie.

And the other one.
Last edited:
- Local time
- 6:45 AM
- User ID
- 344
- Joined
- Dec 30, 2015
- Messages
- 4,444
- Reaction score
- 24,735
- Location
- Georgia
- Local time
- 6:45 AM
- User ID
- 344
- Joined
- Dec 30, 2015
- Messages
- 4,444
- Reaction score
- 24,735
- Location
- Georgia
- Local time
- 6:45 AM
- User ID
- 344
- Joined
- Dec 30, 2015
- Messages
- 4,444
- Reaction score
- 24,735
- Location
- Georgia
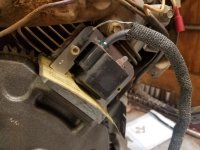
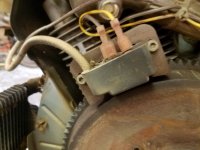
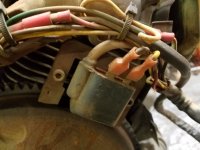
Install the new coils being sure to set the air gap, a business card works well for this. Note the new coil has a static discharge wire on the high tension lead, be certain you ground it.
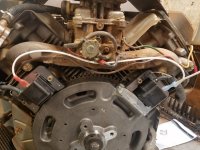
Once both coils are in place you can route the new kill wire provided in the kit.
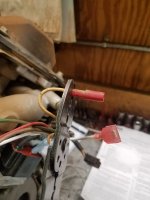
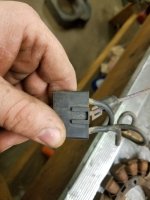
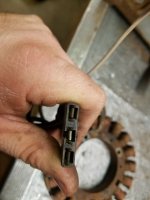
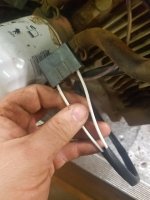
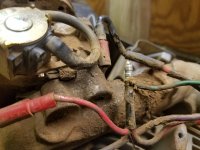
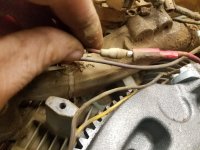
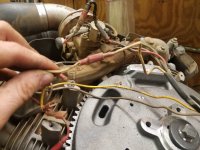
The new kill wire uses a spade connector to tie into the harness. Some of the older engines (like this one) have a bullet connector on the harness. Not to worry though, simply cut the old connector off of the harness and strip back roughly 1/4" of insulation.
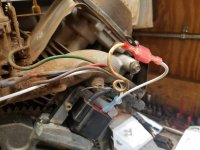
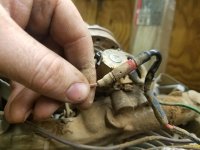
Now crimp on the new connector Kohler provided in the kit and plug everything up.
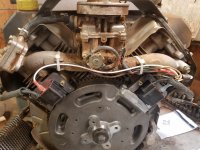
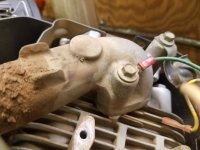
Tie everything neatly to the intake manifold with the new zip ties provided in the kit.
- Local time
- 6:45 AM
- User ID
- 344
- Joined
- Dec 30, 2015
- Messages
- 4,444
- Reaction score
- 24,735
- Location
- Georgia
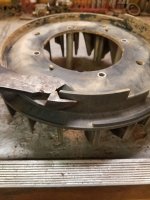
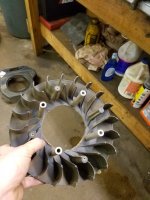
The new flywheel is shaped differently than the old one so the fan needs to be modified. There are two of these tabs that indexed onto the old flywheel. They need to be removed, a pair of side cutters makes quick work of this.
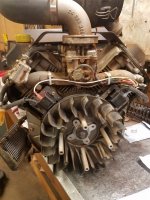
Install the modified fan and at this point the job is more or less done. Reassembly from here is just the reverse of the tear down.
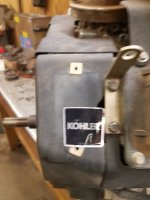
One last little touch, Kohler gives you a nice sticker to cover the hole in the shroud that the ASAM harness passed through.
angelo c
Coal Member
- Local time
- 6:45 AM
- User ID
- 362
- Joined
- Dec 31, 2015
- Messages
- 2,919
- Reaction score
- 11,552
- Location
- Peoples Republic of North Jersey
Holy fn chit....that's a lot of ......grief!!!
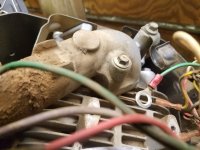
Joe. That stator winding was mud loaded. Do you think that might be an issue. Got to be as common a reason for failure then anything else.
Thanks for the play-by-play.
Joe. That stator winding was mud loaded. Do you think that might be an issue. Got to be as common a reason for failure then anything else.
Thanks for the play-by-play.
- Local time
- 6:45 AM
- User ID
- 344
- Joined
- Dec 30, 2015
- Messages
- 4,444
- Reaction score
- 24,735
- Location
- Georgia
Holy fn chit....that's a lot of ......grief!!!
Joe. That stator winding was mud loaded. Do you think that might be an issue. Got to be as common a reason for failure then anything else.
Thanks for the play-by-play.
I do believe so yes. I think what happens when they get caked up like that is the stator over heats and burns some of the insulation off of the windings. Once that happens game over.
Similar threads
- Replies
- 0
- Views
- 1K


