


fin460
Super OPE Member
- Local time
- 4:50 AM
- User ID
- 314
- Joined
- Dec 29, 2015
- Messages
- 131
- Reaction score
- 366
- Location
- NW Missouri
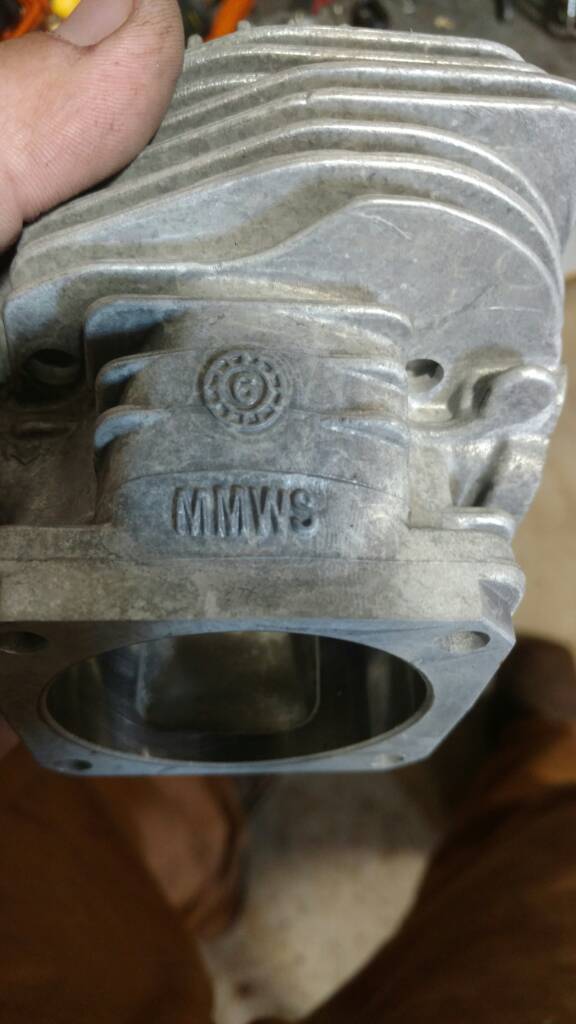
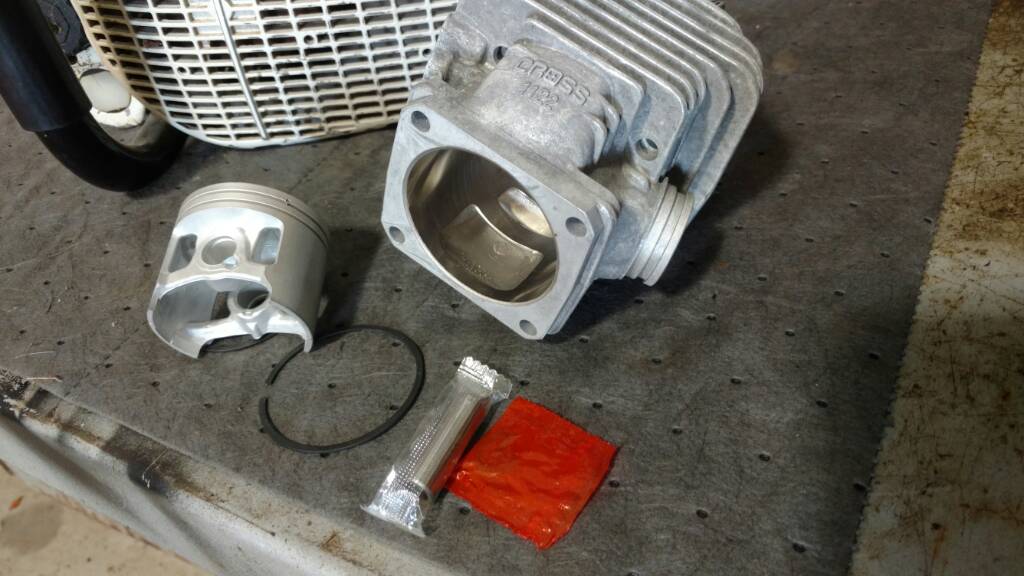
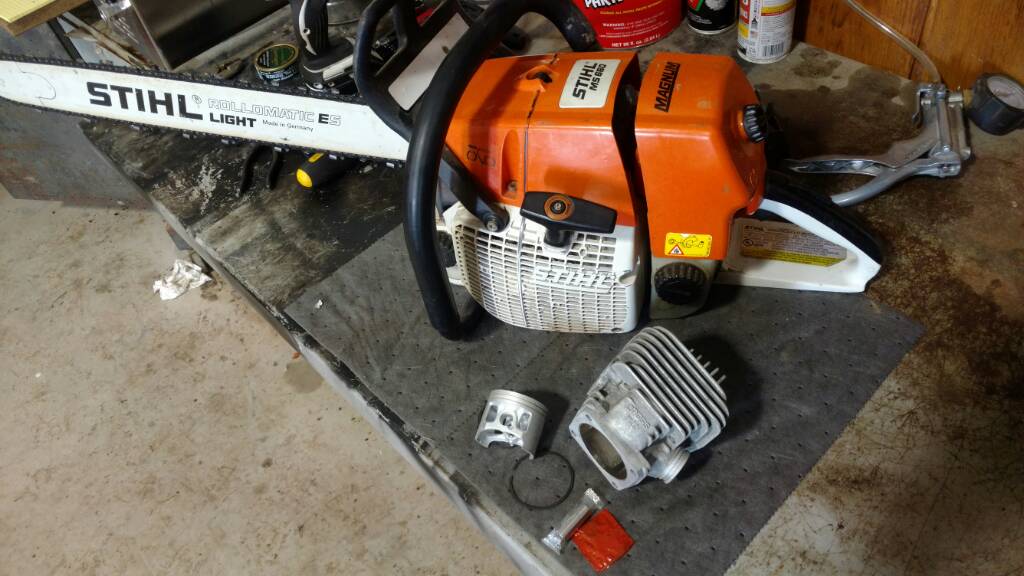
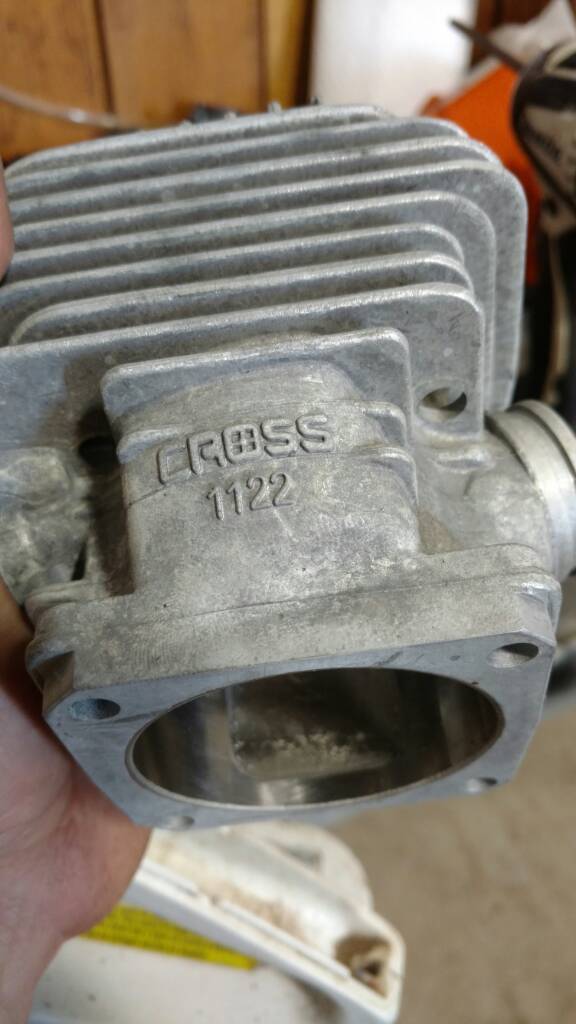
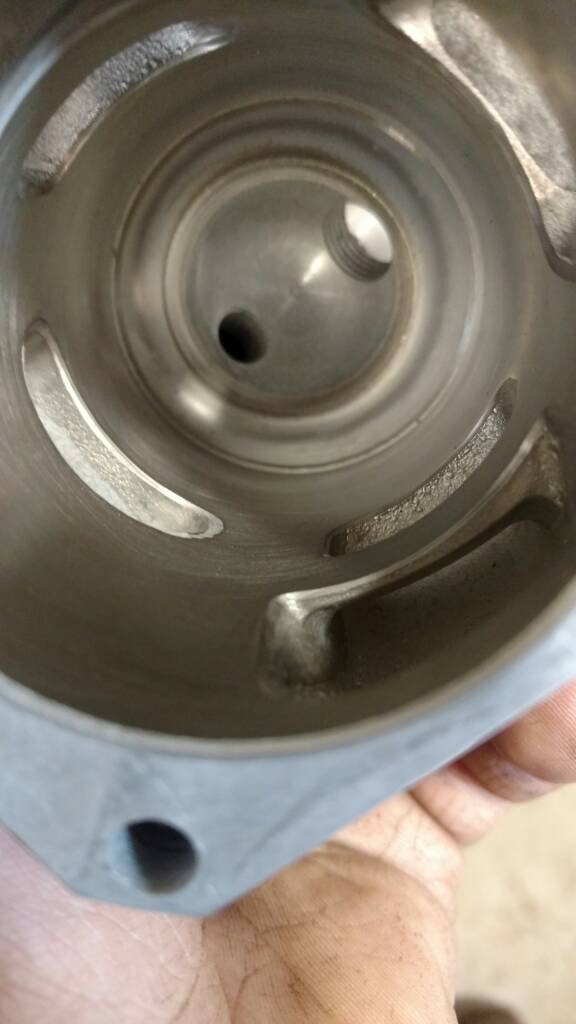
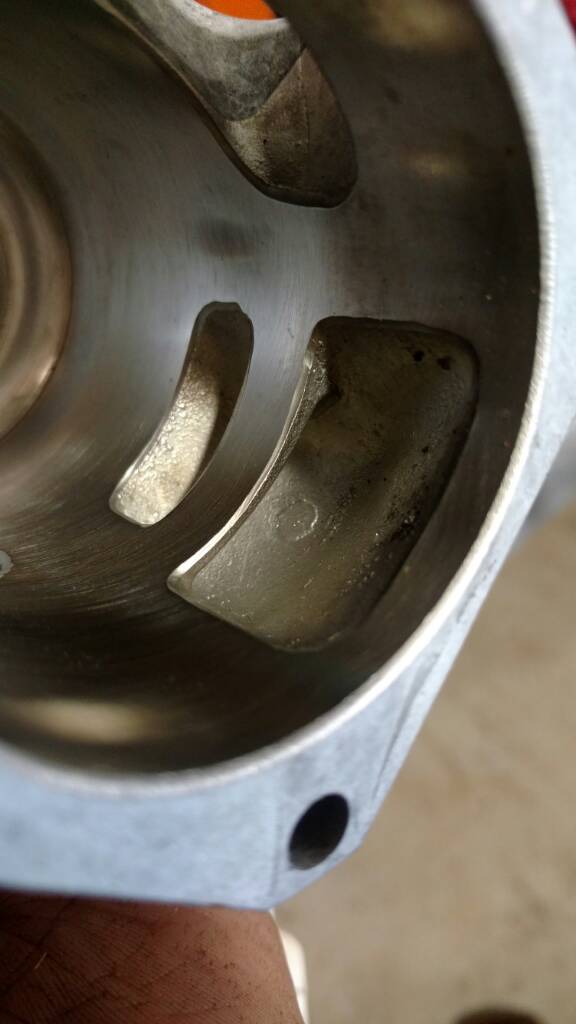
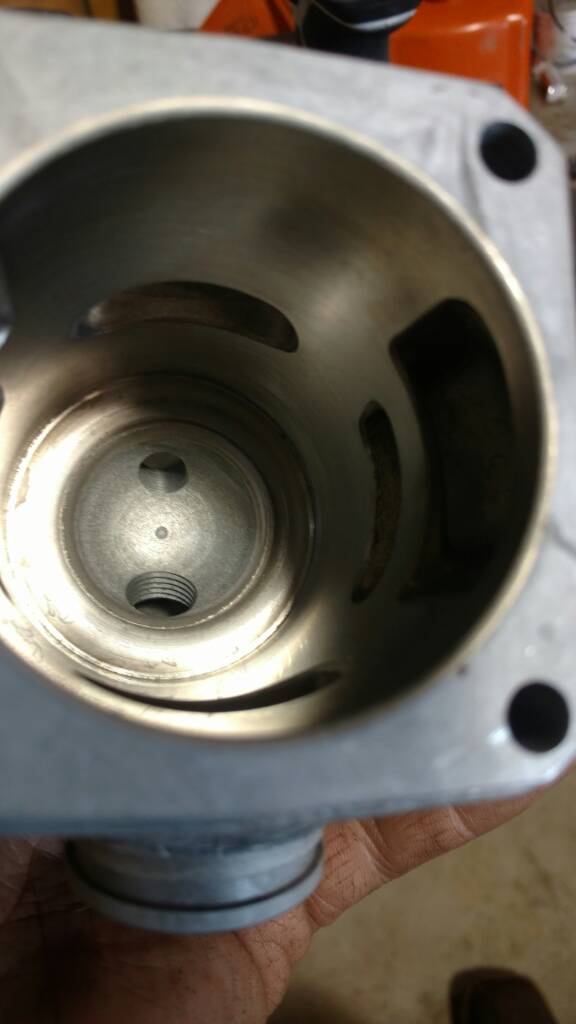
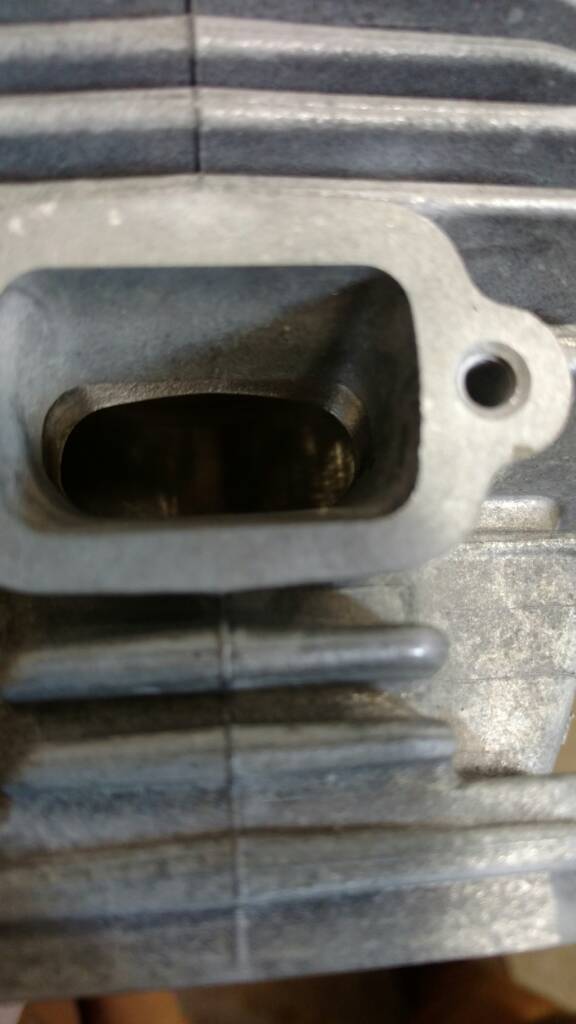
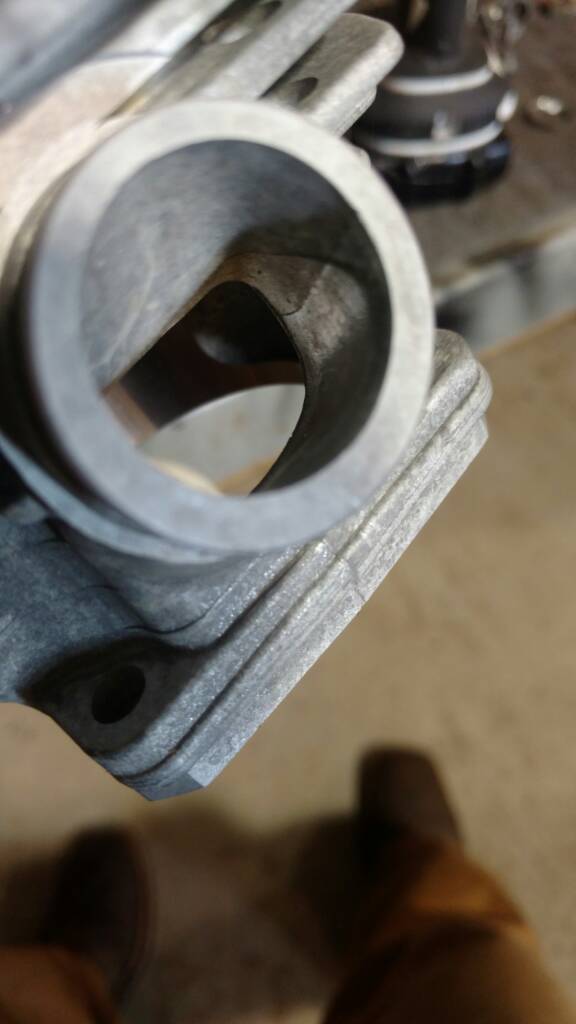
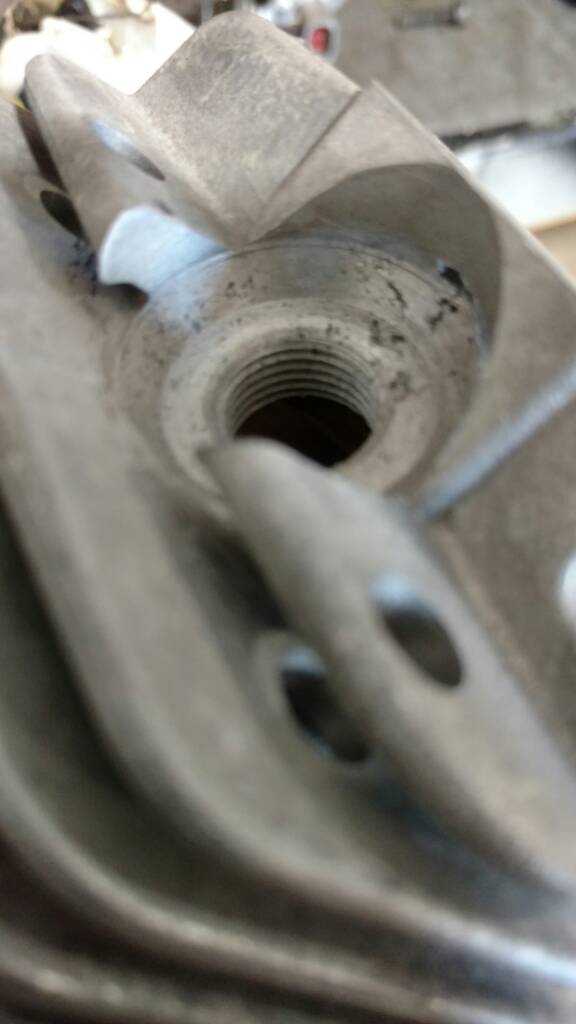
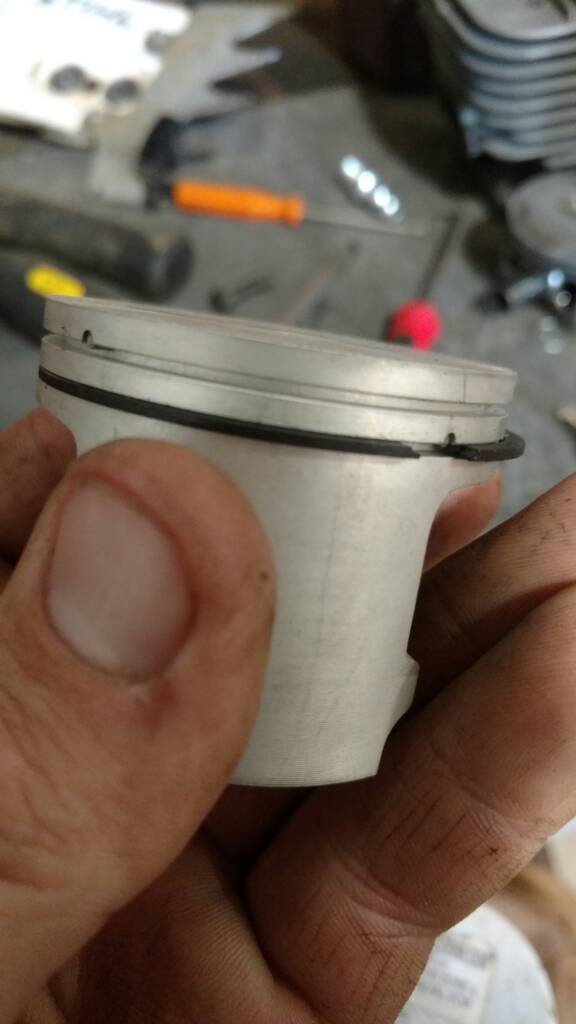
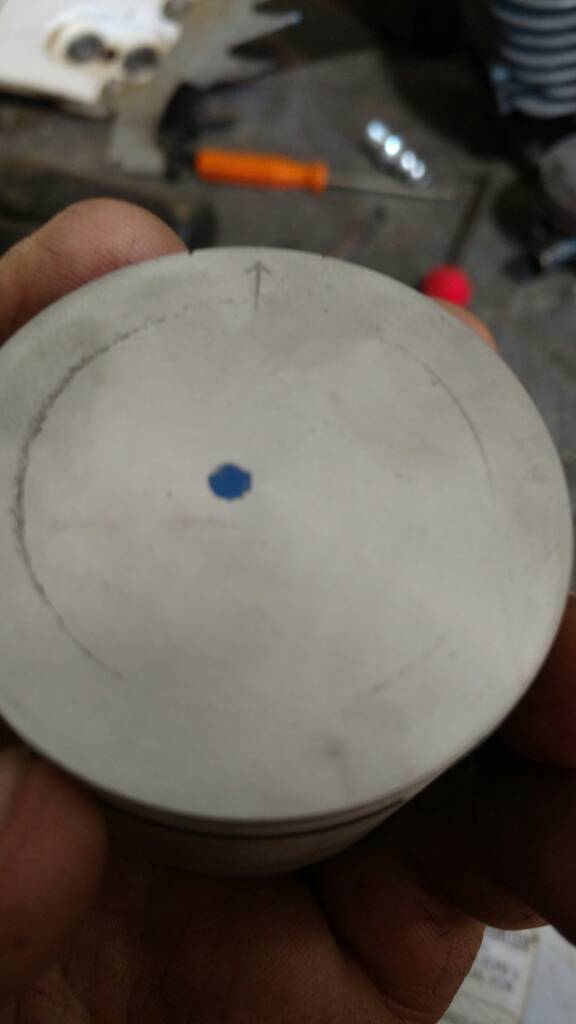
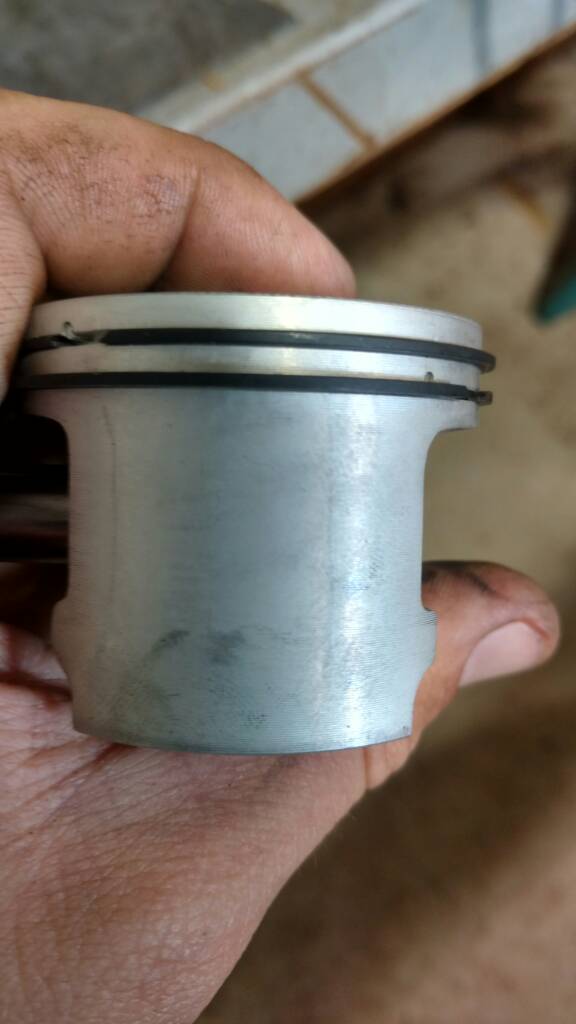
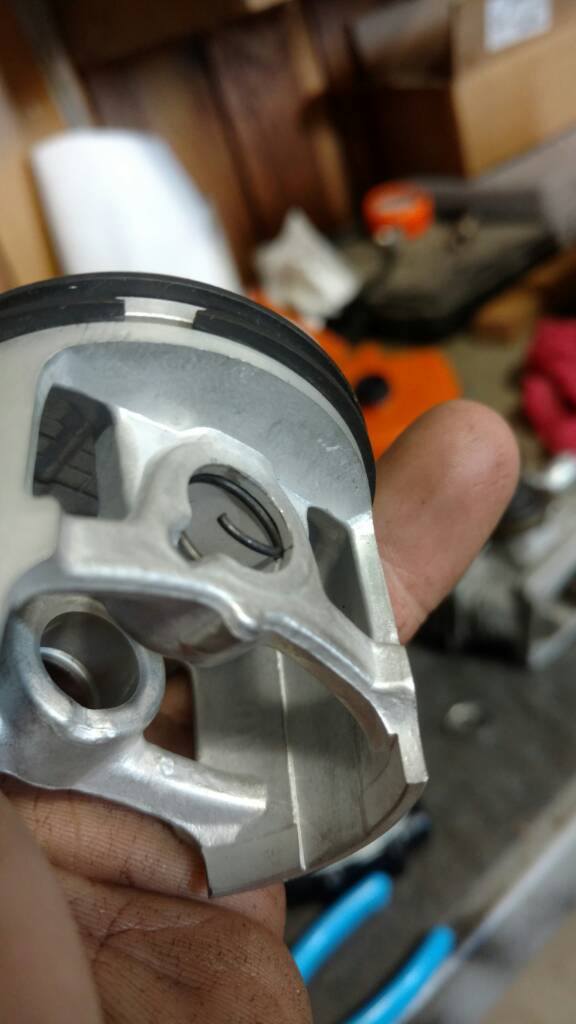
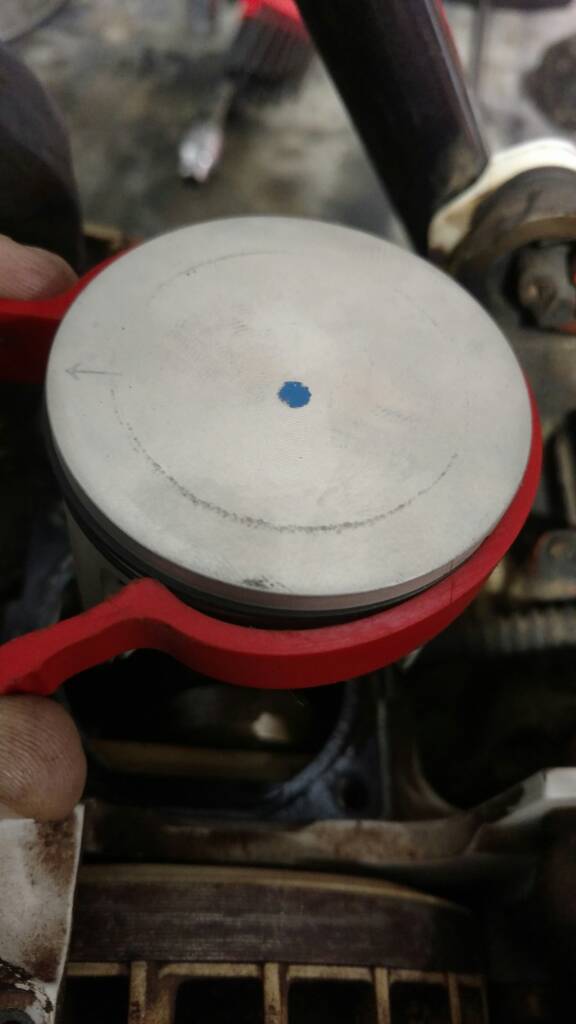
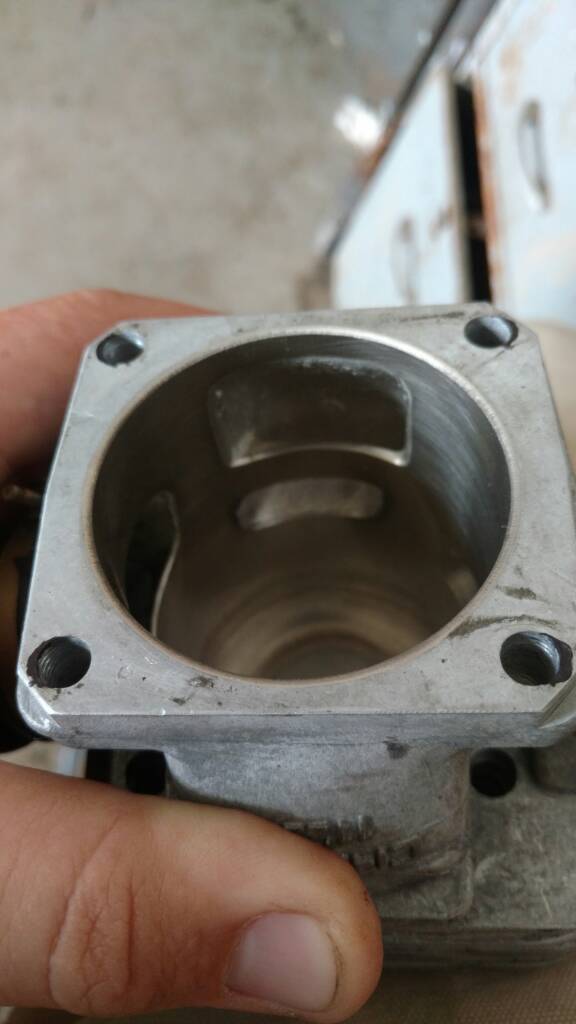
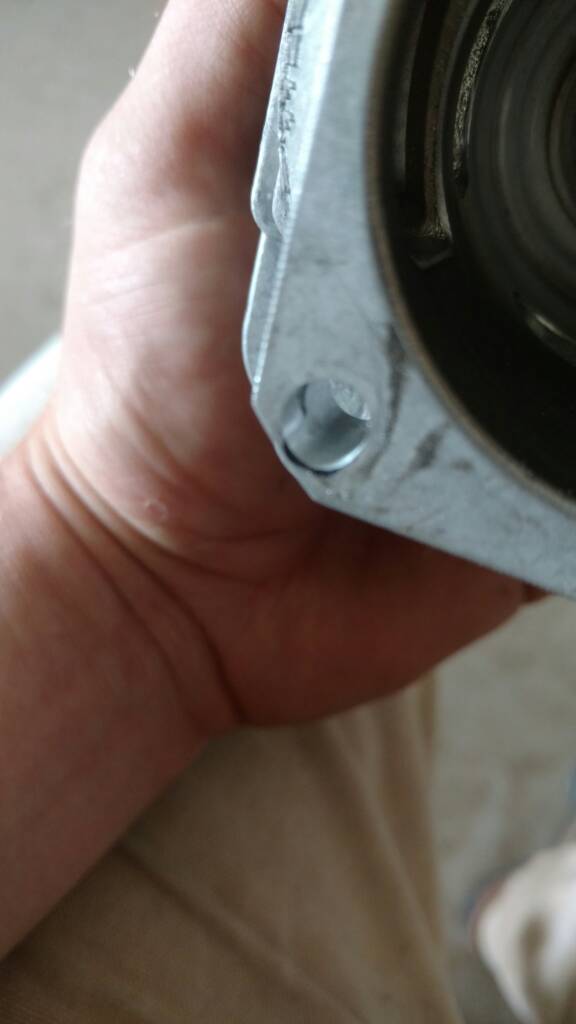
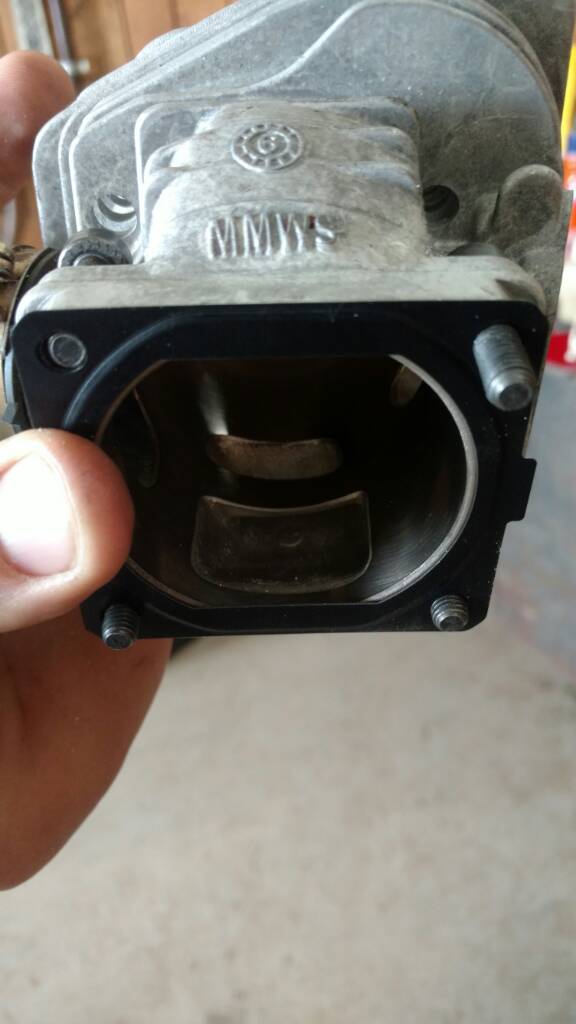
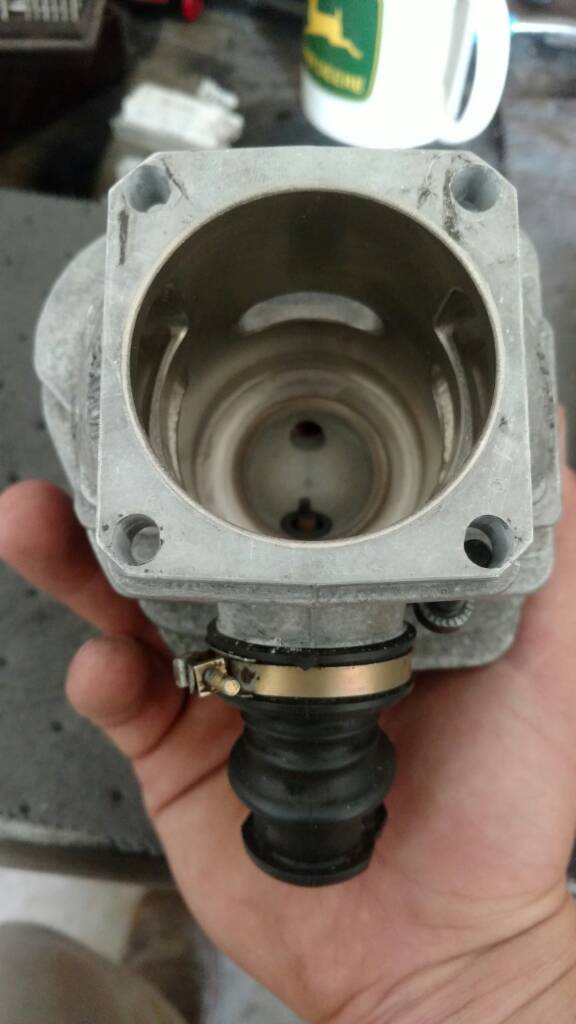
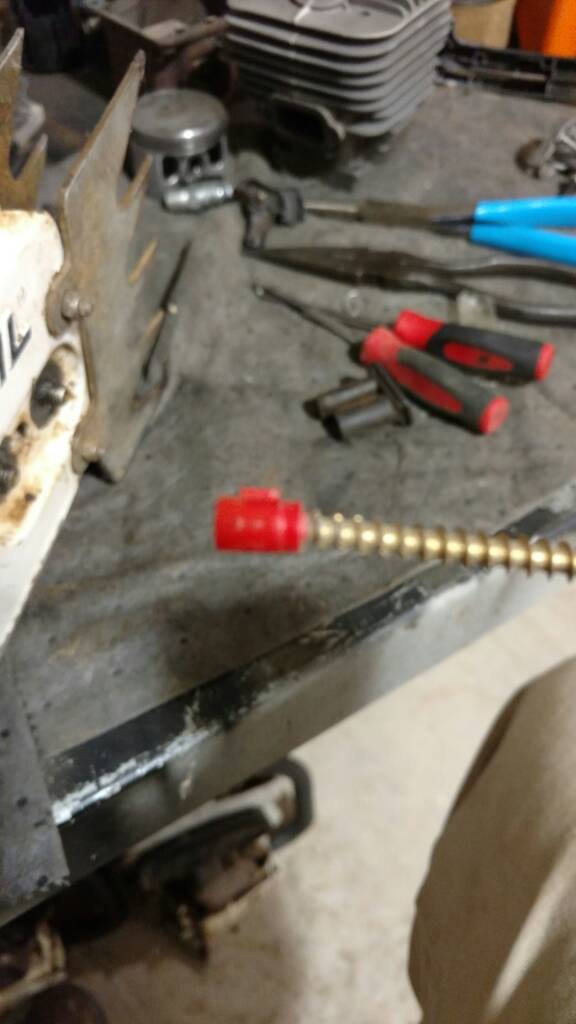
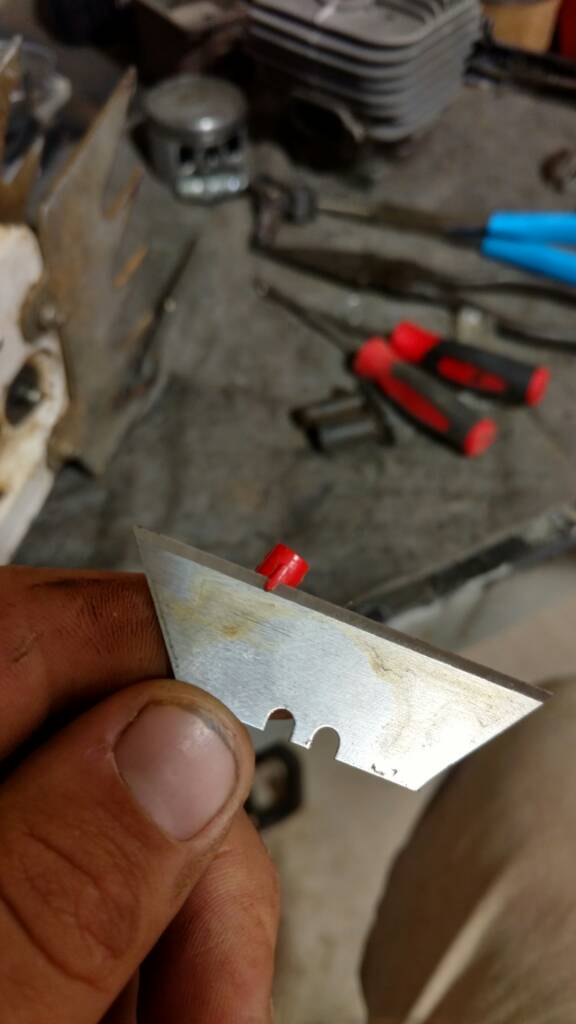
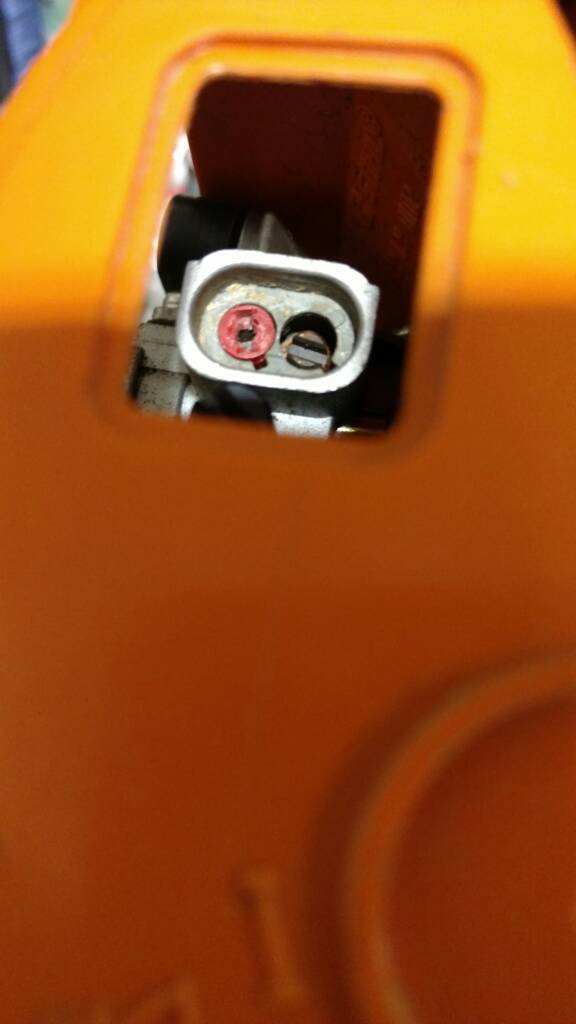
Randy @Mastermind sent me a prototype Cross Performance 066 top end this spring on the condition I do a build thread for it. I'm slow and I'm in the process of installing it now on a nice ms660 for a neighbor that he bought this spring with a blown top end.

")