High Quality Chainsaw Bars Husqvarna Toys

Construction Projects

redline4

I'm huge in Japan
Local time
4:39 AM
User ID
5593
Joined
Mar 12, 2018
Messages
11,554
Reaction score
94,739
Location
Rosholt Wisconsin
Country flag
Pt? If you mean pressure treated, I dont think so. Hell, they could be made of foam, wouldnt surprise me!
I have a cheapo menards compound miter saw, my Dad's got a table saw.
 

Bigmac

Mastermind Approved!
Local time
2:39 AM
User ID
5937
Joined
Apr 19, 2018
Messages
5,436
Reaction score
37,562
Location
Oregon
Country flag
Pt? If you mean pressure treated, I dont think so. Hell, they could be made of foam, wouldnt surprise me!
I have a cheapo menards compound miter saw, my Dad's got a table saw.
Ya pressure treated, we aways just say pt, lol! Just as another FYI the Lowes kobalt 12” chop saw is only $250 and is a great saw for the money, we bought 2 about 5 years ago at $299 and we left in the box, and the other gets tons of use and has been really durable, we have had several dewalts an this has been a good unit!

The easy way to make the tapered part is to make a bunch of oversized square blanks, like if you wanted the taper to be 4’ tall and be 12” at the base and 6” at the top, make 4’ by 13” blanks, they need to be consistent, you can always make them bigger and run both sides through the table saw several times to get it parallel, and make sure all them are the same by the end, i also like to make a couple spares in case I make a mistake! Lol
Now the jig...I use a peace of plywood, it needs to be larger than the finish base size, so something 18” by 5’ is nice. I like to set the saw at 46° to have a little more back cut and let the outside of the miter be tight, now run the 18” peace through the saw only cutting the minimum off, now you have your cutting edge of the blade referenced, next you need to mark the taper you want on one of the blanks once you have that marked, line up that line to the cut line you made on your 18” sled, temporarily clamp it in place, then screw a 1x4 4’ long to the opposite side to keep it from moving and one on the push side of the sled, I usually put a screw top on bottom of the blank to hold it down, or you can make other ways to hold it down, have done it several ways, but am trying to keep it simple, lol, and you will cover up the the screws with trim anyway.
Now you can run all of you blanks through. Now you need to reset your jig or make a new on if you desire, now you take the first peace that you had you lay out lines on an do the opposite, if you are a little scared to commit, you can always mark a parallel line on your taper and like you jig up to that, then check the results, if you happy but it’s too big simply narrow the fence and keep making passes until you get the width your looking for...run the rest of the blanks, now you have tapered and mitered blanks, I prime and painted them including the edges, it makes things last longer, once dry I assemble them in half’s, makes a jig to help that as well, a peace of plywood with 2 boards screwed at the angle, this allows you apply glue are adhesive caulk to the seam and use finish nails to hold it together,then you can take assemble the two half’s around the post. You need and inner frame to secure to, but that’s pretty simple
 

redline4

I'm huge in Japan
Local time
4:39 AM
User ID
5593
Joined
Mar 12, 2018
Messages
11,554
Reaction score
94,739
Location
Rosholt Wisconsin
Country flag
@Bigmac I think I'm picking up what your throwing down.
Thanks! Depending on how the summer goes, I might give it a shot and just replace them this summer.

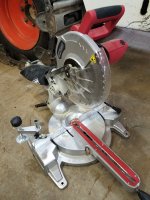
This is what I have. It was on sale and due to me not having a clue with woodworking, figured it should last long enough for me to learn something!

I have a fold up stand with extensions for it too.

20190602_193416.jpg
 

Bigmac

Mastermind Approved!
Local time
2:39 AM
User ID
5937
Joined
Apr 19, 2018
Messages
5,436
Reaction score
37,562
Location
Oregon
Country flag
@Bigmac I think I'm picking up what your throwing down.
Thanks! Depending on how the summer goes, I might give it a shot and just replace them this summer.

This is what I have. It was on sale and due to me not having a clue with woodworking, figured it should last long enough for me to learn something!

I have a fold up stand with extensions for it too.

View attachment 184294
That will work just fine for all the trim! The first house I helped build with my dad and brother we only had a circular saw, hand saw miter box and a cord drill, hammers crowbar and a framing square! Lol it’s nice to have more tools but a guy can get it done with less for sure!
 

Marshy

WFO Cutting
Local time
5:39 AM
User ID
417
Joined
Jan 5, 2016
Messages
3,800
Reaction score
13,098
Location
Mexico NY
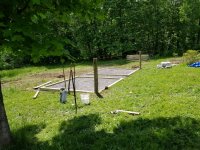
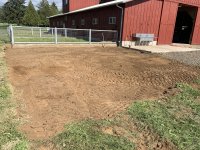
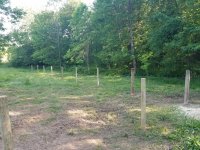
Making some progress. Horse shed foundation is in place and ready to begin building on. I'm about to order some Hemlock 4x4's from the Amish. While I wait for those I'll be doing fence post. I put in 3 of the 8 end posts this past weekend. Found out my post auger only digs to 3-3.5' deep and I need to go to 4' (sigh). Each of the end posts took five 80lb bags of Sakrete. Their diagonal support will get another 3 bags once I get the fence rail and hardware.
20190609_145923.jpg
 

Marshy

WFO Cutting
Local time
5:39 AM
User ID
417
Joined
Jan 5, 2016
Messages
3,800
Reaction score
13,098
Location
Mexico NY
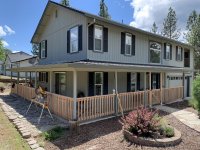
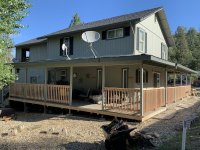
Nice pics guys. I like the barn and house.

My horse fence is kind of boring, just posts in the ground. I'm making progress but still have a lot to do, not even half way around the field and still have lateral supports that need to go into the ground once I get the fence rail and hardware. Here is the latest pic of progress.
20190618_180831.jpg

I also put my order in with the Amish saw mill for the stalls and the lumber will be ready this weekend. Fence rail and hardware comes on Friday.
 

Johnmn

Here For The Long Haul!
Local time
4:39 AM
User ID
908
Joined
Feb 18, 2016
Messages
3,391
Reaction score
12,161
Location
Minnesota
Country flag
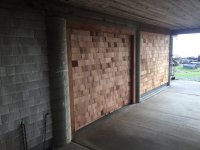
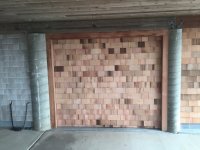
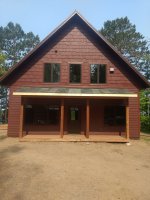
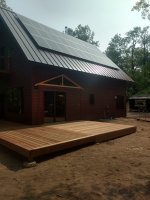
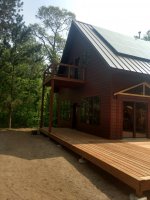
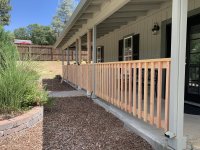
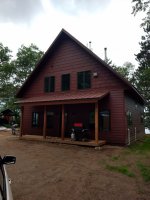
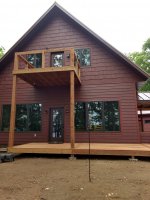
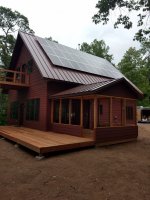
Must be they arnt concerned with snow/ice sliding off the main roof and denting their porch roof?
Very nice. I like the colors.
The main roof is a 12/12 it only holds a inch or two of snow before it slides off.
 

beaglebriar

The Peanut Gallery
GoldMember
Local time
5:39 AM
User ID
377
Joined
Jan 1, 2016
Messages
18,590
Reaction score
104,006
Location
Warren Center, PA
Country flag
Got the bright idea to build a stone path to the barn. This area gets very wet in the spring so it will be a huge improvement...when it's finished. Kinda slow going but enjoyable. I'm definitely not a pro at this.
c99ec700f5ff7b092f2fa64f34e00fb9.jpg
30a49d0df057942bc539da40350b73a9.jpg
f299bd9862e047ca91166f3ba4aaa0e6.jpg
c59fedf93030012f2a87a7962c7cdc08.jpg
 
Last edited:

Wood Chopper

So so sleepy....
Local time
5:39 AM
User ID
3083
Joined
Apr 26, 2017
Messages
1,224
Reaction score
5,289
Location
Mechanicville NY
Country flag
I like the stone a lot. I thought of doing the same thing except growing grass in between the stones. Looks good!


Sent from my iPhone using Tapatalk
 

beaglebriar

The Peanut Gallery
GoldMember
Local time
5:39 AM
User ID
377
Joined
Jan 1, 2016
Messages
18,590
Reaction score
104,006
Location
Warren Center, PA
Country flag
I like the stone a lot. I thought of doing the same thing except growing grass in between the stones. Looks good!


Sent from my iPhone using Tapatalk
Thanks! I'm finding that the bigger stones are much more stable. Most of the smaller stones that I've been using for fill in are 4 to 6 inches thick or more. Burying them deeper seems to lock them in pretty good, whereas something smaller/lighter tends to move.

I like the grass in between look also but I need water to move through this so I'm sticking with gravel and sand.
 
Last edited:
Top